
Unlock the Wheelie on the EGO Mini Bike: Real-World Tips That Actually Work
May 5, 2024
Some links in this article may be affiliate links. If you buy through them, we may earn a small commission at no extra cost to you.
I’ve been messing around with the EGO Power+ Mini Bike for a while now, and one thing became really clear: this little bike is an awesome place to learn wheelie fundamentals.
Read more: EGO Power+ Mini Bike and EGO Power+ 56v 12ah Battery
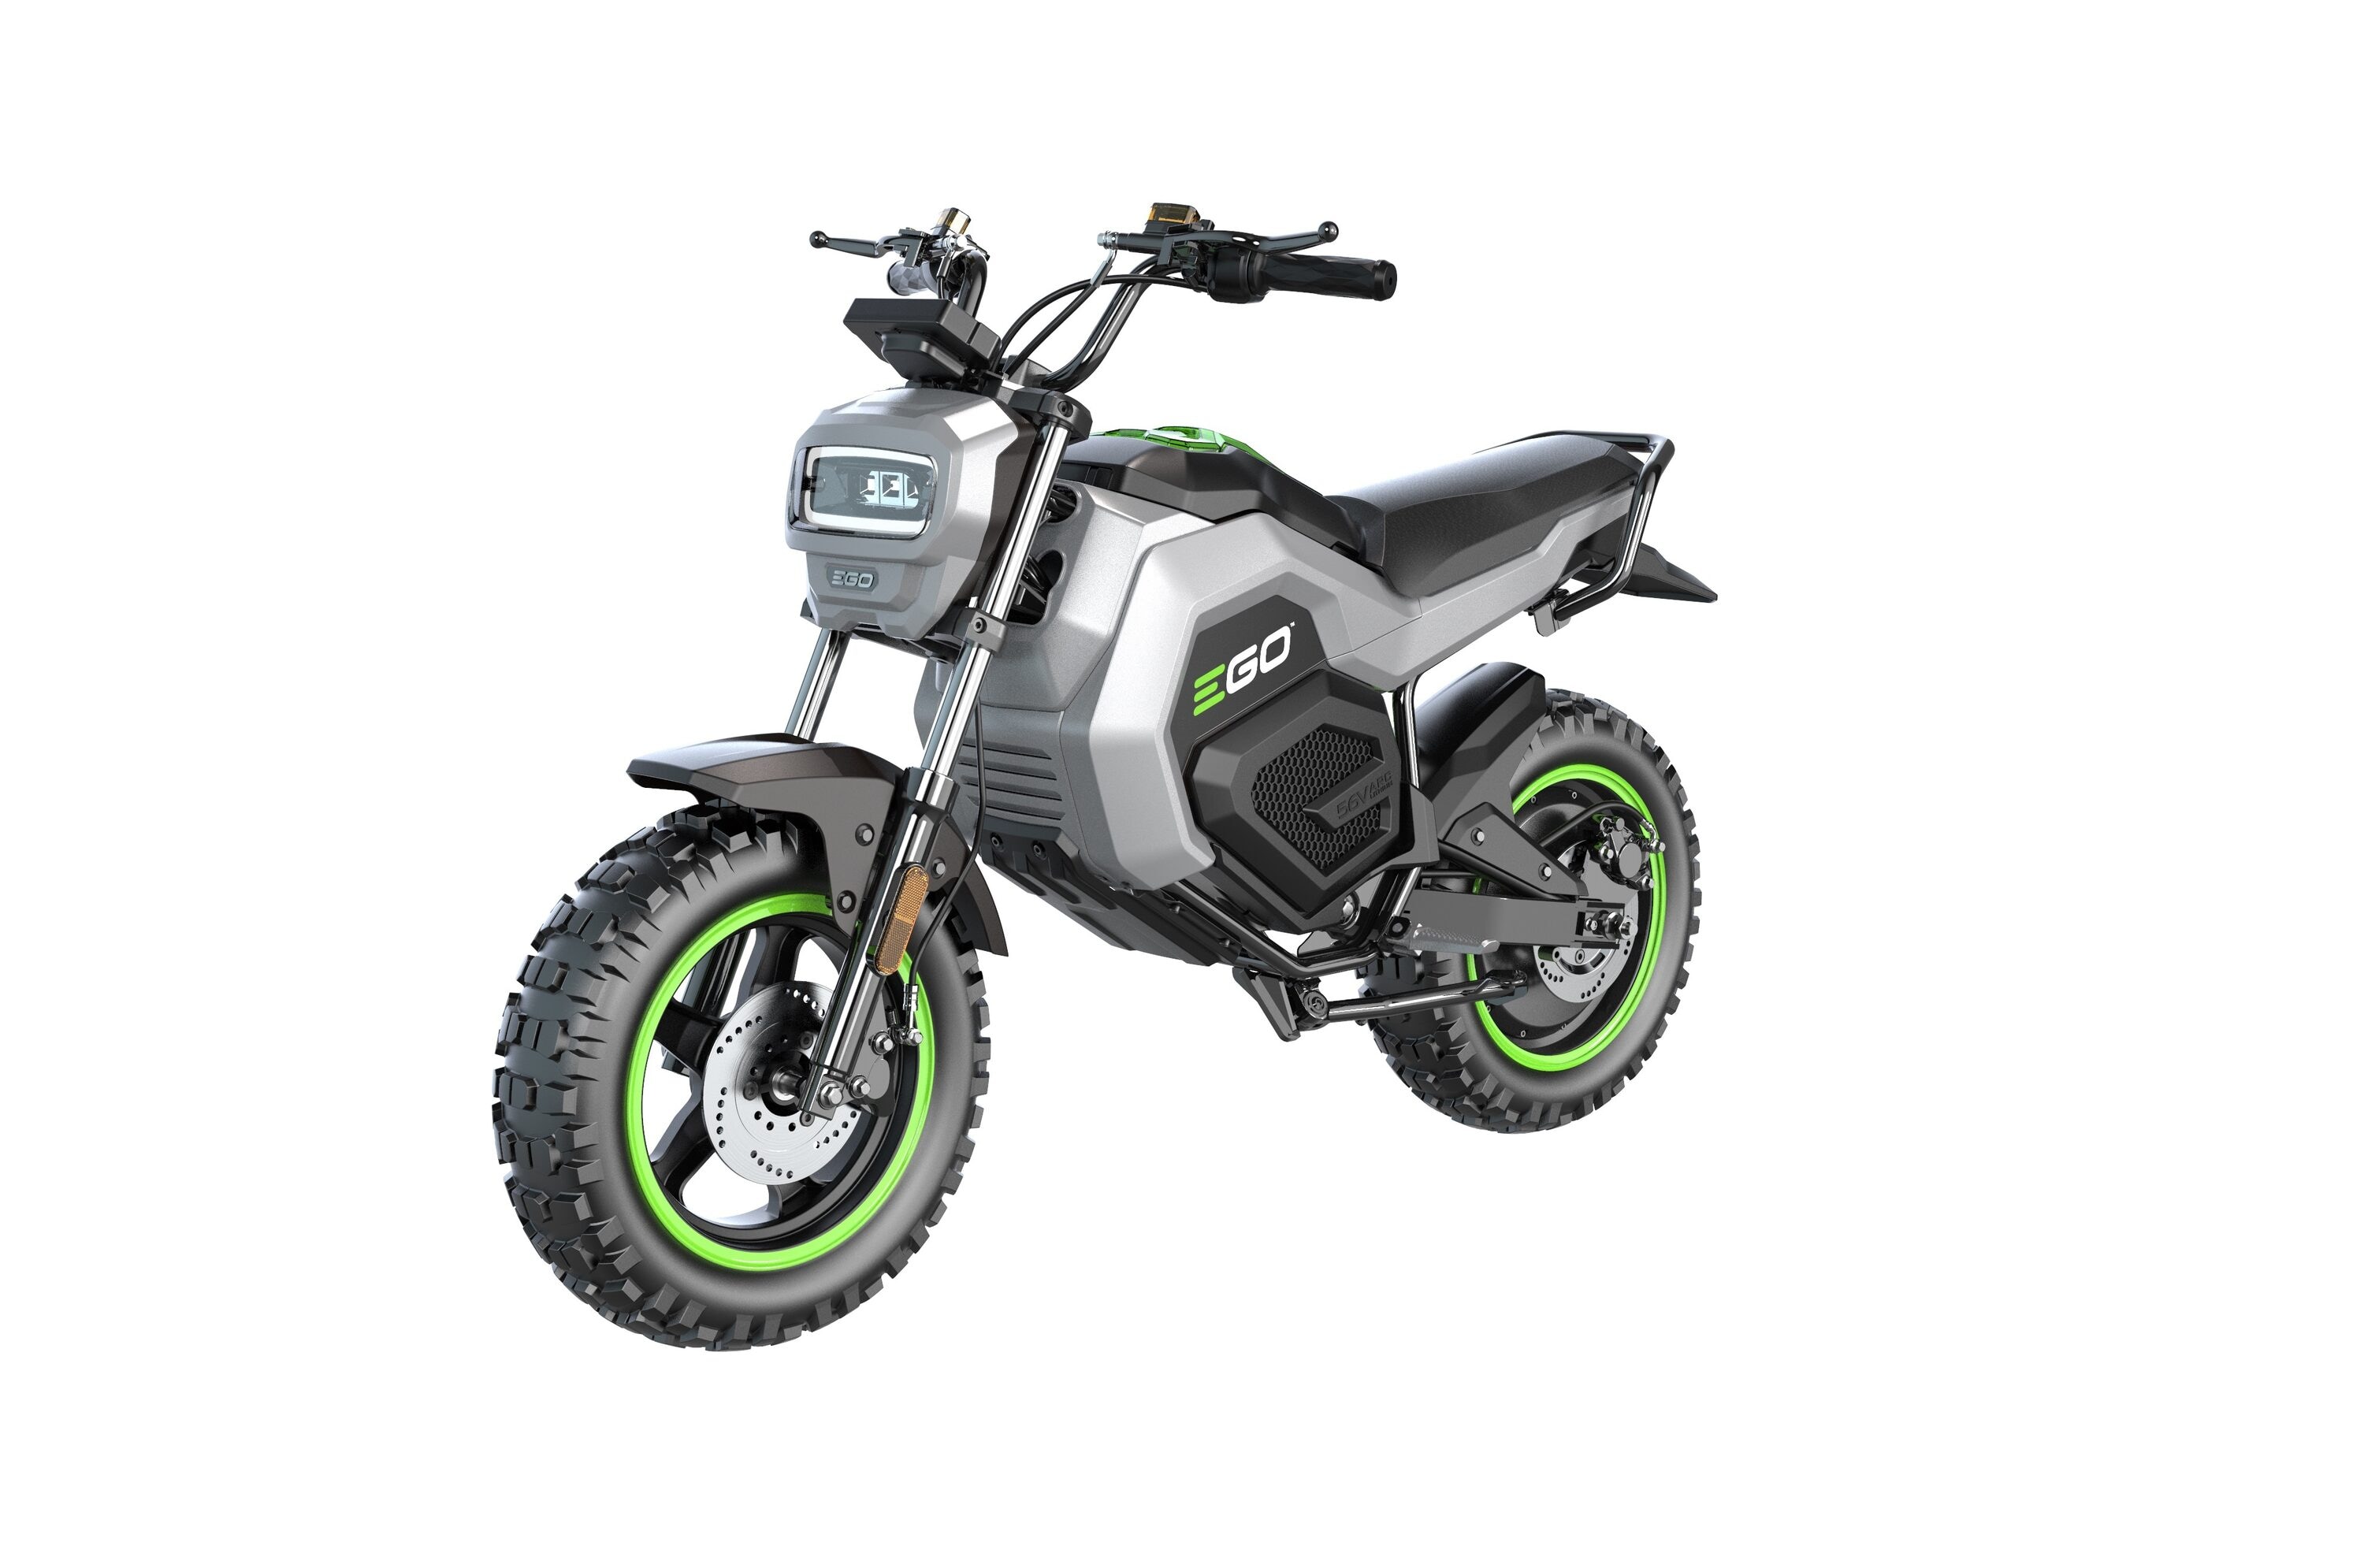
It’s not a high-power, street-stunt machine in stock form. It’s heavier than a toy mini bike, and it doesn’t have that instant “rip your arms off” torque you’d expect from a dedicated bike-life build. But for learning? That’s the whole point.
The throttle delivery feels smooth and predictable, and the rear brake has enough authority to save you when you overcook it. That combination makes the EGO a surprisingly friendly balance-point trainer—especially if you’re coming from bicycles, scooters, or you’re brand new to wheelies.
Below is how I set the bike up, how I practiced, and what actually helped my wheelies get cleaner.
Wheelies on the EGO: what it’s good at (and what it’s not)
The EGO Mini Bike will wheelie, but it’s not the kind of bike where you casually power-wheelie at speed and float it forever with pure throttle.
Where it shines is slow-speed learning:
Finding balance point without feeling like the bike is trying to launch you
Building rear-brake muscle memory
Practicing straight-line control and left/right balance
Doing slow circles and foot-down drills to develop consistency
That “tame” nature is a feature when you’re learning. When the bike isn’t constantly threatening to loop, you can focus on technique instead of survival.
Safety first (because you will set the front wheel down… a lot)
If you can learn on grass, do it. It’s more forgiving, and it lets you attempt more reps without flinching.
If grass isn’t an option, I’d still recommend gearing up like you’re going to fall—because you probably will.
At minimum:
Helmet
Gloves
Nice to have if you’re serious about progressing:
Back protection
Extra padding (especially when you’re doing tons of low-speed drills)
The secret weapon is mindset. Wheelies reward consistent practice way more than occasional “big sessions.” Even 15–20 minutes most days adds up fast.
Bike setup that made learning easier
Before I even started drilling wheelies, a few setup details mattered immediately.
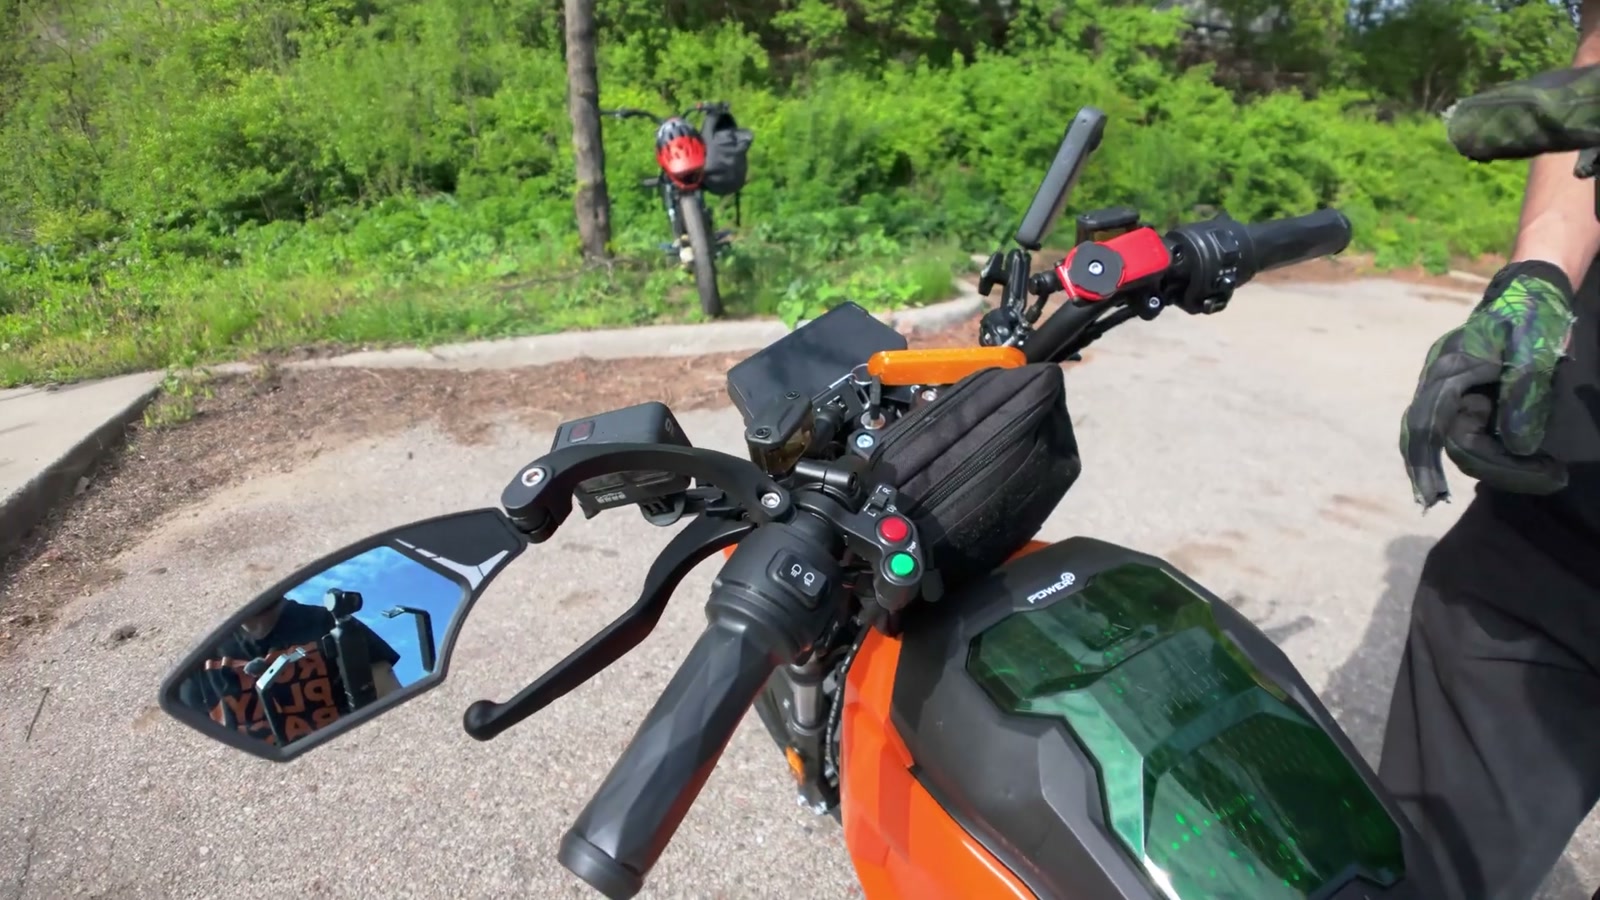
Handlebar position
A good baseline is keeping the bars roughly level with the fork. From there, it’s personal preference. If your bars are rolled too far one way or the other, the bike can feel weirdly cramped or unstable when the front comes up.
Brake lever angle
This one matters a lot.
If your rear brake lever is angled too high, you end up reaching up for it right when you need it most (at balance point). I dropped the lever angle so that, at the point where the bike is up and I’m stable, my finger naturally lands on the lever without stretching.
Brake adjustment
I made sure the brake lever doesn’t pull all the way to my knuckles. If you run out of lever travel, you run out of braking when you actually need it.
Ride mode
Sport mode made a big difference. In a lower power mode it’s harder to pop the front consistently unless you’re basically crawling and doing super slow, foot-down stuff.
Motor cut-off behavior
If your bike cuts motor power when you touch the brake, it makes wheelie control much harder because the moment you go to “save it,” the bike immediately wants to drop. For proper wheelie technique, I want to be able to use brake modulation without the bike killing drive.
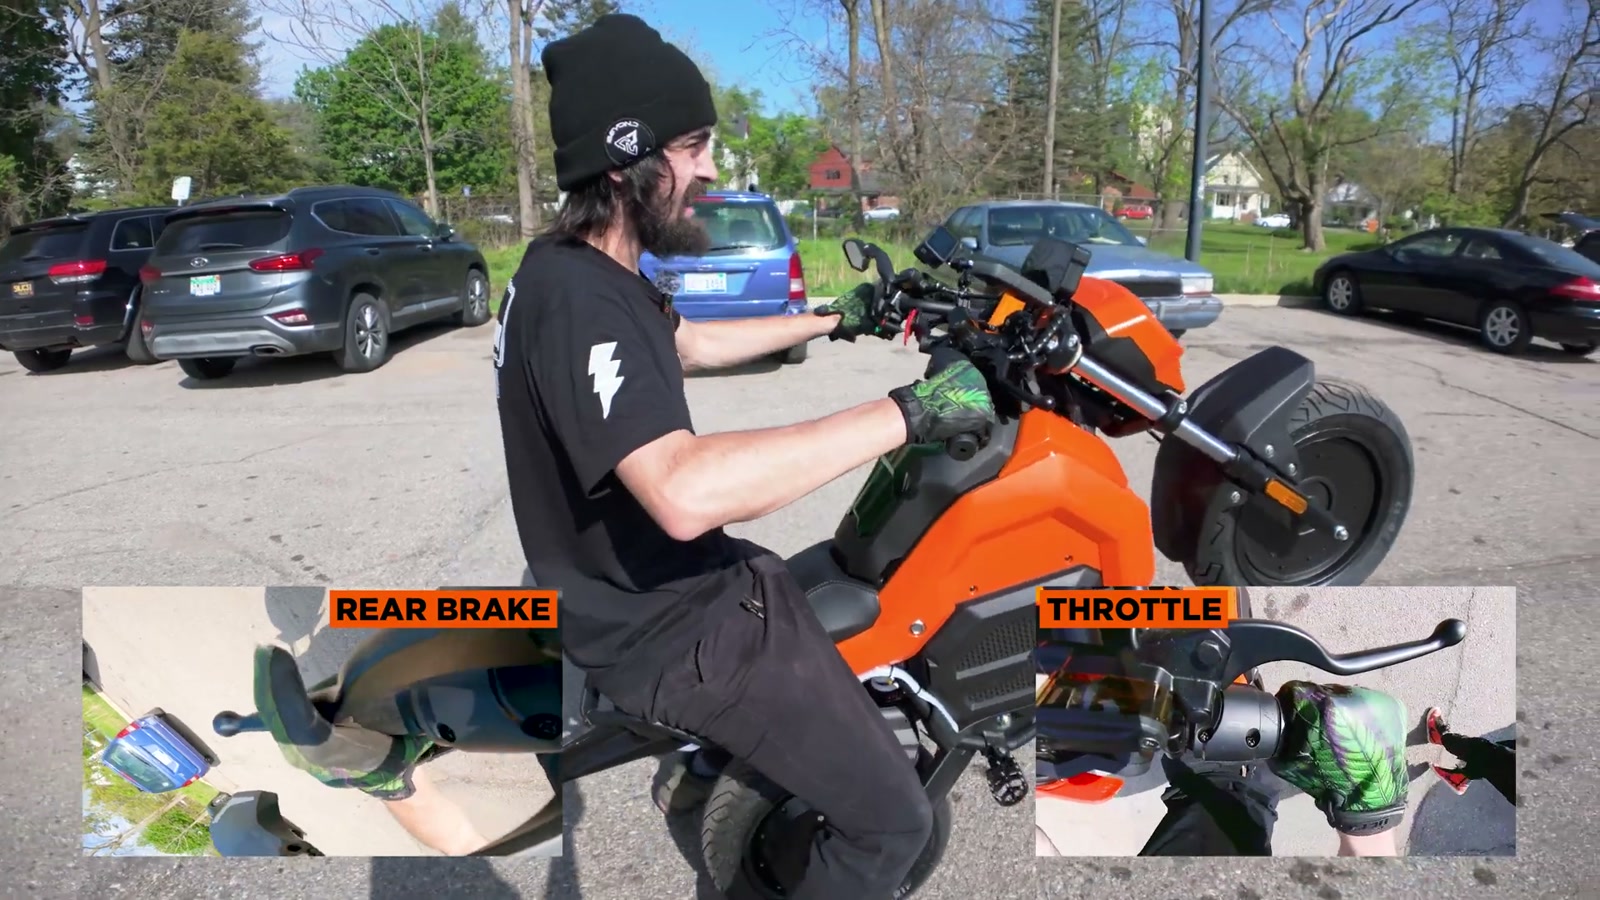
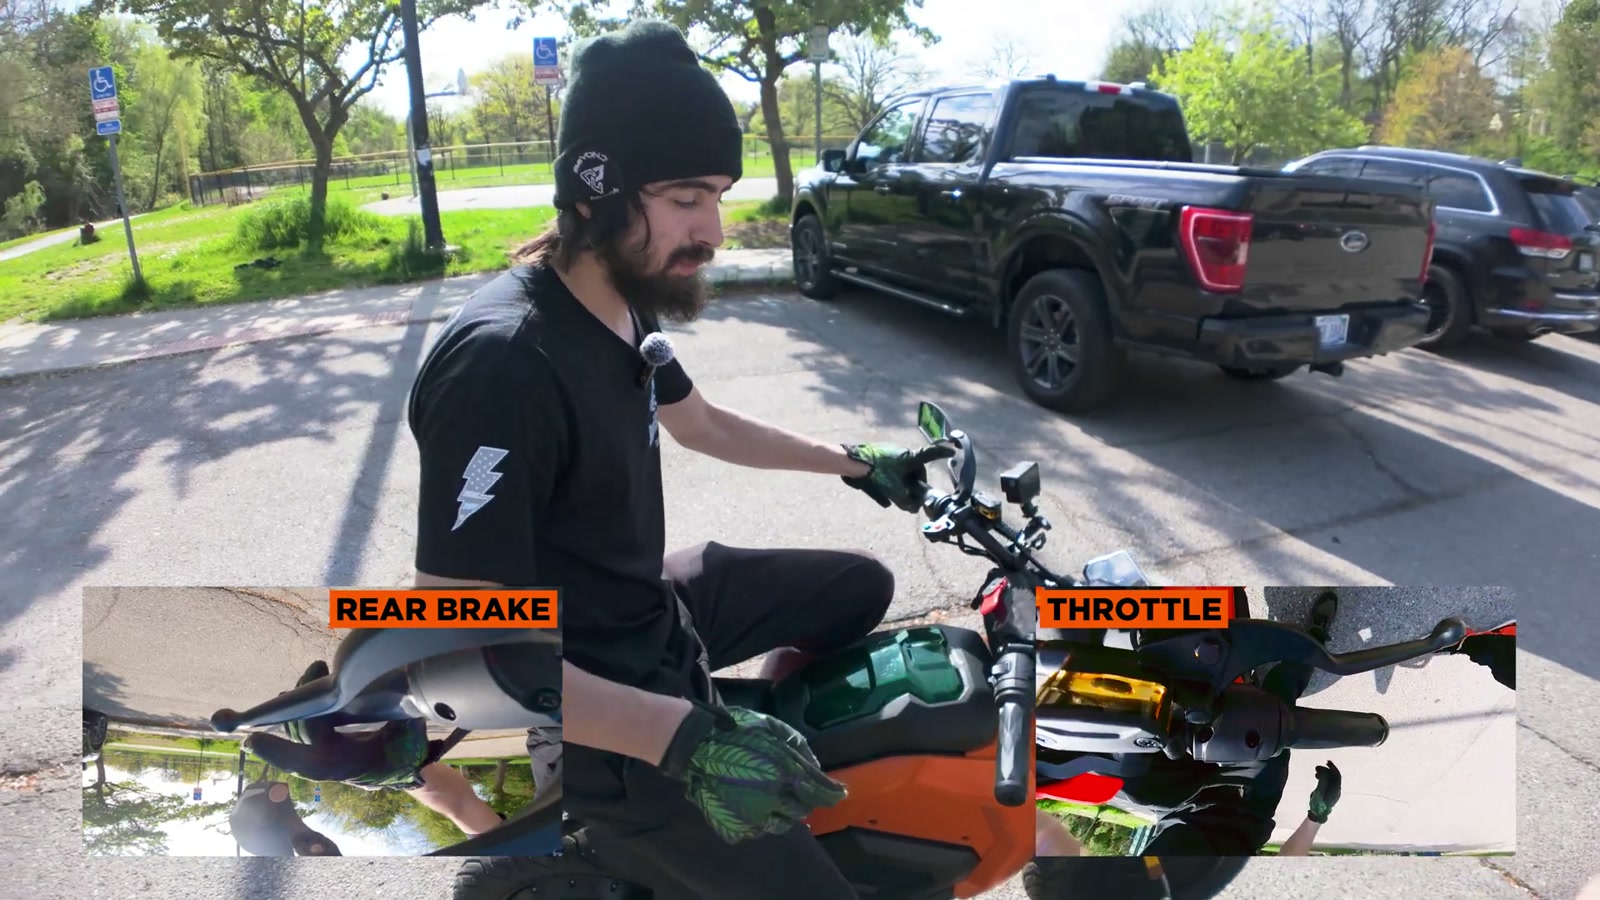
The two skills that control everything: throttle + rear brake
If you only remember two things, it’s these:
1) Throttle control gets you to balance point.
2) Rear brake control keeps you from looping and lets you live at balance point.
I treat the rear brake like a lifeline. I keep a finger covering it while I’m learning, because the moment I feel the bike drifting too far back, I want that instant “bring it down” response.
My step-by-step practice method
1) Start with the pop + brake tap drill
The goal at the beginning isn’t distance.
I focused on popping the wheel up, then immediately tapping the rear brake to bring it back down on command. That teaches two critical things fast:
How much throttle it takes to lift the front
How quickly the brake can save you when you overdo it
Once that became consistent, I started reducing how much brake I used each time.
2) Feet-down wheelies (yes, really)
This is the most beginner-friendly drill I’ve found on this bike.
With both feet down, I can pop it up and “walk” with the bike while I’m learning the feel of balance point. It’s not cheating—it’s training.
It also stops that panic moment where you think you’re going over backward. Your feet act like training wheels while your hands learn throttle/brake timing.
3) Learn the rhythm: gas, gas… brake
At balance point it’s rarely a constant throttle.
It felt more like a repeating rhythm:
Below balance point: add a little throttle
Past balance point: tap brake
Over and over.
Once I could do that without thinking, the wheelie started to “hover” instead of pogo-ing.
4) One foot up (start building left/right control)
Straight-line balance point is one thing. Left/right stability is what makes people bail.
Moving to one foot on a peg helped me start controlling side-to-side wobble while still having the safety of the other foot ready.
If you plan to eventually ride gas bikes, practicing with your right foot on the peg is a smart habit (that’s where a rear foot brake would be). But if that feels sketchy at first, I’d rather start the way you’re comfortable and then switch later.
5) Circles are weirdly helpful
Circles sound harder than straight wheelies, but at low speed they can actually feel easier—because your planted foot can act like a pivot while you work on that gas/brake rhythm.
Body position: stop fighting the bike
Two things made an immediate difference in how stable the wheelie felt:
Staying loose in my arms
Keeping my shoulders squared and my body neutral
If I pull on the bars or get stiff, the front wants to slam down.
I had the best results when I let the bike come up toward me and I moved with it, instead of trying to “hold it” in place. Think balance, not wrestling.
Also: keep your butt planted. When I got sloppy and my butt started to float off the seat, any hard brake tap or throttle jab felt way more likely to slide me backward.
Real-world expectation: wheelies while rolling
Can I wheelie it while riding? Yes.
But with the stock power and the bike’s weight, it takes more body technique than raw throttle. I needed to be deliberate with loading/unloading my weight to get it to come up cleanly.
Where I kept landing with this bike is that it’s a killer skills builder. The techniques transfer. If you later jump to something bigger (like a Sur Ron-style e-moto), the rear brake habits, balance-point feel, and body positioning carry right over.
What We Like
Smooth, predictable throttle makes it less intimidating to learn on
Rear brake authority gives real confidence during practice
Great for slow-speed balance-point drills and repetition
Bigger, more comfortable feel than a toy mini bike for longer sessions
Skill transfer is real: what you learn here carries to larger bikes
Things To Consider
Stock power is not “street stunt” power; rolling wheelies take technique
Setup matters: lever angle and brake adjustment can make or break your learning curve
If the motor cuts power when braking, wheelie control gets much harder
Expect a lot of reps; progress comes from consistency more than big single sessions
Final Thoughts
The EGO Mini Bike surprised me as a wheelie trainer. I don’t reach for it when I want maximum speed or aggressive street riding. I reach for it when I want to sharpen the fundamentals—balance point, brake modulation, and calm body positioning—without feeling like the bike is trying to punish every mistake.
If you’re already in the EGO battery ecosystem, it’s an easy bike to justify as a fun EV lifestyle toy that also builds real riding skill. And if wheelies are on your goals list, it’s one of the more approachable ways to start.