
Powerful Lithium’s EGO Mini Bike Upgrade Plan: The Smart Way to Go Faster Without Cooking Your Components
May 14, 2024
Some links in this article may be affiliate links. If you buy through them, we may earn a small commission at no extra cost to you.
I’ve been obsessed with the EGO Power+ Mini Bike since the first time I rode it. Stock, it’s a blast in that “mini Grom vibe” kind of way—more robust than a toy, easy to live with, and it looks legit.

But once I started riding it around faster bikes, I ran into the same wall a lot of owners hit: it’s not just about top speed. The real limiter is the whole system working at its edge—battery, controller, motor, and the proprietary EGO ecosystem all pulling in different directions.
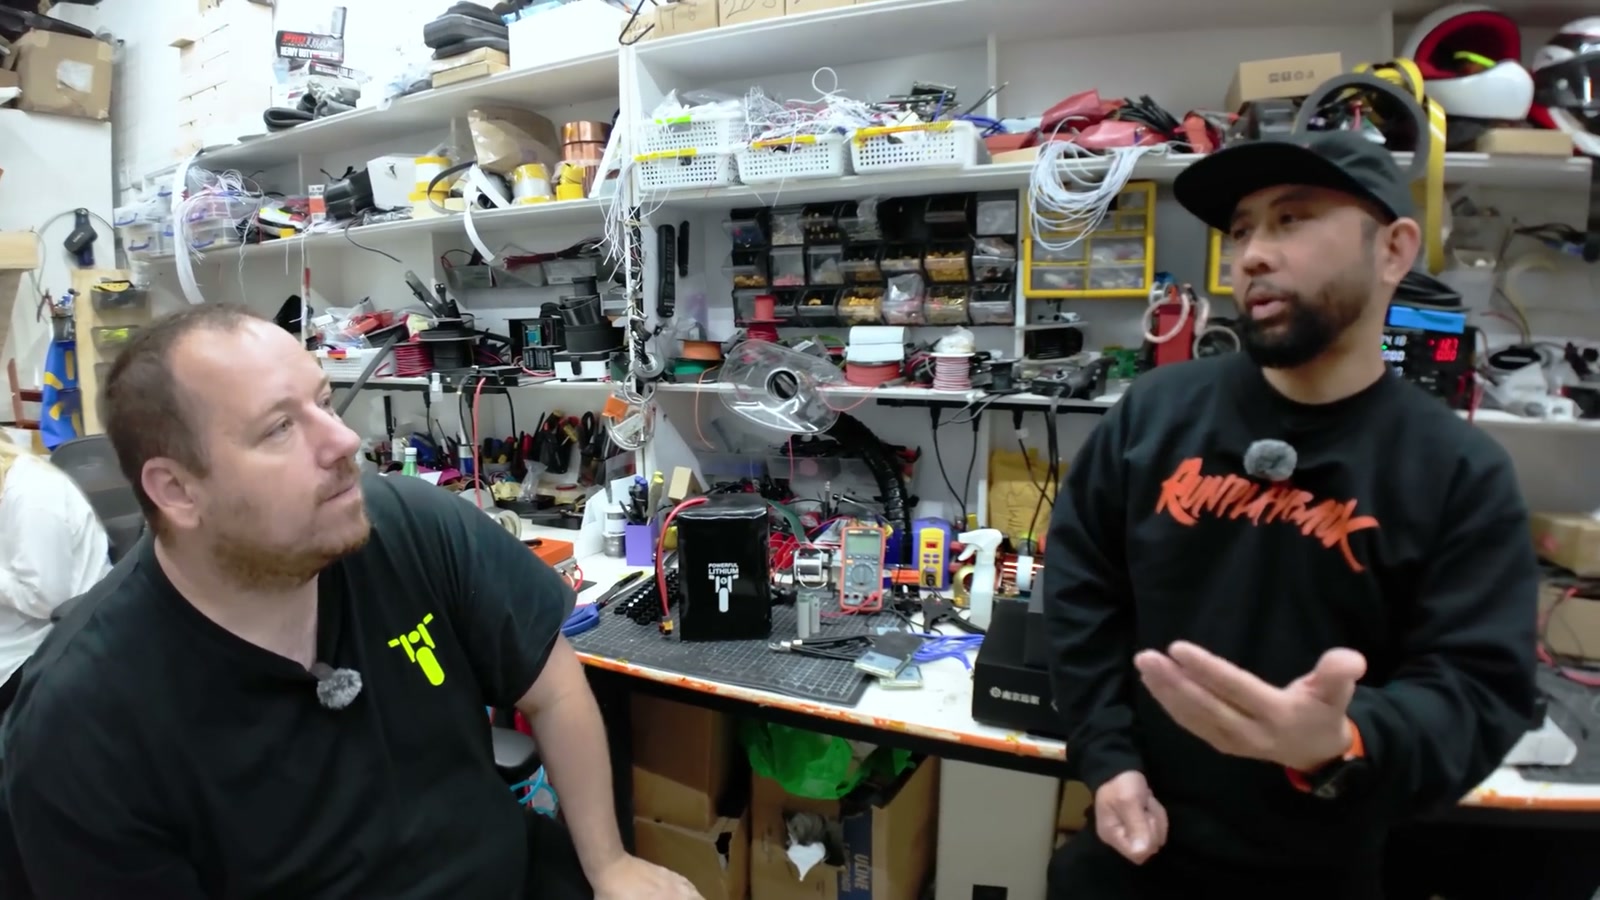
So I linked up with Powerful Lithium in New Jersey to map out a proper upgrade strategy. Not a sketchy “cut this wire and unlock magic speed” approach—an actual, thought-through plan that keeps the bike usable and (just as important) keeps components from getting smoked.
The stock EGO experience: fun platform, big limitations
The first thing I noticed with the bike stock is that it feels like a great chassis with a conservative powertrain. Sitting on it, it has that planted, mini-moto posture. It doesn’t feel flimsy. That’s why it’s such a tempting project.
The issue is what happens under load. The EGO batteries are designed for tools and lawn equipment—great products, but a mini bike asks more from them for longer bursts. When you’re moving the weight of the bike plus a rider and holding throttle, voltage drops. That voltage sag shows up as performance sag.
In real riding terms, that means the bike can feel okay off the line, but it runs out of “push” fast—especially if you’re trying to keep pace with quicker bikes. I’ve had rides where I was basically calling it early because I knew I wasn’t going to make it home comfortably.
Why I didn’t want to “just upgrade the controller”
A common idea in the community is to swap the controller, try to tune the stock motor harder, and keep using the EGO battery system.
Here’s the problem: if you ask for more power while keeping the same battery limitations, you usually get more stress, more sag, and less range. You might feel a quick burst of improvement, but it’s not the kind of performance you can sustain without punishing the battery.
Powerful Lithium explained it in a way that clicked: if you keep pushing a system near its limit, it’s going to “sweat” (heat), and eventually something gives. The bike ends up feeling inconsistent, and you’re more likely to shorten the life of expensive components.
That’s why I decided to do the full system approach—battery, controller, motor, and display—so the parts complement each other.
The plan: a full powertrain makeover (done clean)
The goal wasn’t to turn the EGO into a wild science project that loses what makes it cool.
I wanted a setup that:
Fits inside the bike without destroying the mini Grom look
Retains as much “stock-ish” usability as possible (like the latch hardware)
Gives real-world performance without running everything at the ragged edge
Powerful Lithium’s philosophy here matched mine: use components with headroom. Even if I never use the full capability, the bike should feel stronger and more relaxed doing normal riding.
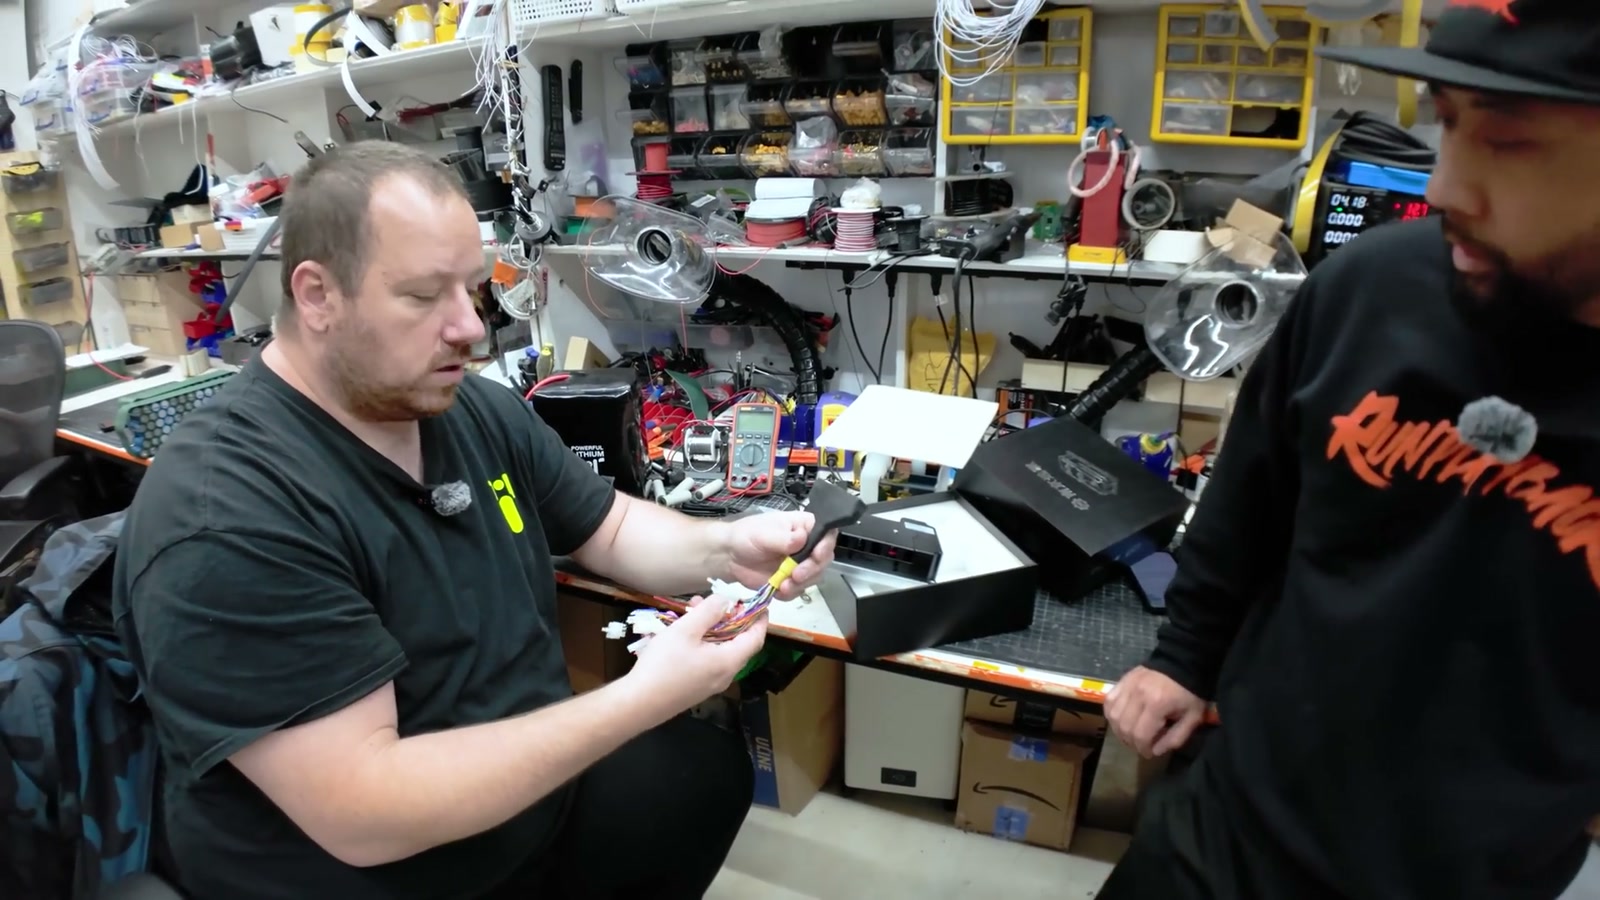
Controller choice: FarDriver for power and flexibility
For control, the recommended option was a FarDriver controller.
What mattered to me wasn’t some spec-sheet flex—it was the idea of a controller that’s reliable, widely used, and can be configured for different ride modes. I like the concept of having multiple power modes (eco/normal/sport) so I can calm the bike down when needed.
There’s a learning curve, though. Tuning isn’t “plug in, press one button, done.” If you’re the type who wants to nerd out and dial everything in, that’s great. If not, it’s worth having someone who really understands these controllers help with setup.
Battery fitment: keeping the bike tidy while stepping up the system
Battery packaging was the biggest question mark for me.
Under the seat, there’s room to work with, but the EGO’s design relies on that under-battery storage compartment and connector setup to keep the panels fitting together properly. I didn’t want to gut the frame and end up with awkward panel gaps or a bike that looks half-finished.
So I mocked up the battery shape with cardboard to confirm dimensions and fitment, including clearance around the latch hardware. The goal: a battery that slides in cleanly, is protected, and keeps the bike looking like a cohesive product.
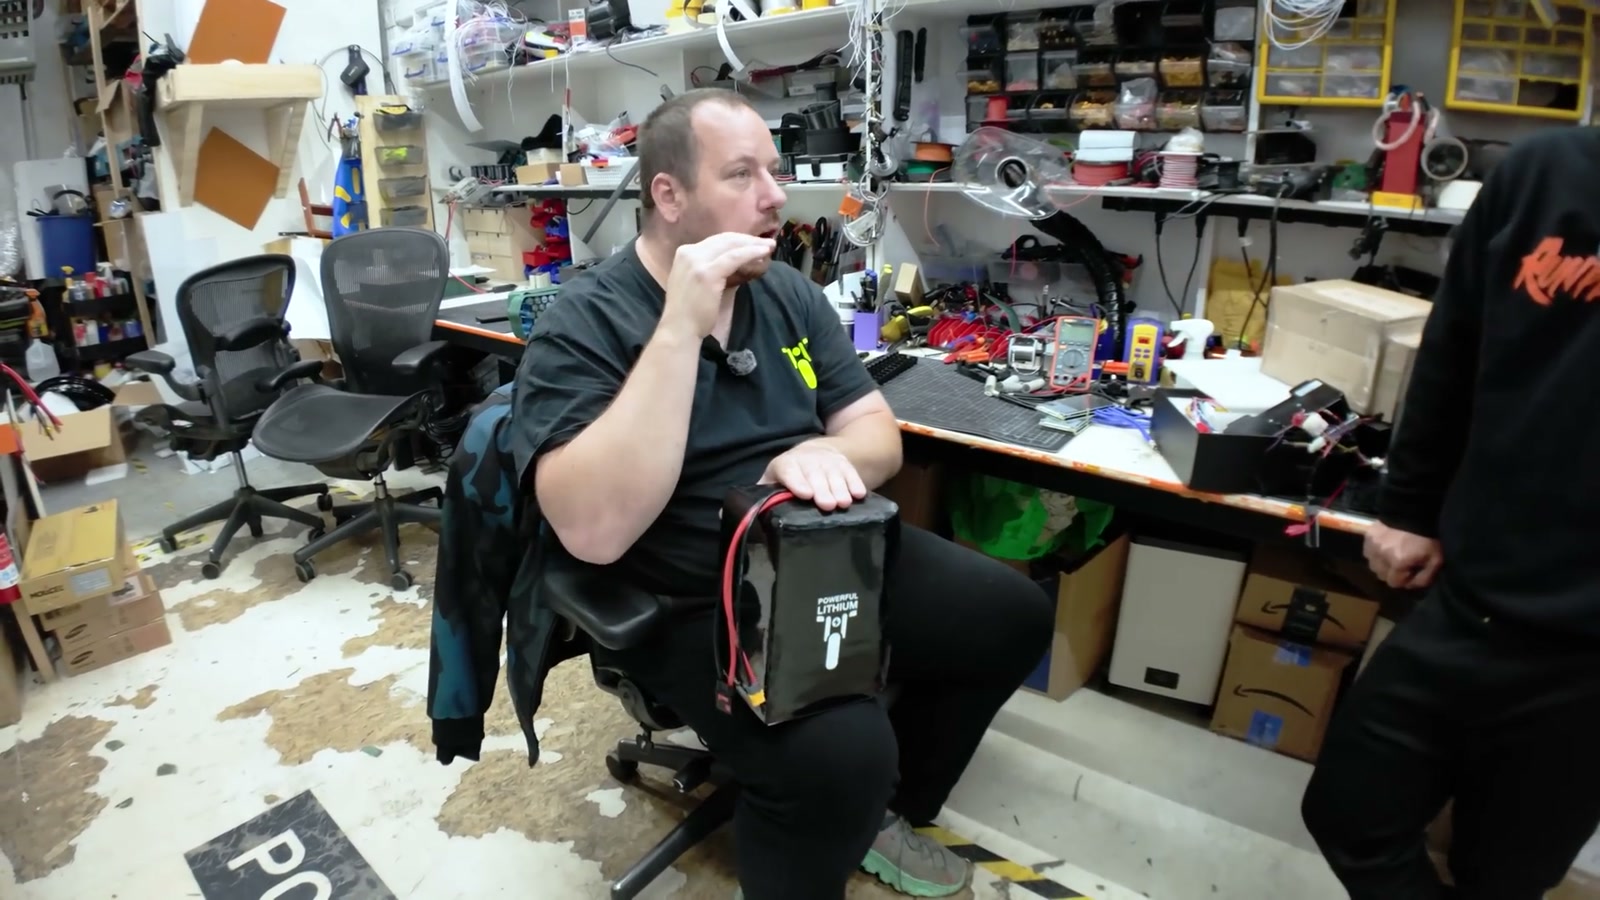
Powerful Lithium built a pack around that footprint while also stepping the system voltage up to 72V nominal. The result is a battery that fits the space properly without me having to sacrifice the latch hardware just to chase a few extra cells.
Battery safety and “battery hygiene” (don’t skip this)
If you take one thing from this whole upgrade plan, it’s that batteries aren’t an accessory—you have to treat them like the most important part of the build.
Powerful Lithium walked through why build quality details matter:
Proper spacing/structure inside a pack to avoid vibration wear
A proper BMS to help prevent overcharge and over-discharge
Temperature monitoring for another layer of protection
From my side as an owner/rider, the practical takeaway is simple:

Don’t let the pack bounce around in the frame
Use padding/foam and secure mounting
Don’t abuse it (drops, water exposure, sloppy charging habits)
Big power is fun. But responsibility is part of the deal.
Motor strategy: don’t gamble with the stock motor
The stock motor is labeled as a 1,000W unit. Could it take more? Maybe a bit—briefly.
But the “briefly” part is the issue. When you’re riding street and holding power for minutes—not seconds—pushing a small motor past its comfort zone is how you end up with heat problems.
The recommendation was to swap to a more powerful hub motor that’s better matched to the rest of the upgraded system. Another smart point here: instead of risking damage, it can make more sense to sell the stock motor while it’s still healthy and put that money toward the correct part.
Real-world mindset: build it for how you actually ride
I like street rides. I want it to be fast enough to hang, stable enough to feel confident, and clean enough that it still looks like a thoughtfully-built mini bike—not an unfinished experiment.
I also like the idea that as these bikes hit the used market, there’s going to be a whole wave of people who love the chassis but want more performance. If people can build wild Razors, this platform absolutely deserves the same kind of attention.
And yes—I’ve got mine registered as a moped in Michigan, which makes it even more interesting as a practical EV lifestyle machine.
What We Like
The EGO Mini Bike chassis feels like a real mini-moto platform, not a toy
A full system approach (battery/controller/motor) avoids the “one upgrade creates three new problems” trap
FarDriver controller flexibility: multiple modes and lots of configuration potential
Clean packaging focus: upgrading without ruining the bike’s stock look
Strong emphasis on safety, BMS protection, and long-term reliability
Things To Consider
Controller tuning has a learning curve; plan on getting help if you’re not comfortable configuring it
Proprietary stock EGO parts aren’t designed to be “unlocked,” so partial mods can create frustrating compromises
Battery safety is on you: mounting, padding, charging habits, and storage all matter
If you try to push the stock motor too hard for too long, heat becomes the enemy
These upgrades can cost more than people expect—build your plan around your goals and riding style
Final Thoughts
The EGO Power+ Mini Bike is one of those rare EV platforms that feels like it’s waiting to be upgraded. Stock, it’s fun and approachable. But if you want real speed and usable power, the cleanest path is a balanced system: battery, controller, motor, and the right supporting components.
What I like most about the Powerful Lithium approach is that it isn’t about chasing peak numbers. It’s about headroom, reliability, and keeping the bike enjoyable to ride day-to-day—without constantly stressing the parts that keep you moving.