
EV Raceworks Budget Rear Moto Brake Kit on My Surron: The Upgrade That Finally Made My Bike Feel “Motorcycle”
July 2, 2024
Some links in this article may be affiliate links. If you buy through them, we may earn a small commission at no extra cost to you.
If you’ve ever built your Surron past “stock-ish,” you already know the quiet downside: the bike gains weight, gains speed, and suddenly the brakes you used to tolerate start feeling like the weak link.
Read more: Surron Budget Rear Moto Brake (use promo code RUNPLAYBACK for 5% off) and Surron Budget Rear Moto Brake (use promo code RUNPLAYBACK for 5% off)

That’s exactly where I was at. My setup has grown into a heavier, more motorcycle-like machine (bigger battery, controller, and a bunch of extra stuff). My rear brake was still “fine”… until it wasn’t. The feel was getting inconsistent, pad wear was catching up with me, and under hard use the stopping power just didn’t inspire confidence.
So I swapped my rear setup to the EV Raceworks Surron Budget Rear Moto Brake Kit. I installed it, bled it, bedded it in, and put it through the kind of street riding that quickly tells you whether a brake upgrade is real—or just expensive garage art.
Why I Went Moto Brake (Even as a Casual Rider)
I’m not out there trying to be a full-time stunt rider. But I do ride my Surron like a real vehicle, and I want the rear brake to be something I can rely on when the bike is heavier and faster than stock.
The big appeal of going to a true moto-style rear brake is simple: it’s built for motorcycle duties. Bigger pad surface area, a more motorcycle-appropriate caliper/pad setup, and DOT brake fluid.
The other part that mattered to me long-term: mountain bike brakes can be finicky on these bikes once they start seeing real heat and real weight. I got tired of the “is it going to feel the same today?” question.
What’s In The Kit (And What Actually Matters)
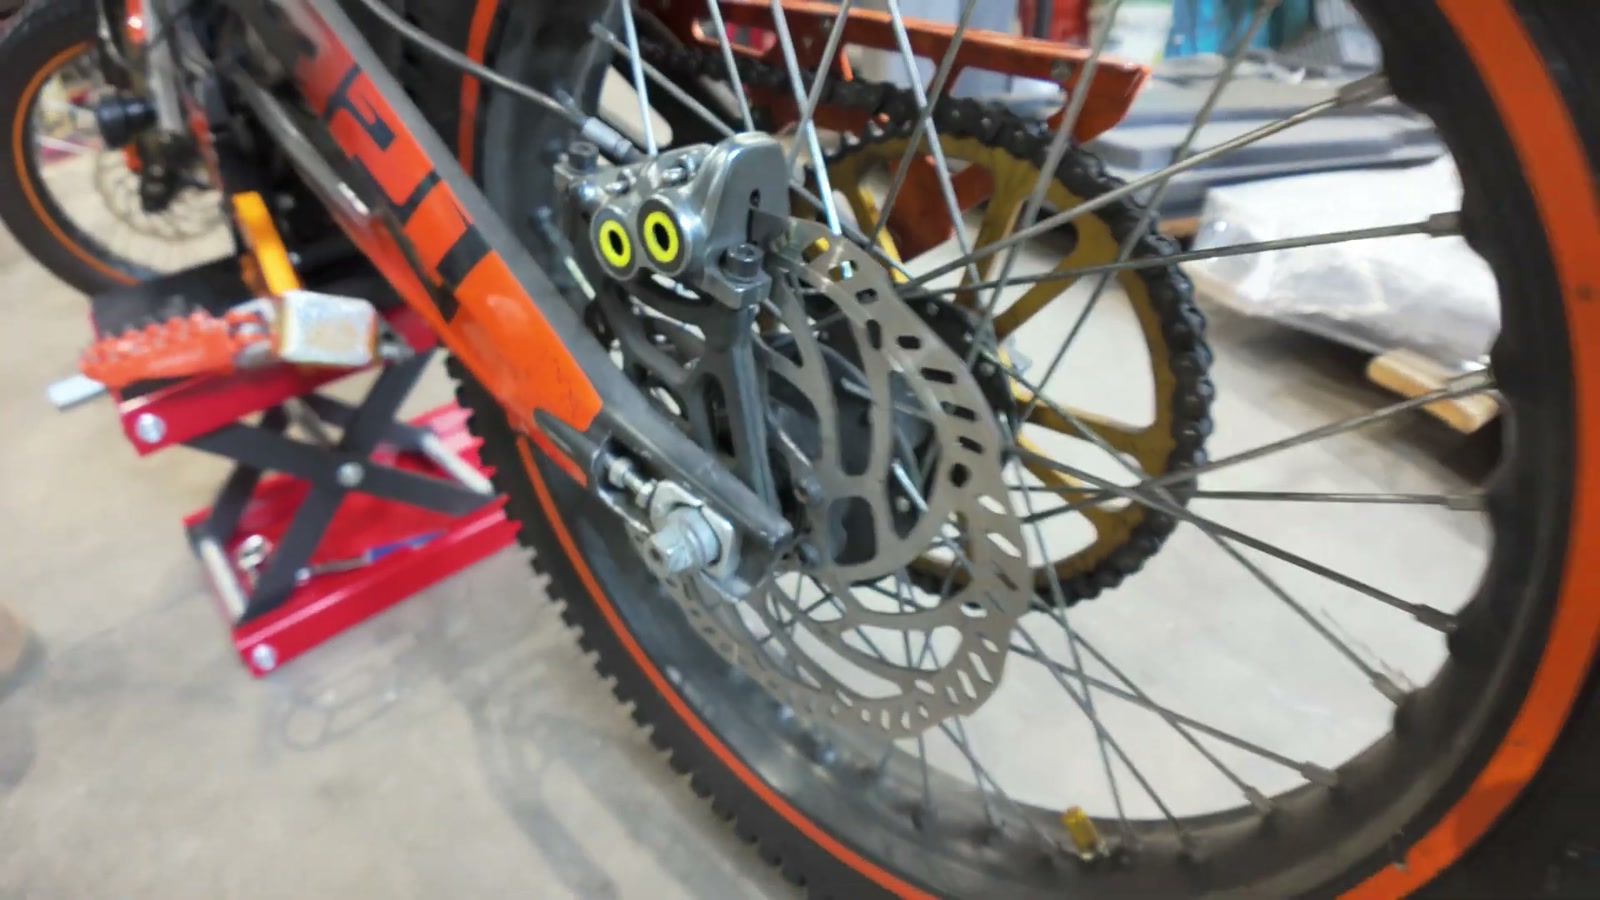
The kit includes the key components to convert the rear over to a moto brake setup, including a new rotor and the hardware you need to mount the caliper correctly.
A detail I appreciated: the rotor in the kit is thicker than the stock rotor, and the wear area is designed to match the larger pad contact patch of the moto caliper. In real riding, more rotor mass and a larger pad sweep translates to better heat management and more consistent braking.
Install Notes: The “Gotchas” Before You Start
This isn’t a slap-on pad swap. It’s a proper conversion, and the process felt more like doing real motorcycle brake work than tuning a bicycle system.
You can’t reuse the MTB brake bracket
This is the big one. The stock/mountain bike mounting standard doesn’t match moto caliper mounting. Bolt pattern and spacing are different, so plan on swapping the bracket as part of the job.
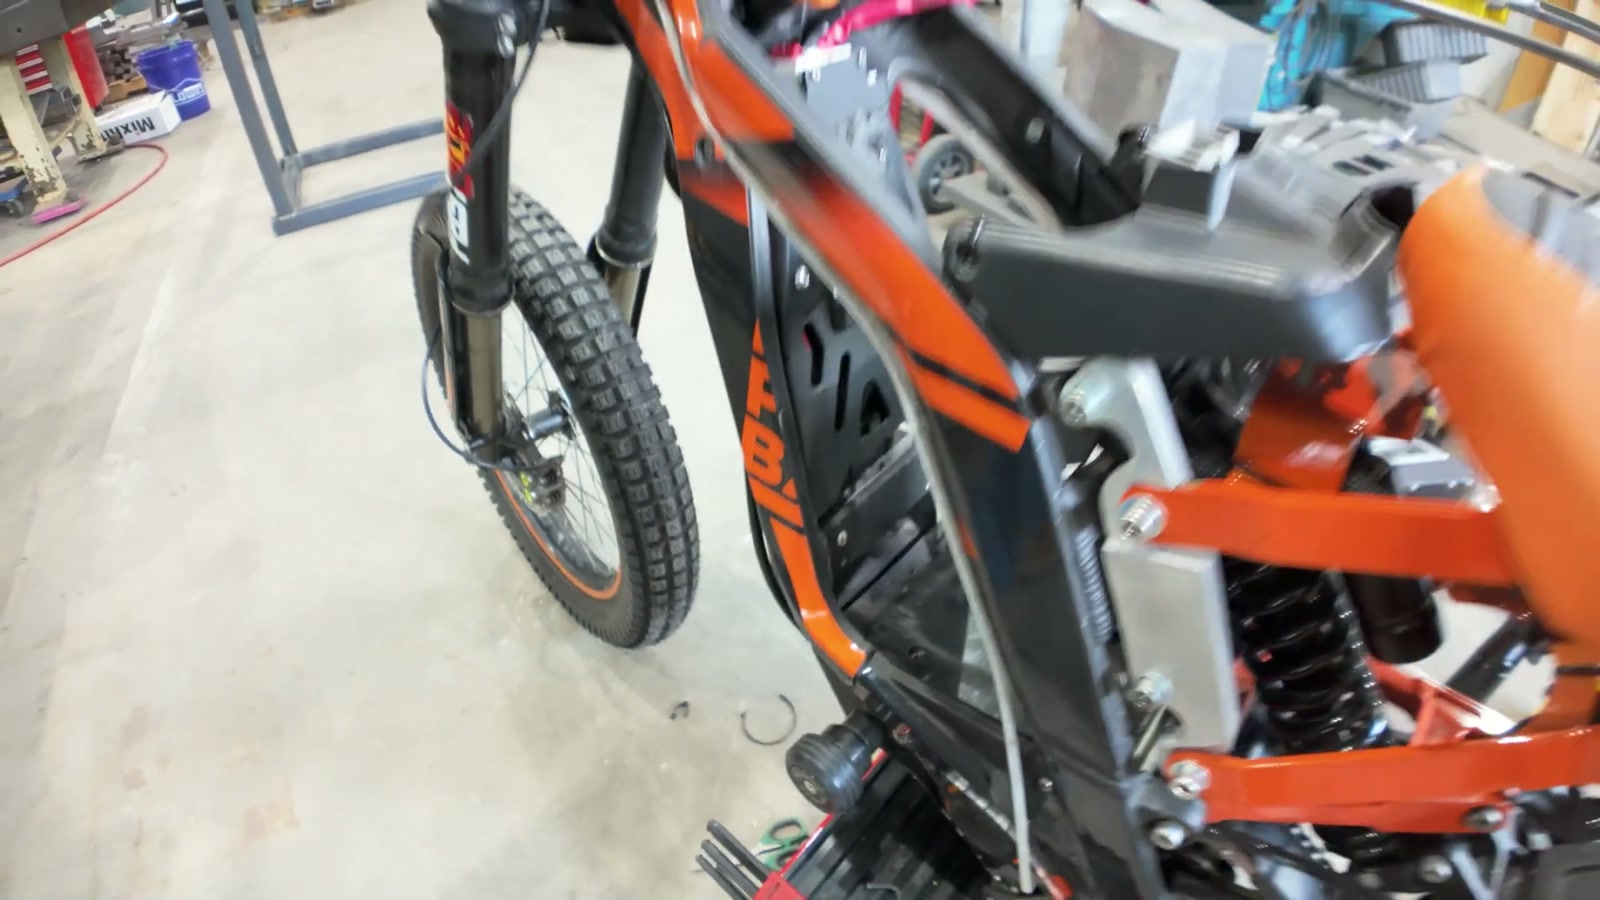
Line routing can be super clean (if you take your time)
I routed the new line through the frame so it lives tucked under the battery tray and behind the controller. The result is a cleaner look and less exposure than an “outside the frame” run.
Handlebar master cylinder tip that helped bleeding
During bleeding, I set the banjo fitting/master cylinder so the connection sat more vertically at first. That gave air bubbles a more natural path to rise up and escape. Once everything felt solid, I rotated it to the final position.
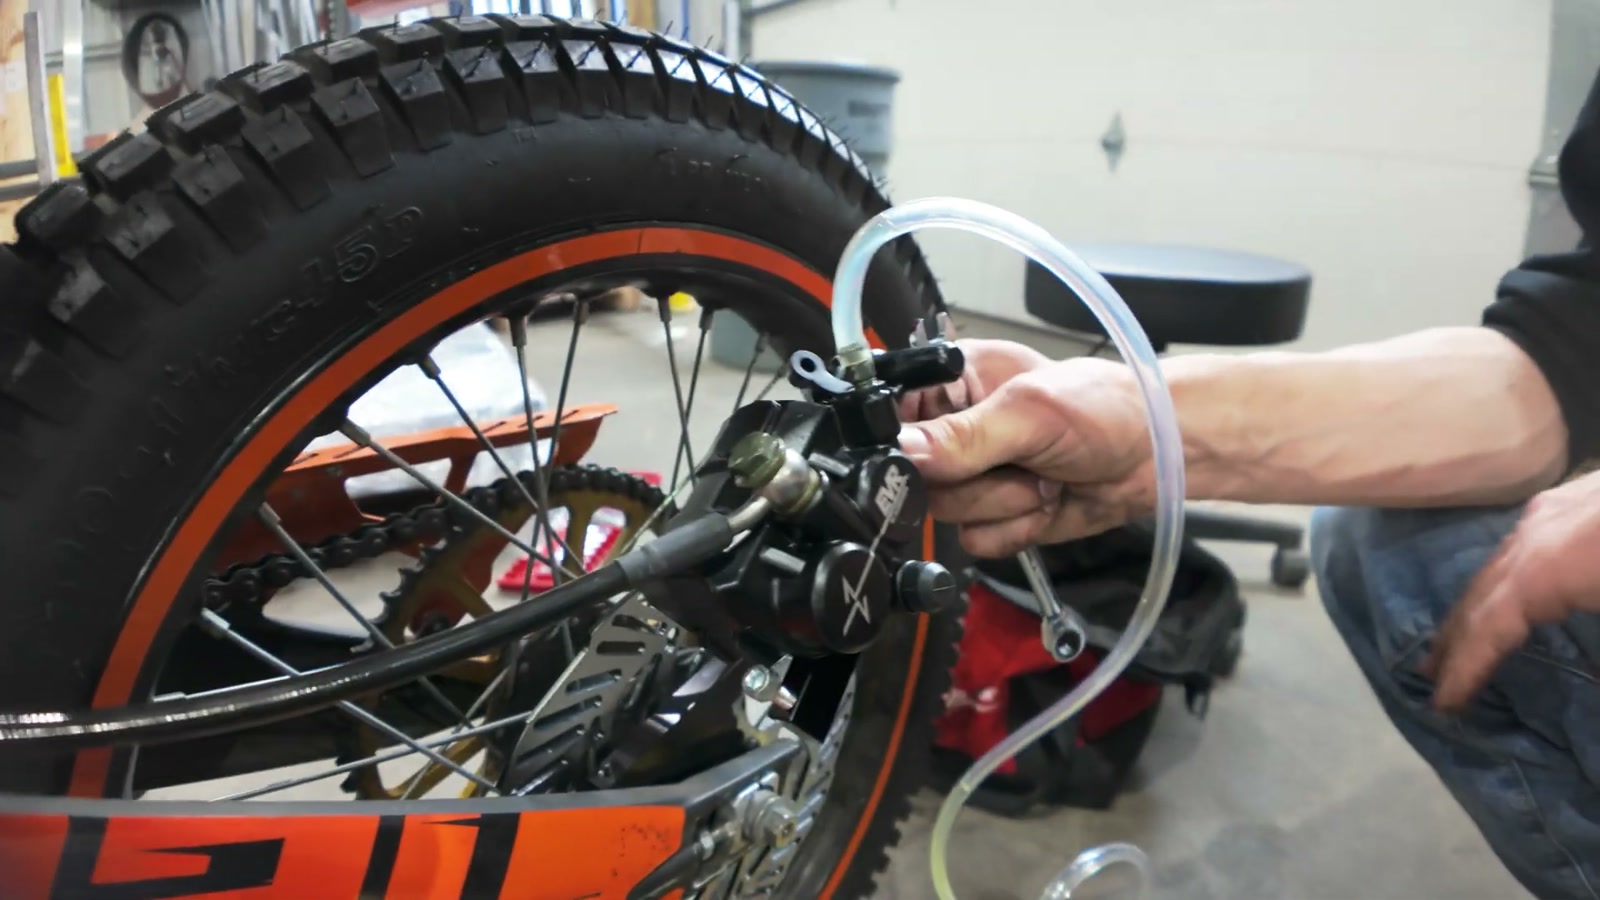
Bleeding: Plan for Patience (This Is the Real Work)
Bleeding was the longest and most important part of the whole install.
This kit uses DOT 3 / DOT 4 / DOT 5.1 brake fluid. If you’re used to quick MTB bleeds, give yourself more time here—especially if this is your first moto-style bleed.
Here’s what made the difference for me:
Gravity feed first, then chase the bubbles
I started by letting fluid work down the line while carefully keeping the reservoir topped off. The key is not letting it run low and suck air.
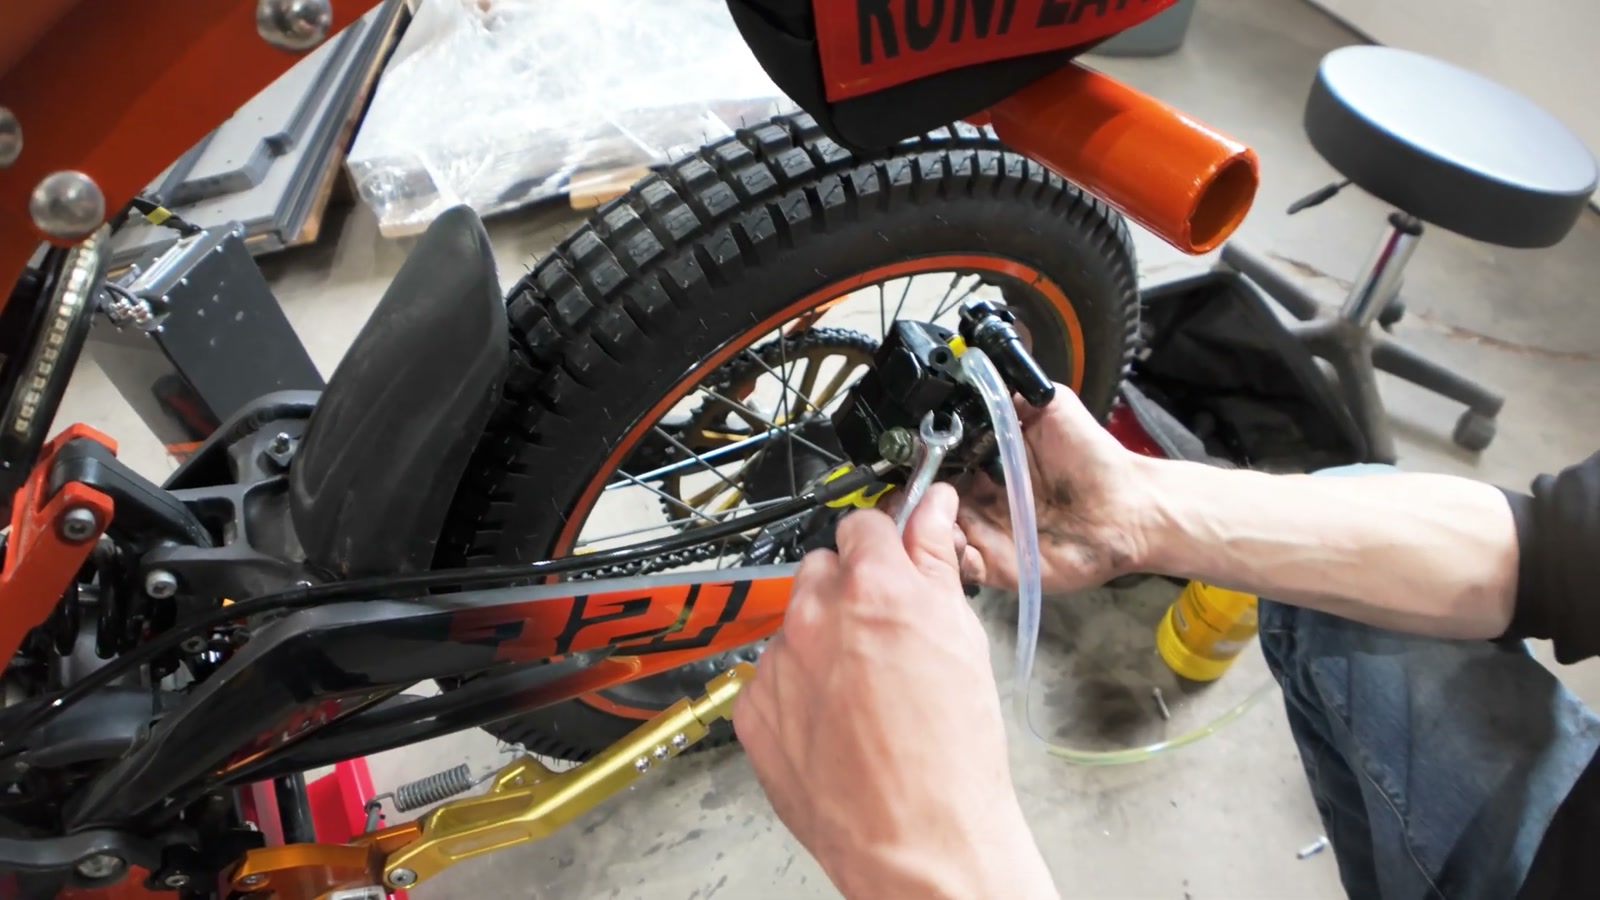
Move the caliper to move the air
Air hides in the caliper and line high points. Rotating/tilting the caliper and lightly tapping to encourage bubbles to rise helped a lot.
One trapped bubble can ruin lever feel
I hit a point where everything looked “close,” but the lever still wasn’t right. After repositioning the caliper/line to remove a high spot, a big bubble finally came out—then the brake feel snapped into place.
Cleanliness matters
DOT fluid is nasty stuff. I used isopropyl alcohol to clean everything thoroughly when I was done.
Bedding In: The Brake Didn’t Feel “Max Power” Immediately
Right after install, it would lock the rear wheel, but not as easily as I expected. That’s normal.
I bedded it in by doing controlled drag-braking to build heat, then letting it cool, repeating a few cycles. After just a short bedding session, the power and bite came alive quickly.
One thing I noticed: if I dragged too long and overheated it, the feel would temporarily soften. Backing off and letting it cool brought it right back.
Real-World Ride Impressions
This is where the upgrade made sense immediately.
Stronger braking with less effort
Once bedded in, I was able to lock the rear wheel with one finger on my heavier Surron, even on chunky tires.
More control during skids
With my old setup, a rear lockup didn’t feel predictable—more like “hang on and hope.” With the moto brake, locking up felt controlled. I could anticipate where the bike would settle and how much space I needed to stop.
The biggest change: confidence
The bike felt safer. Not in a vague way—specifically in the way I could modulate the rear brake and trust it to respond the same way stop after stop.
And honestly, it didn’t feel like overkill. It felt like what the bike should’ve had once you start adding power and weight.
Fitment Note
I ran into one clearance issue at the bars with a blinker/headlight assembly not having quite enough room. It wasn’t a deal-breaker, but it’s worth checking your cockpit space if you’ve got aftermarket lighting or a busy handlebar setup.
What We Like
Big jump in rear brake control and predictability
Noticeably safer, more confidence-inspiring stopping
One-finger rear wheel lockup is easy once bedded in
Cleaner, more “motorcycle” feel on a built-up Surron
Thicker rotor and larger pad sweep helped braking feel consistent after bedding
Things To Consider
Bleeding takes patience; don’t start this right before a ride
DOT fluid is messy and corrosive—protect your bike and clean thoroughly
You must use the correct moto brake bracket; MTB mounting isn’t compatible
Aftermarket cockpit/lighting setups may require minor fitment tweaks
Final Thoughts
After installing and dialing in the EV Raceworks Budget Rear Moto Brake Kit, my Surron finally feels like it has braking to match what the rest of the bike has become.
The biggest win isn’t just “more stopping power.” It’s control. The rear brake went from something I managed to something I could actively use with confidence—especially when scrubbing speed or setting up for a quick stop.
If you’ve added weight, power, or you’re simply tired of inconsistent MTB brake feel on a machine that’s basically a motorcycle now, this is one of those upgrades that changes the whole ride.