How I Animated a Music Video in Adobe Character Animator (Without Overcomplicating It)
April 21, 2020
Some links in this article may be affiliate links. If you buy through them, we may earn a small commission at no extra cost to you.
I love EV tech because it’s practical creativity: small tweaks that make the whole experience feel smoother, more alive, and more personal. That’s exactly the vibe I chased with this project—taking a mellow cover of “Stumbleine” (performed by the ridiculously talented Beth Sorrentino) and turning it into an animated music video that feels warm, intimate, and constantly moving… without needing crazy complex character animation.
This is the workflow I used—hands-on, real-world, and focused on what actually made the finished piece feel good.
The Goal: Keep It Simple, Keep It Moving
The song is mellow. It doesn’t need chaotic arm-flailing or nonstop scene changes. The challenge was making the visuals feel continuous and intentional even though the character performance is mostly “standing and singing.”
So my solution was:
Let the character do what Character Animator does best: believable face, head, and subtle body performance.
Let the world around her do the heavy lifting: background movement, texture, atmosphere, and camera energy.
Keep everything cohesive with finishing passes and color.
Audio Prep: My Trick for Better Lip Sync
Beth sent me a single mixed audio take (recorded simply—like an iPhone/GarageBand kind of setup). The big issue: the vocals weren’t separated from the instrumental.
For Character Animator lip sync, clean vocals help a lot. So I recorded my own guide vocal underneath her lyrics. I wasn’t trying to make it sound good—I just needed a clean vocal reference to drive mouth shapes more accurately.
That one step made the lip sync process way less frustrating.
Character Animator: Stock Puppet, Minimal Changes, Maximum Payoff
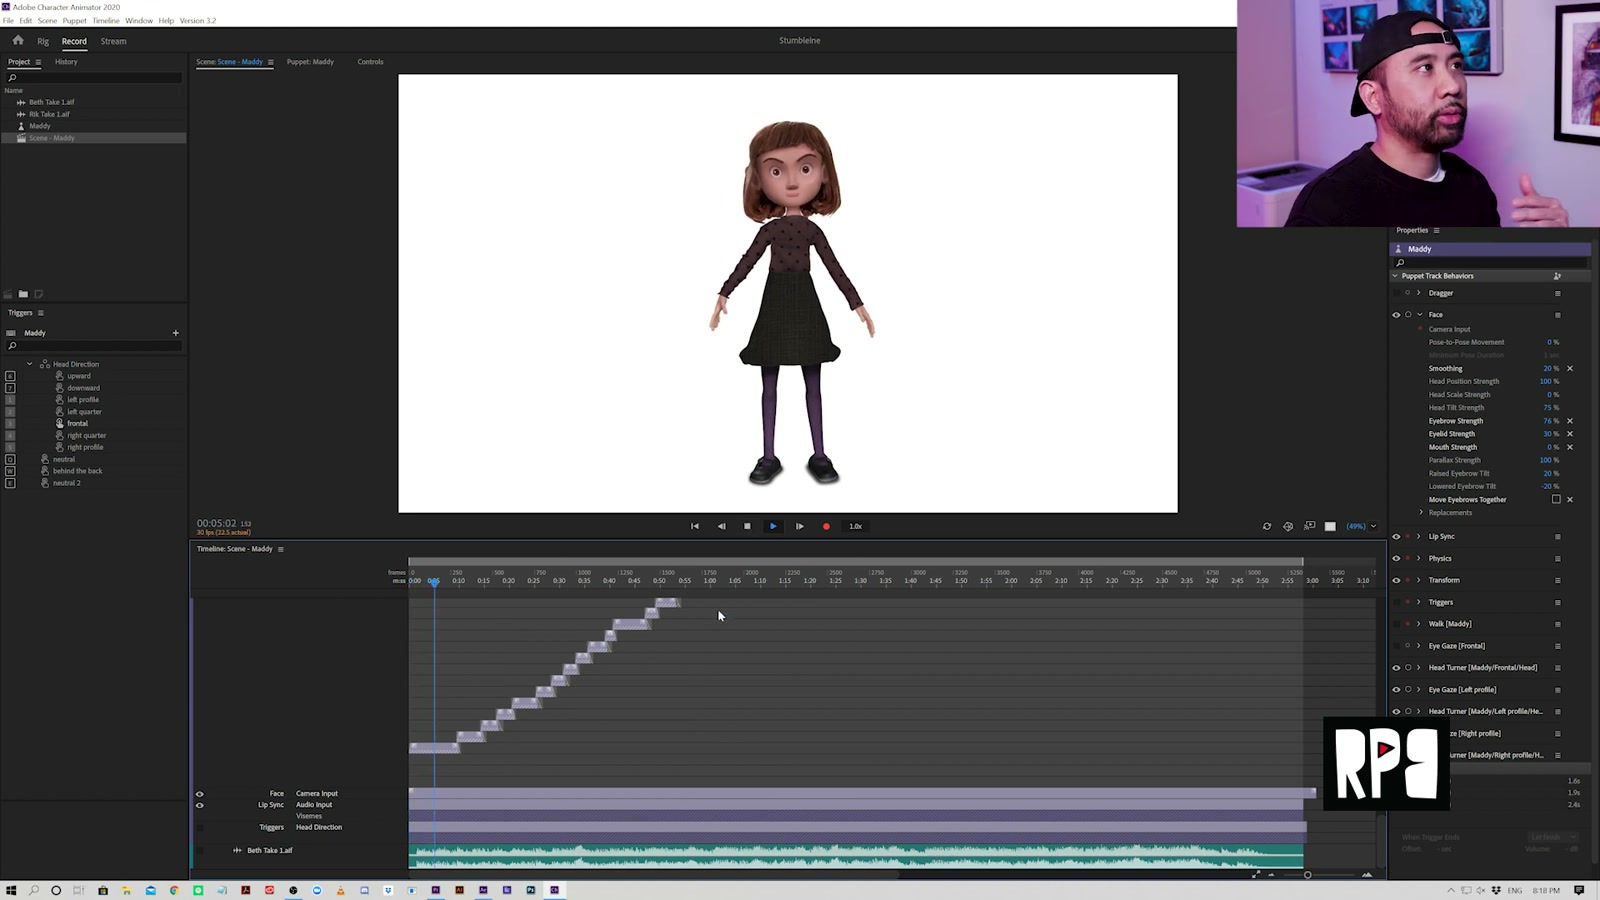
I used the stock puppet called Maddie inside Adobe Character Animator.
I didn’t go wild with customization—just small aesthetic changes (fabric/texture on the skirt, removed a necklace). The point was to spend time on performance and vibe, not get stuck designing.
Fast Lip Sync with “Compute Take from Scene Audio”
Once the audio was in, the core move was:
Select the puppet
Select the audio
Run compute take from scene audio
Character Animator generates mouth shapes based on the audio. It’s surprisingly solid out of the box, and when it’s slightly off, you can zoom into the timeline and tweak syllables/mouth movements.
If I wanted to stretch a sound or make a syllable hang longer, I adjusted it right there.
Face Performance: Become the Puppet
For the face, I used the camera input and performed along with the music—swaying, reacting, and leaning into the rhythm.
This is the part that feels most like riding: you can’t fake it. If you’re stiff, the character looks stiff. When I relaxed and performed like it was puppetry, everything felt more natural.
Triggers + Draggables: Subtle Hands, Not a Circus
Next I built simple hand/arm variations using triggers and draggables:
Neutral
Behind the back
Another neutral variation
Because the song is mellow, the hands didn’t need huge gestures. The subtle shifts were enough to keep the frame from feeling frozen.
I also played with easing and offsets so both arms weren’t moving in perfect sync. That tiny imperfection makes the motion feel way more human.
Why I Liked the Lower Frame Rate Feel
Something I genuinely liked was the slightly lower frame rate vibe. It gave the character a stop-motion-ish, “between 2D and 3D” feel—almost like that stylized animation you see in music visuals that aren’t trying to be Disney-smooth.
It just fit the tone.
Exports: Wide, Medium, and Close (So I Could Edit Like Live Action)
I exported multiple angles:
A wider shot
A medium shot
An extreme close-up
The close-up got a little pixelated because the puppet source was Photoshop-based, but I wasn’t worried—I already knew I’d be layering effects on top in After Effects that would help disguise it.
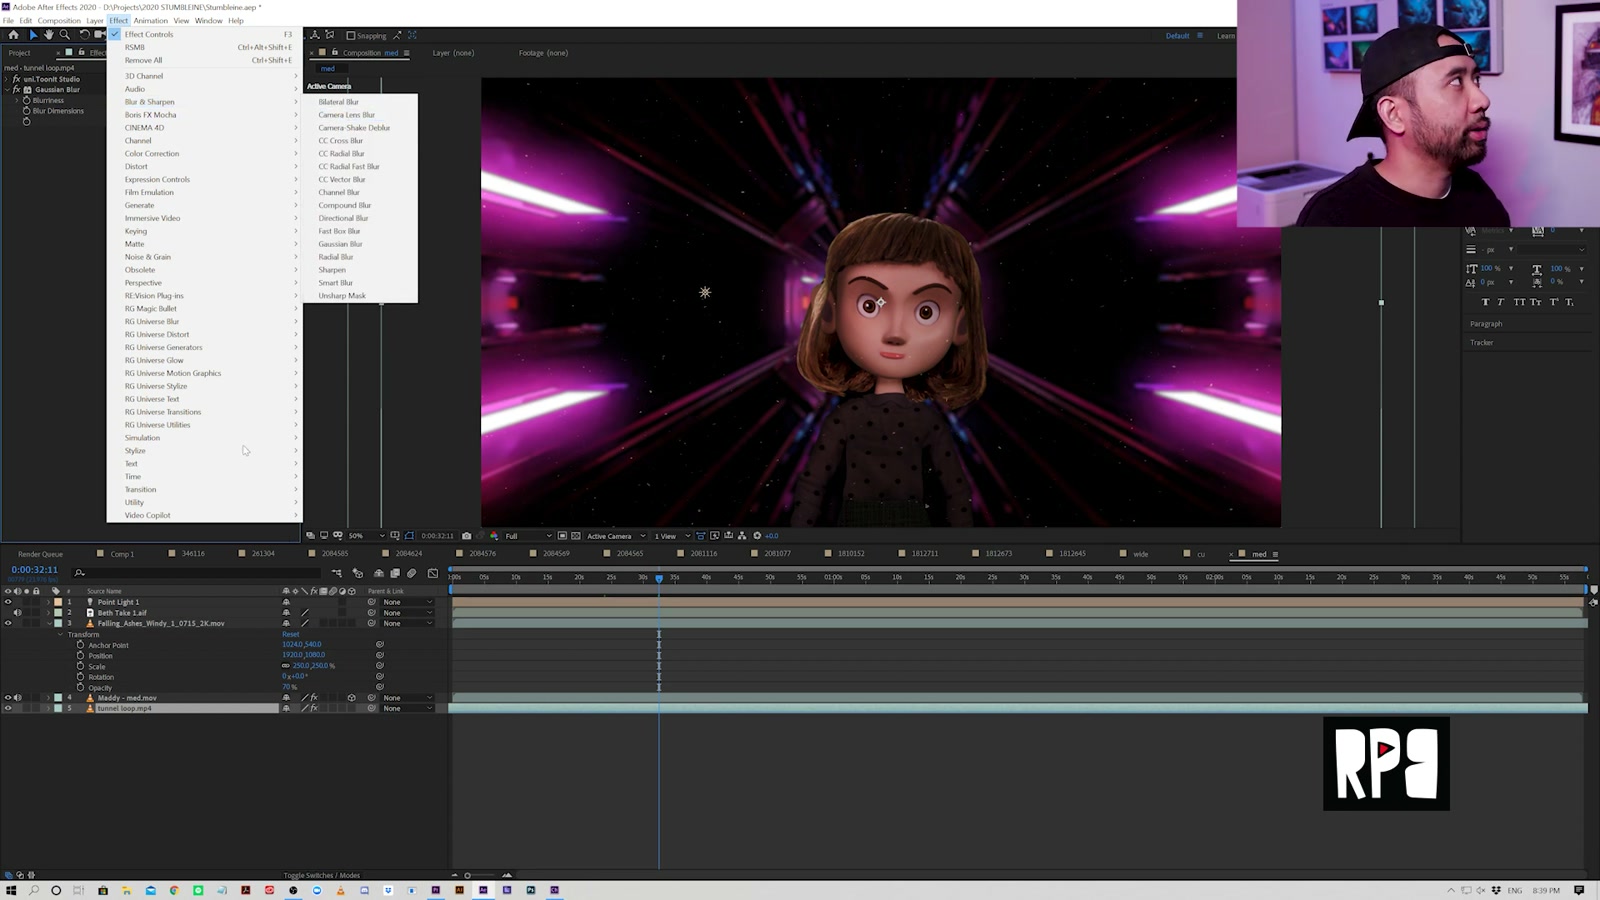
After Effects: The World Does the Heavy Lifting
After Effects is where the project started feeling like a music video instead of “a puppet singing.”
Tunnel Background + Movement Through Space
I built a looping tunnel background to create the illusion of traveling through space. That background motion instantly gave energy without forcing the character animation to do everything.
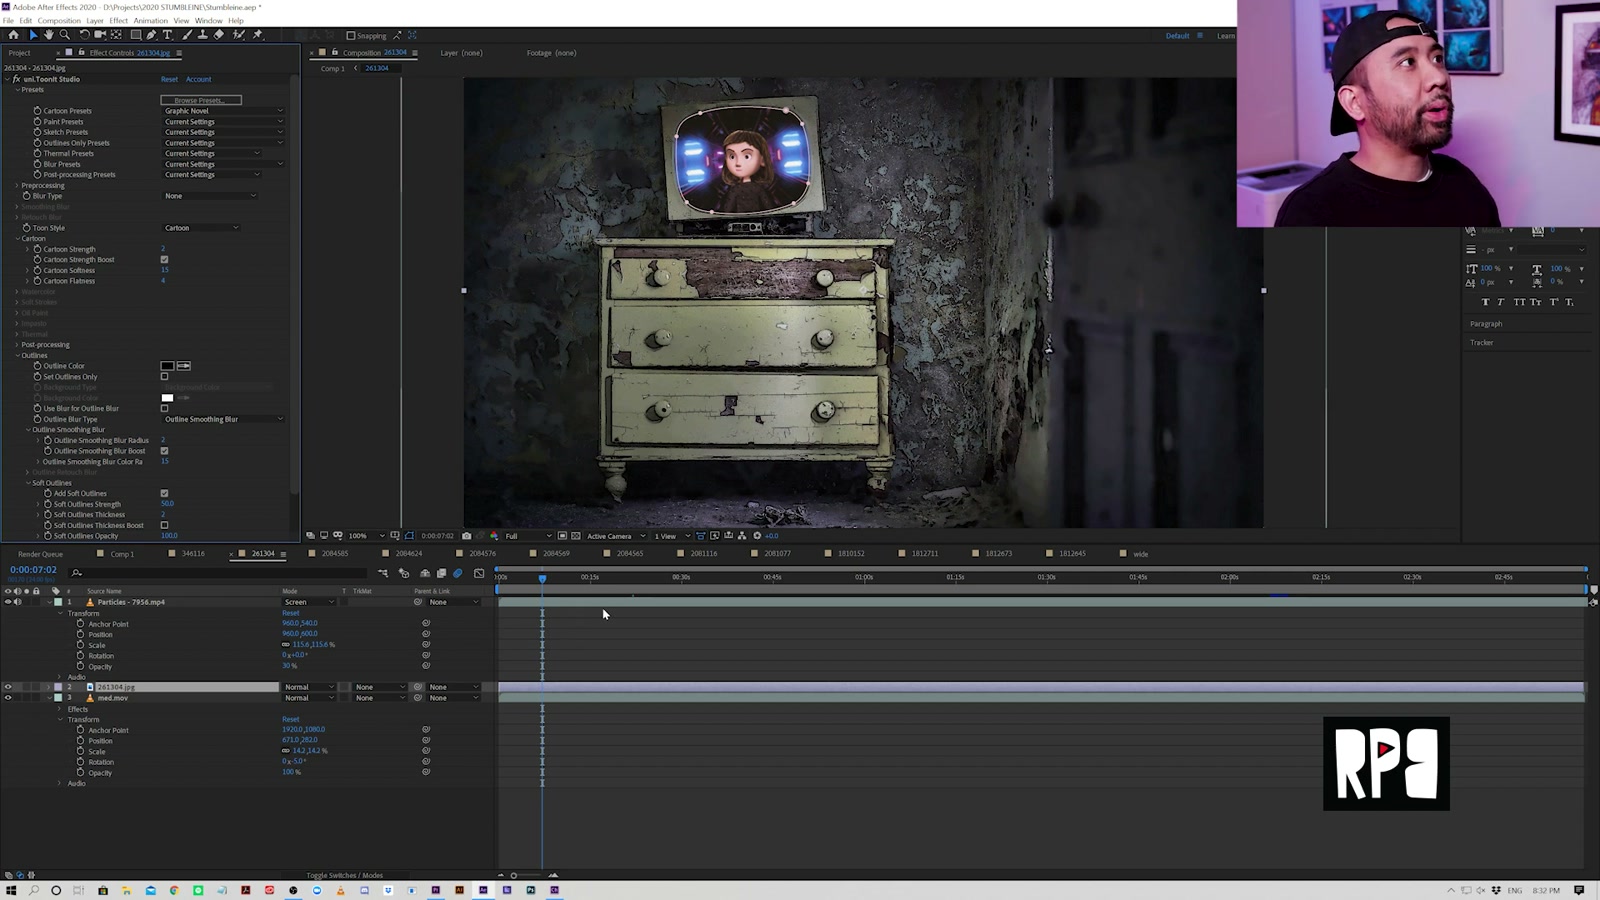
Stylized Edges for a Cartoon/Graphic Look
I used Red Giant ToonIt! (Studio) on backgrounds to create a more illustrated, graphic-novel feel—dark edges, harder outlines, and a look that sits nicely next to the stylized character.
That contrast was the whole point: the character lives between 2D and 3D, so I made the backgrounds live there too.
Blur Choices: Fast and Practical
For some shots, I added background blur using a simple Gaussian blur.
Camera Lens Blur can look nicer, but it’s slow to render. Gaussian gave me the “separation” I wanted without turning the render into an all-day affair.
Atmosphere: Dust/Ash in the Foreground
To keep frames from feeling static, I layered subtle particles (dust/ash) drifting in the foreground.
This is one of those “EV efficiency” moves: it’s not flashy, but it adds depth for almost no effort. A tiny bit goes a long way.
Motion Blur That Actually Looks Good
I also used RE:Vision’s RSMB (Real Smart Motion Blur) on the character.
It’s subtle, but it adds a convincing blur to hair/face movement that helps sell the idea that there’s a real camera watching a performance.
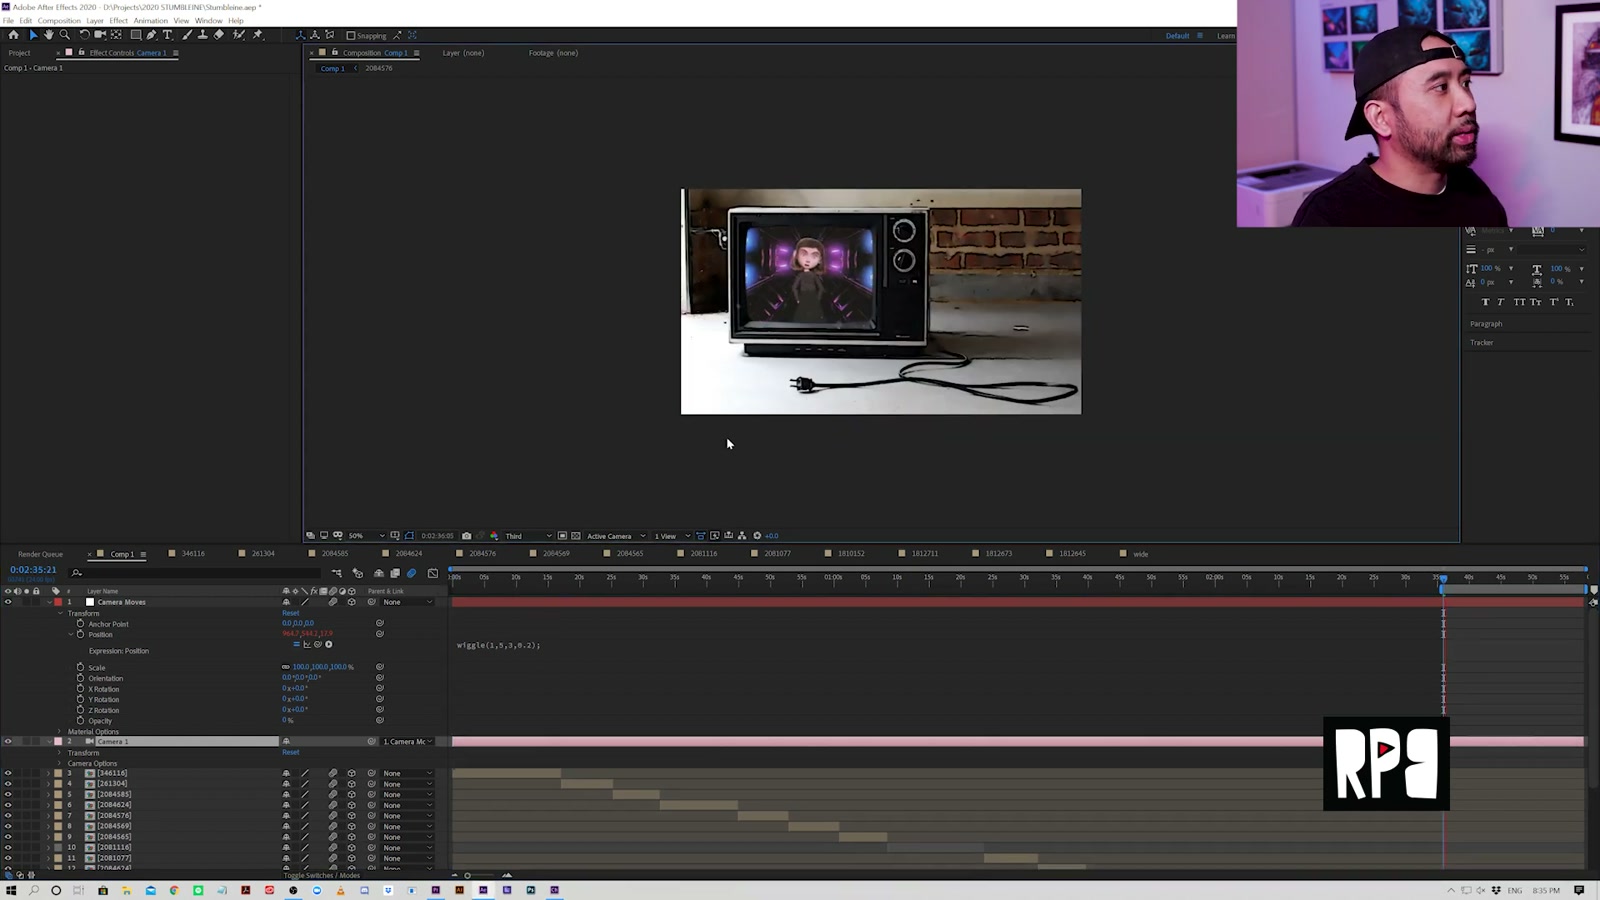
The Concept: Vintage TVs as Story Frames
Instead of trying to build complex character-driven scenes, I framed the performance inside vintage TV sets.
The backgrounds became characters of their own—each one suggesting a different mood or story world that matched the lyrics.
This let me keep the animation simple while still giving the viewer a sense that my test is progressing and evolving.
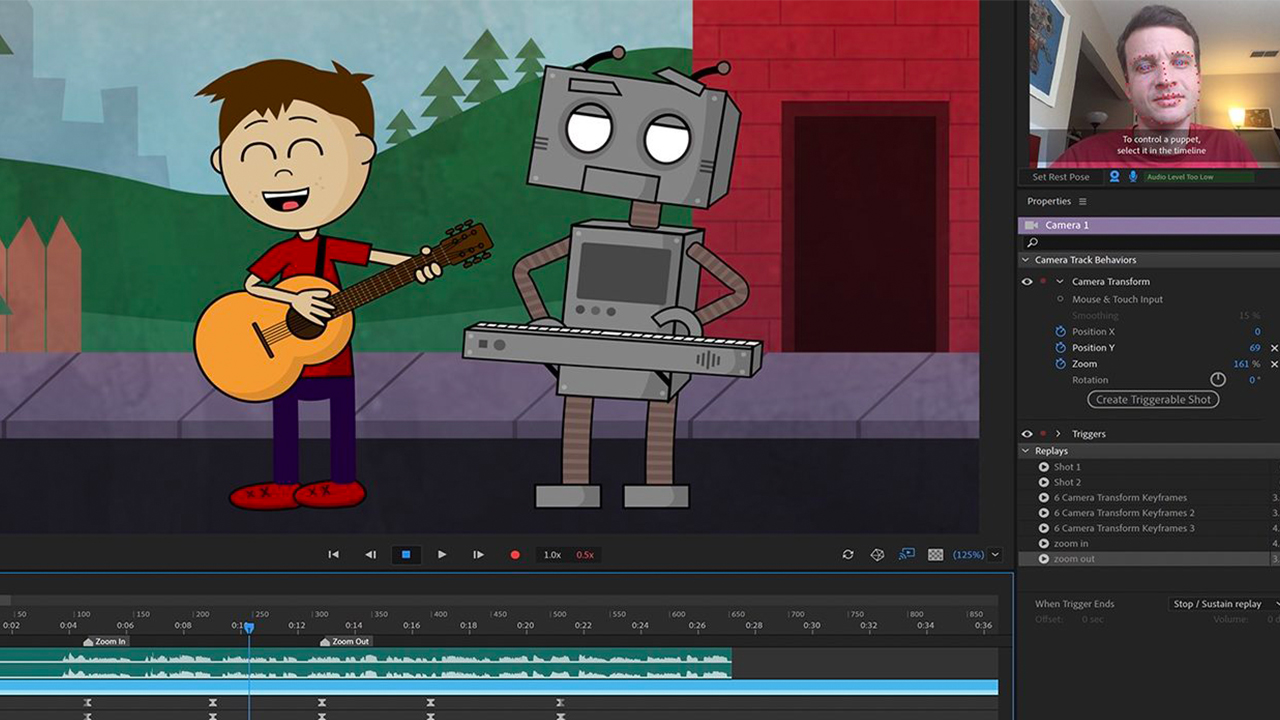
Handheld Energy: Wiggle + 3D Camera
To avoid “perfect digital stillness,” I created a 3D camera, parented it to a null, and used a wiggle expression to get a handheld look.
That little unpredictability made everything feel more alive—like someone is actually in the room filming these TV worlds.
Premiere: Final Touches and Making It All Match
I did the final assembly and polish in Adobe Premiere.
One Look to Unite Everything
Because the backgrounds were all different, I wanted a unifying finish. I used Red Giant Mojo for a more cinematic color vibe—contrast shaping, subtle vignette, tint/punch, a bit of fade/bleach.
It’s not everyone’s taste, but for this project it helped everything feel like one cohesive piece.
Final Story Beat: Bringing the Character Into the Scene
At the end, I liked the idea of pulling the character out of the TV framing and placing her into the scene for a final moment.
That meant extra color correction to make her feel like she belonged in that environment (especially against a black-and-white background), but it was worth it—the ending felt like a resolution instead of just “cut to credits.”
What We Like
Character Animator gets you to “watchable performance” fast with compute lip sync + camera face tracking
Simple triggers/draggables can carry an entire song when the tone is mellow
Multiple exported angles make the edit feel like a real music video, not a static animation
Subtle atmosphere layers (dust/ash) add depth without distracting from the music
Handheld-style camera motion makes everything feel less sterile
RSMB adds a convincing layer of motion realism with minimal fuss
Things To Consider
If your audio is a single mixed track, lip sync may suffer; a clean vocal guide track can help a lot
Extreme close-ups can reveal puppet/source limitations (especially with Photoshop-based puppets)
Stylization plugins are powerful, but it’s easy to overdo it—simple often serves intimate songs better
Some effects look amazing but render slowly; choosing “fast enough” tools keeps you finishing projects
Final Thoughts
This workflow hit the sweet spot for me: it stayed creative without turning into a technical marathon. Character Animator handled the performance, After Effects created the world and momentum, and Premiere pulled it all together into something cohesive.
If you’re trying to animate a music video and you don’t want to get stuck building elaborate rigs or animating every frame, this approach is a great lane: let performance and mood do the work, then use camera movement, texture, and color to make it feel like a living piece.