
Garmata Frameset + MX2 Moto Seat: First Impressions for My DIY Enduro Ebike Build
June 5, 2025
Some links in this article may be affiliate links. If you buy through them, we may earn a small commission at no extra cost to you.
I’ve wanted to do a proper DIY enduro-style ebike build for a while—the kind of project where you choose every component on purpose, solve little fitment puzzles along the way, and end up with something that feels tailored to your riding.
Read more: Enduroebike Garmata Frameset + MX2 Moto Seat and Bell Super 3R MIPS Bike Helmet
Read more: Enduroebike Garmata Frameset + MX2 Moto Seat and Bell Super 3R MIPS Bike Helmet

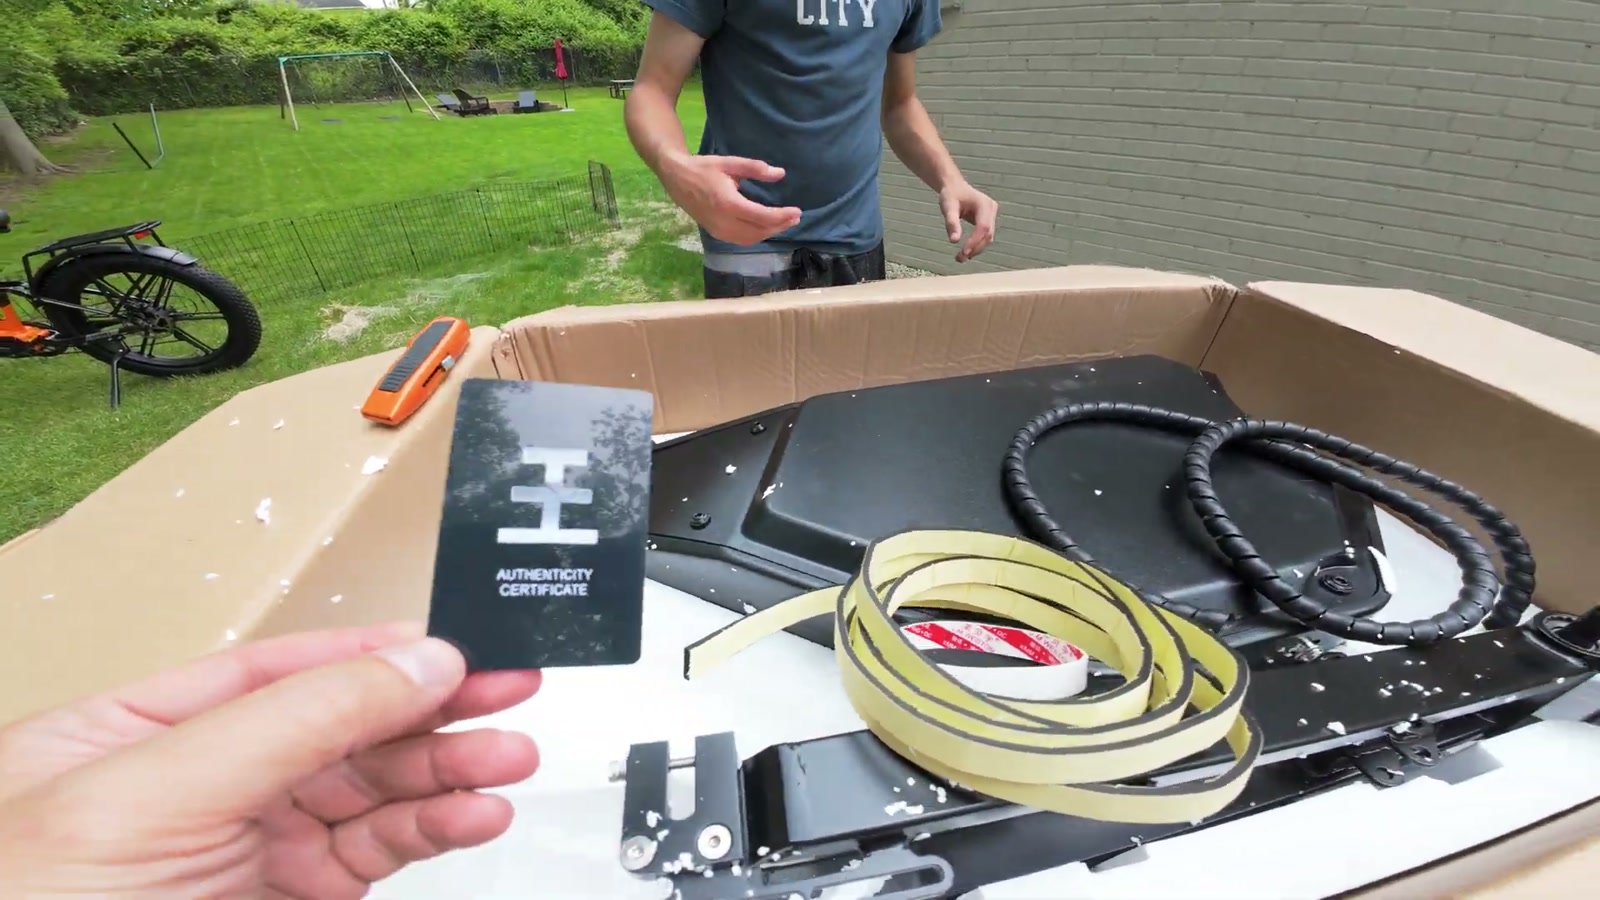
This build starts with two big pieces: the Enduroebike Garmata frameset and the MX2 moto seat. I spent time going over the parts in person, checking the fit and finish, and thinking through what the ownership experience is going to feel like once the rest of the build comes together.
Why I Started With the Garmata Frameset
For a DIY build, the frame is the foundation. If the frame feels sketchy, everything downstream becomes a compromise—alignment, durability, noise, cable routing, service access, and even how confident you feel charging hard.
The Garmata frameset immediately felt like it was built with the right priorities: it’s meant to be a purpose-built platform for an enduro ebike project, not a “make it work” conversion. Even before a wheel ever turns, you can tell when a frame is designed for real use versus just looking the part.
What I paid attention to first:
Overall fit and finish: clean surfaces, consistent paint/coating, and the kind of small details that usually predict how the build will go.
The way the parts are packaged and presented: it sounds minor, but careful packaging often correlates with a company that’s thinking about the customer experience.
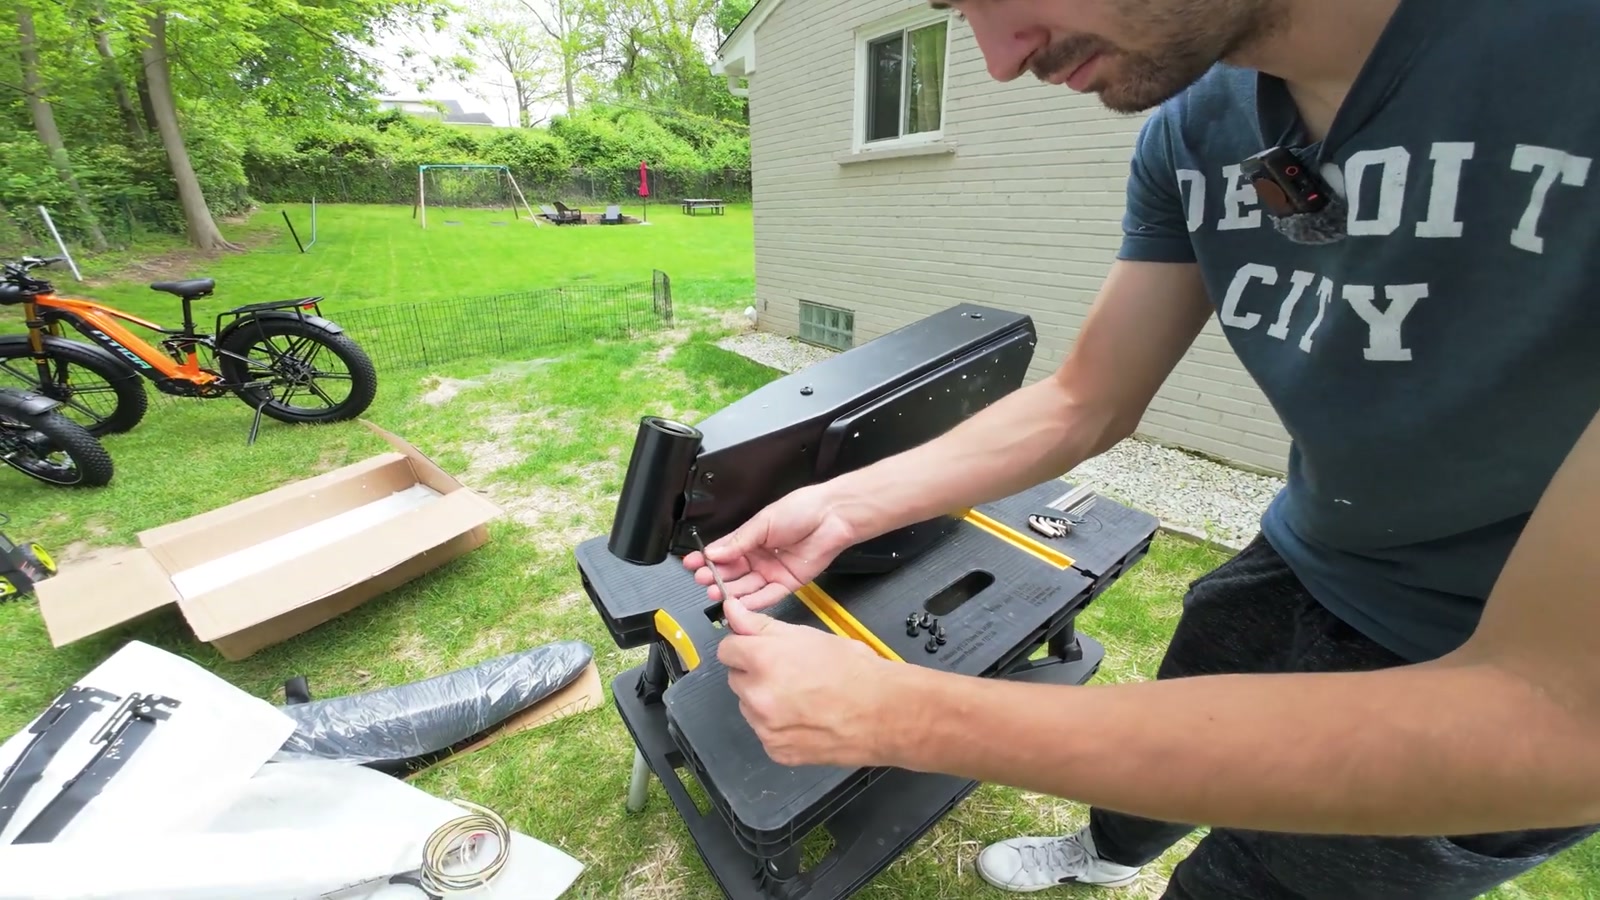
The layout and practicality: I’m always thinking about where wiring is going to live, how service access will be, and whether the frame feels like it’ll be quiet and solid once everything is tightened down.
This is the beginning of the build, so I’m not calling it a full ride review yet—but as a starting point, it gives me the confidence that I’m not building on a shaky base.
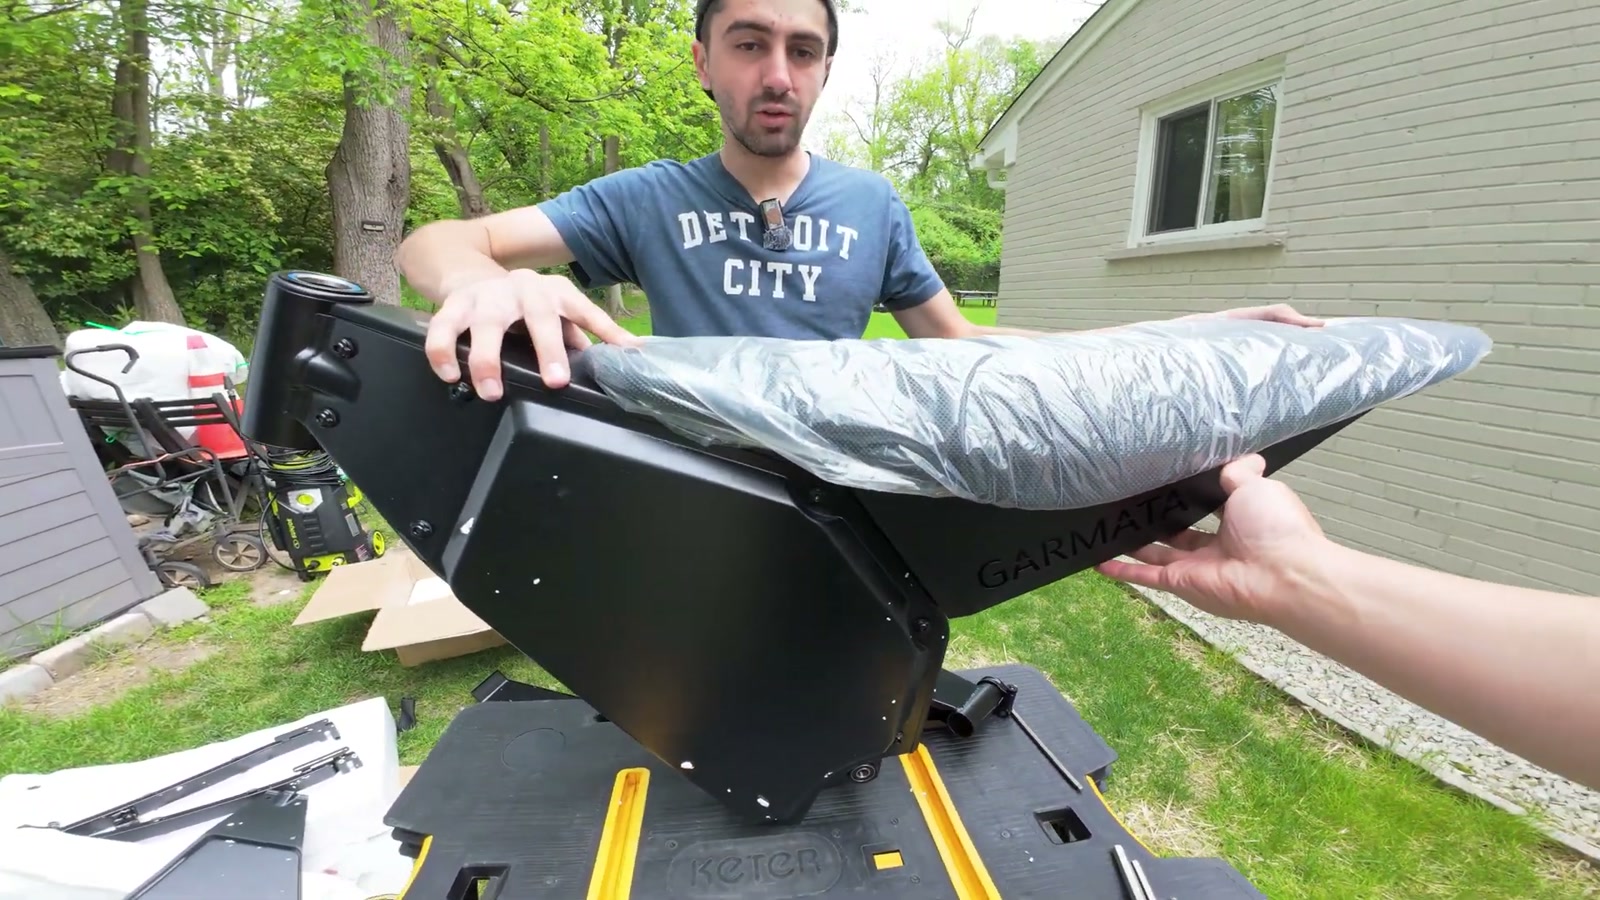
MX2 Moto Seat: Comfort and Control Comes First
The other “anchor” part here is the MX2 moto seat. On an enduro ebike, contact points matter. If the seat doesn’t work for your body and your riding style, the rest of the bike can be perfect and you’ll still end rides annoyed.
My first impression is that this seat is aiming for that moto-inspired vibe where you can move around, get leverage when you need it, and still have something supportive when you’re seated for longer stretches.
What I look for in a seat like this:
Shape and firmness: I want support without feeling like I’m perched on a brick.
How it guides movement: a good moto-style seat should make it easy to shift forward/back depending on terrain.
Build quality: stitching, cover fitment, and how “finished” it feels in-hand.
Even without a full ride session, the MX2 seat feels like the kind of piece that changes the character of the bike—more planted, more “mini moto” in a good way.
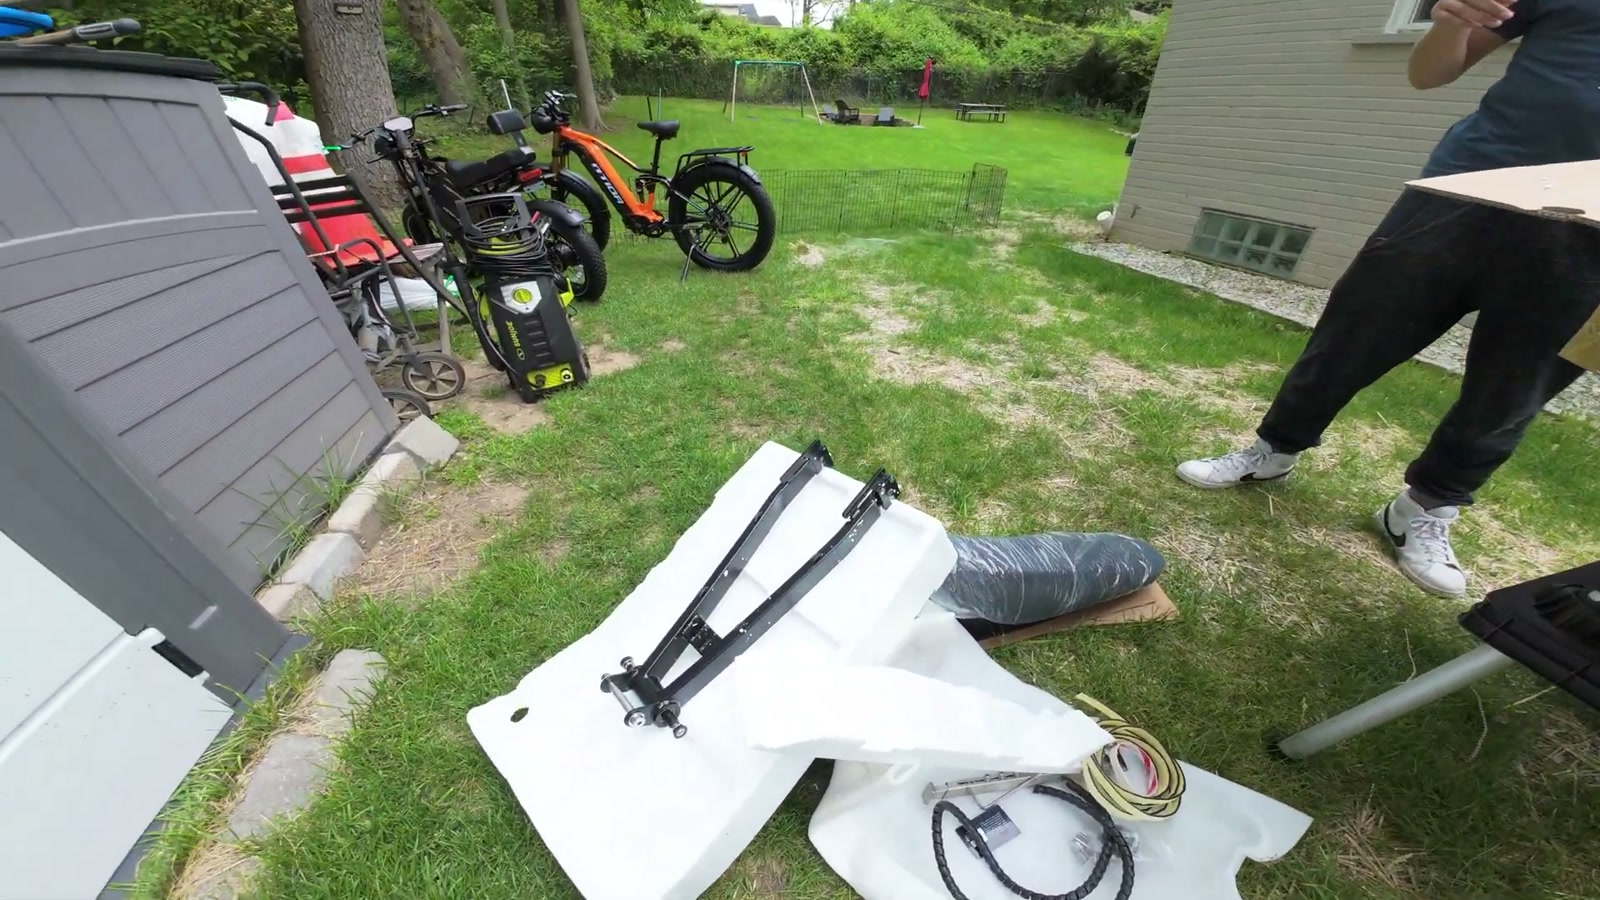
The DIY Build Reality Check
A frameset build is exciting, but it’s not plug-and-play. The real decision isn’t just “Do I like this frame?”—it’s “Do I want to commit to the whole process?”
A few things I always remind myself before I go too far:
DIY builds take time. You will pause to measure, re-measure, and wait for parts.
Fitment details matter. Small mismatches can become big headaches.
Your final result is only as good as your planning. A clean, quiet, reliable build is mostly won on the workbench.
That said, starting with a dedicated enduro ebike frameset and a purpose-fit seat makes the project feel less like improvisation and more like assembling a system.
What We Like
Purpose-built starting point for a DIY enduro ebike project
Frame gives a strong first impression on fit/finish and overall “platform” confidence
MX2 moto seat looks and feels like it’ll support an active, aggressive riding style
The combination sets the tone for a more moto-inspired ebike build (in a practical way, not just aesthetics)
Things To Consider
This is a commitment: a frameset build means you’re signing up for the sourcing, planning, and troubleshooting that comes with it
Real-world performance will ultimately depend on the rest of the parts you choose and how carefully you assemble everything
If you’re expecting turnkey simplicity, a complete bike may suit you better than a frameset project
Final Thoughts
As a starting point for a DIY enduro ebike build, the Garmata frameset and MX2 moto seat feel like the right kind of foundation: intentional, purpose-driven, and aimed at riders who actually want to build something specific.
For me, the big win is confidence—confidence that the frame is a solid base to build on, and that the seat is going to support the riding style this bike is clearly meant for. Now the fun part begins: selecting the rest of the components and turning this pile of parts into something I can ride hard and trust.