
Heating My Solar Shed Workshop With a Vevor 5kW Diesel Heater (So I Can Keep Working on E-Bikes All Winter)
November 22, 2024
Some links in this article may be affiliate links. If you buy through them, we may earn a small commission at no extra cost to you.
If you’re wondering what a diesel heater has to do with e-bikes, here’s the real answer: Michigan winters.
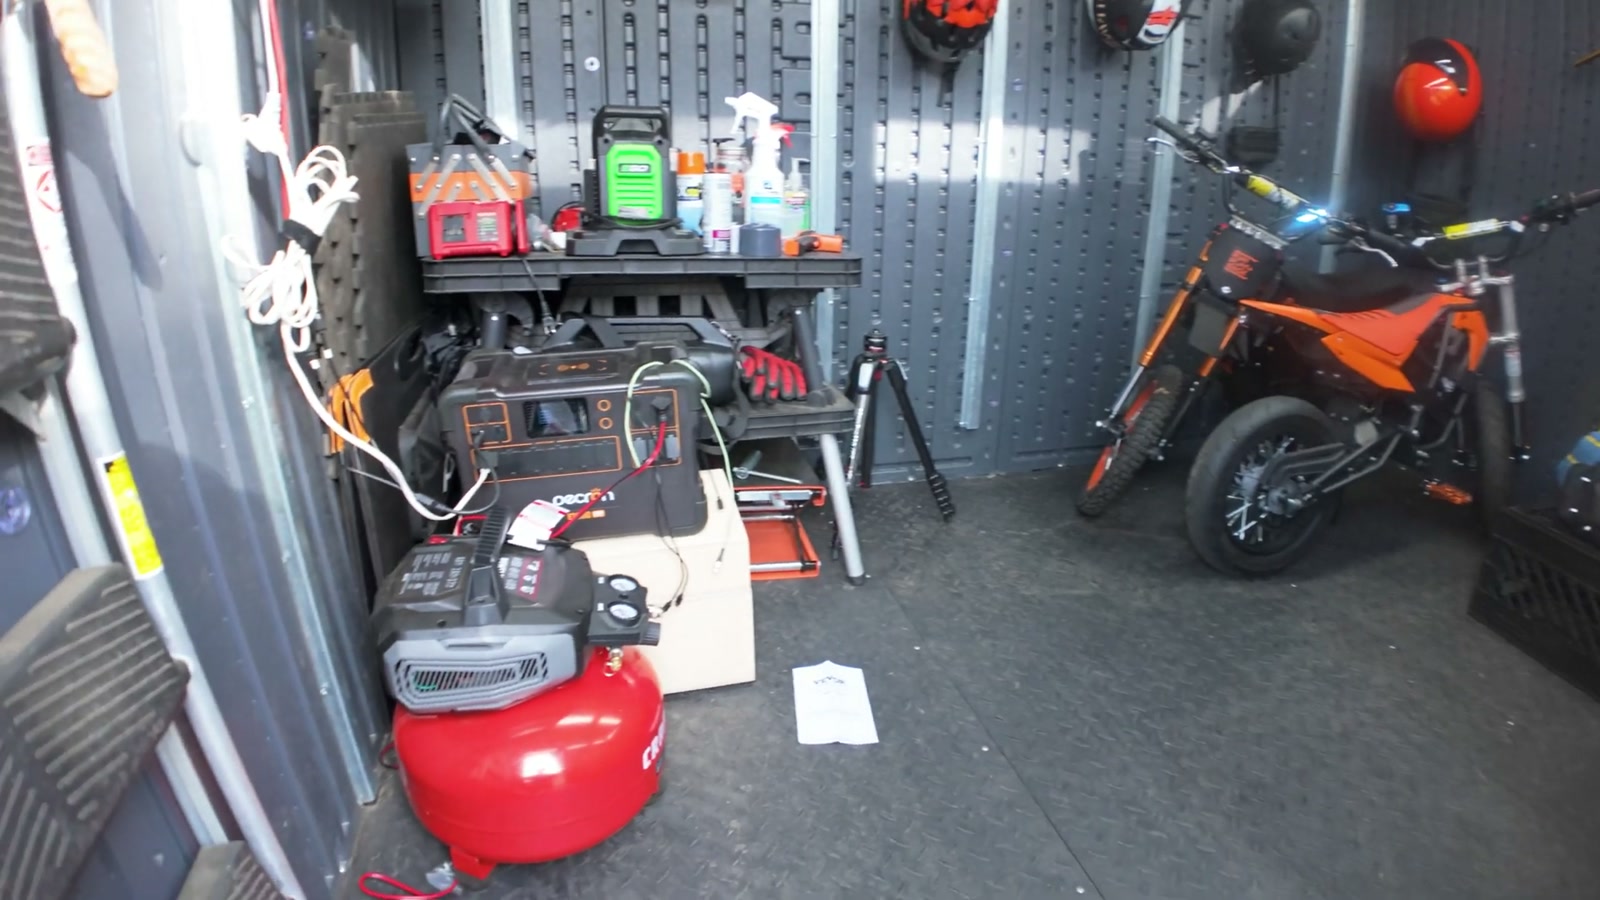
My workshop is a small Suncast resin shed where I wrench on e-bikes, charge batteries, and film reviews. When temps drop, it becomes impossible to comfortably work out there—especially if I’m trying to keep everything running off solar and a power station.
I started with a typical 1500W portable electric space heater. It does heat a small space fast, but it absolutely hammers a power station. For a full workday in the shed, that approach just wasn’t realistic.
So I switched gears and set up a Vevor 5kW diesel heater to see if I could get real heat with minimal electrical draw. After installing it, tweaking the ducting, and running it through a proper cold-weather test, I’ve got a solid feel for what this heater does well—and what you’ll want to plan for.
Why I Went Diesel Instead of Electric
The main win with a diesel heater in a solar-powered setup is that the heat comes from fuel, not electricity. The power station is mostly just running the fan, control system, and fuel pump.
In practice, that meant I could heat the shed while preserving my stored energy for the things that actually need it: charging e-bike batteries, running tools, and keeping the lights on.
My Shed Setup (and Why the Heater Lives Outside)
This shed is small (about 70 sq ft) and it’s resin—durable, but not insulated, and it’s not something I want to drill into like a traditional framed workshop.
I mounted the heater outside for a few reasons:
Space matters. Inside the shed, every inch counts.
Noise matters. The fuel pump ticking is noticeable.
Smell and mess matter. Diesel handling is cleaner and safer for me if it’s outdoors.
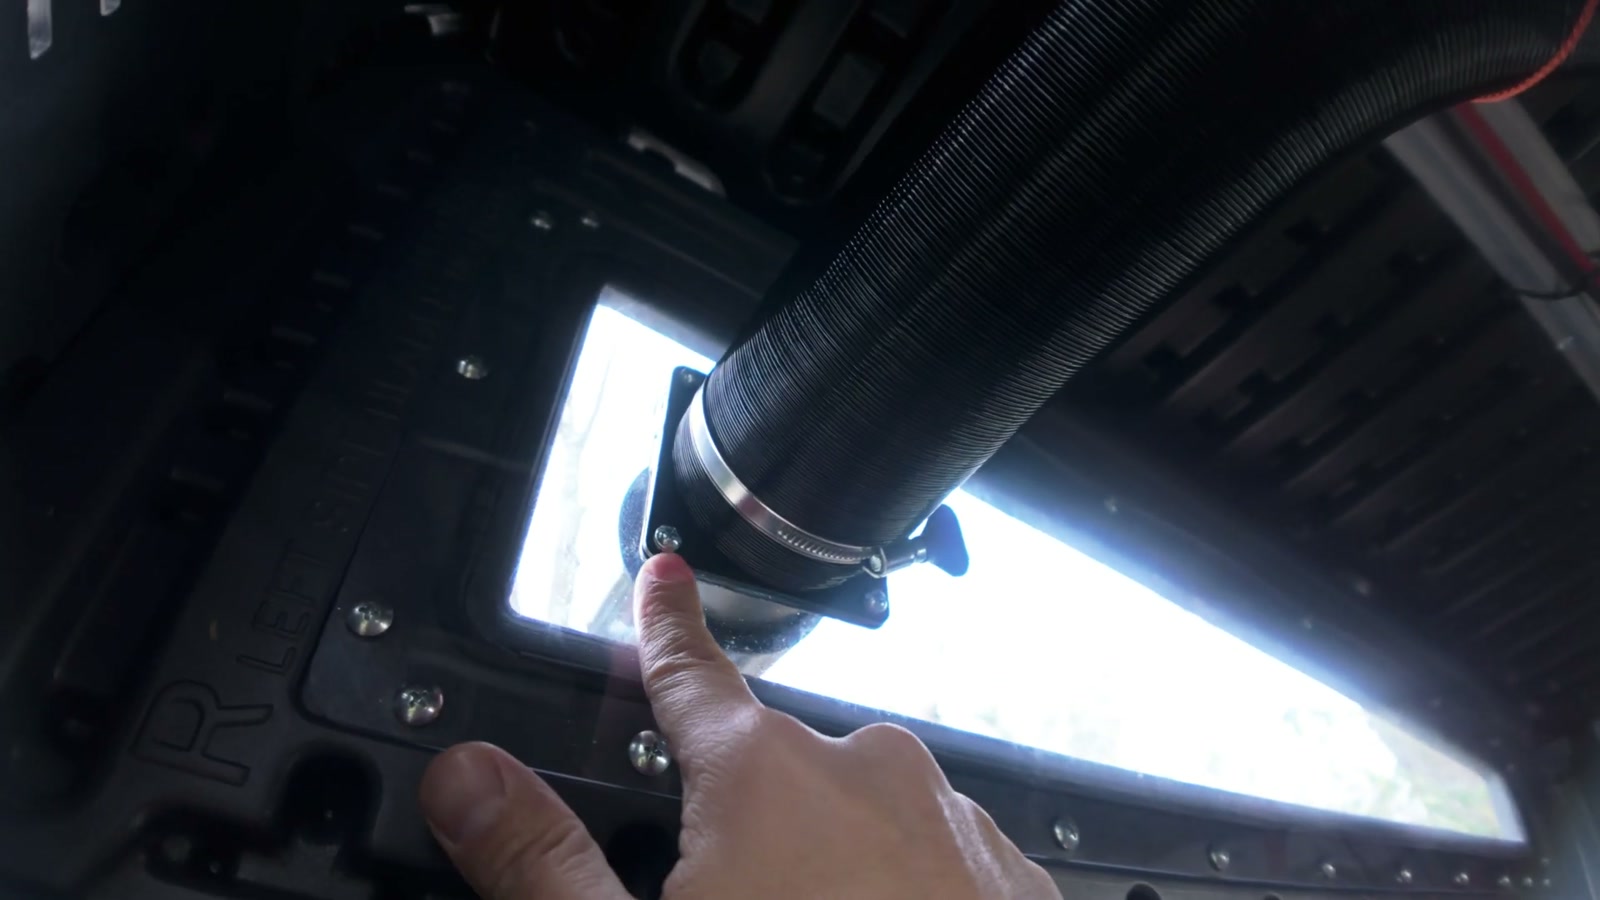
I routed the hot air into the shed through a window insert setup rather than blowing heat into the hollow resin wall panels.
To keep things tidy, I used a cable hatch/port for running power into the shed, and separate duct flanges for the heater air.
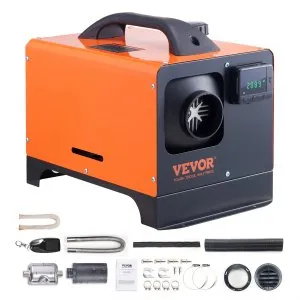
What Comes With the Vevor Heater (The Useful Stuff)
The unit I used is the self-contained, horizontal-style heater with an internal fuel tank.
In the box I got the basics needed to get running:
Intake filter and intake pipe
Exhaust pipe
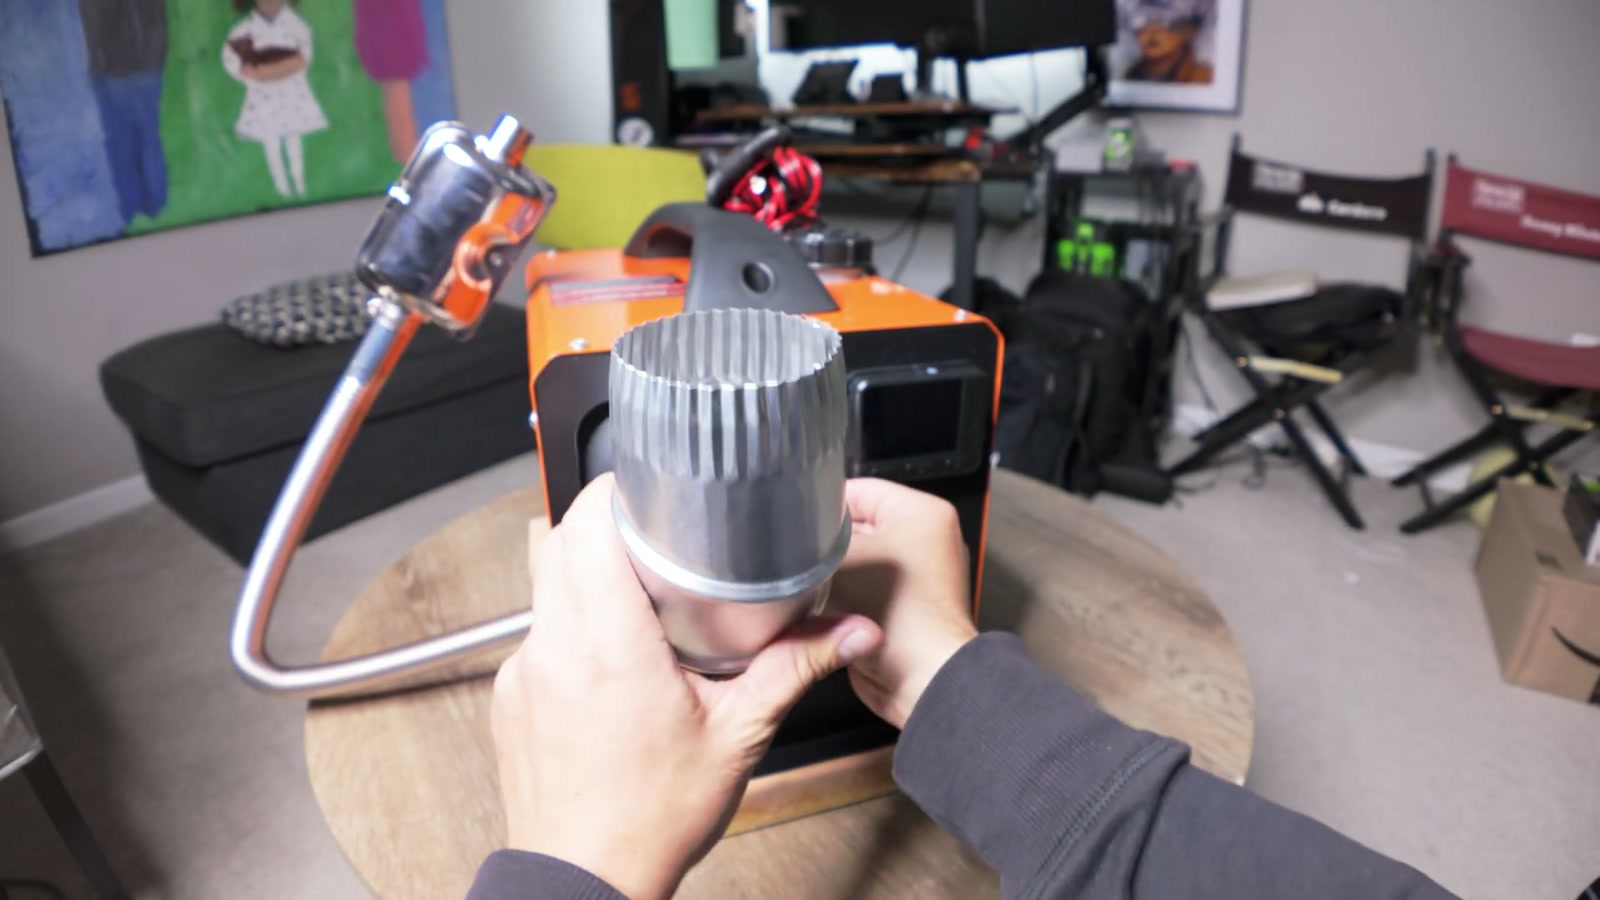
Hot air outlet and 3-inch heating duct
Clamps
LCD display
Remote control
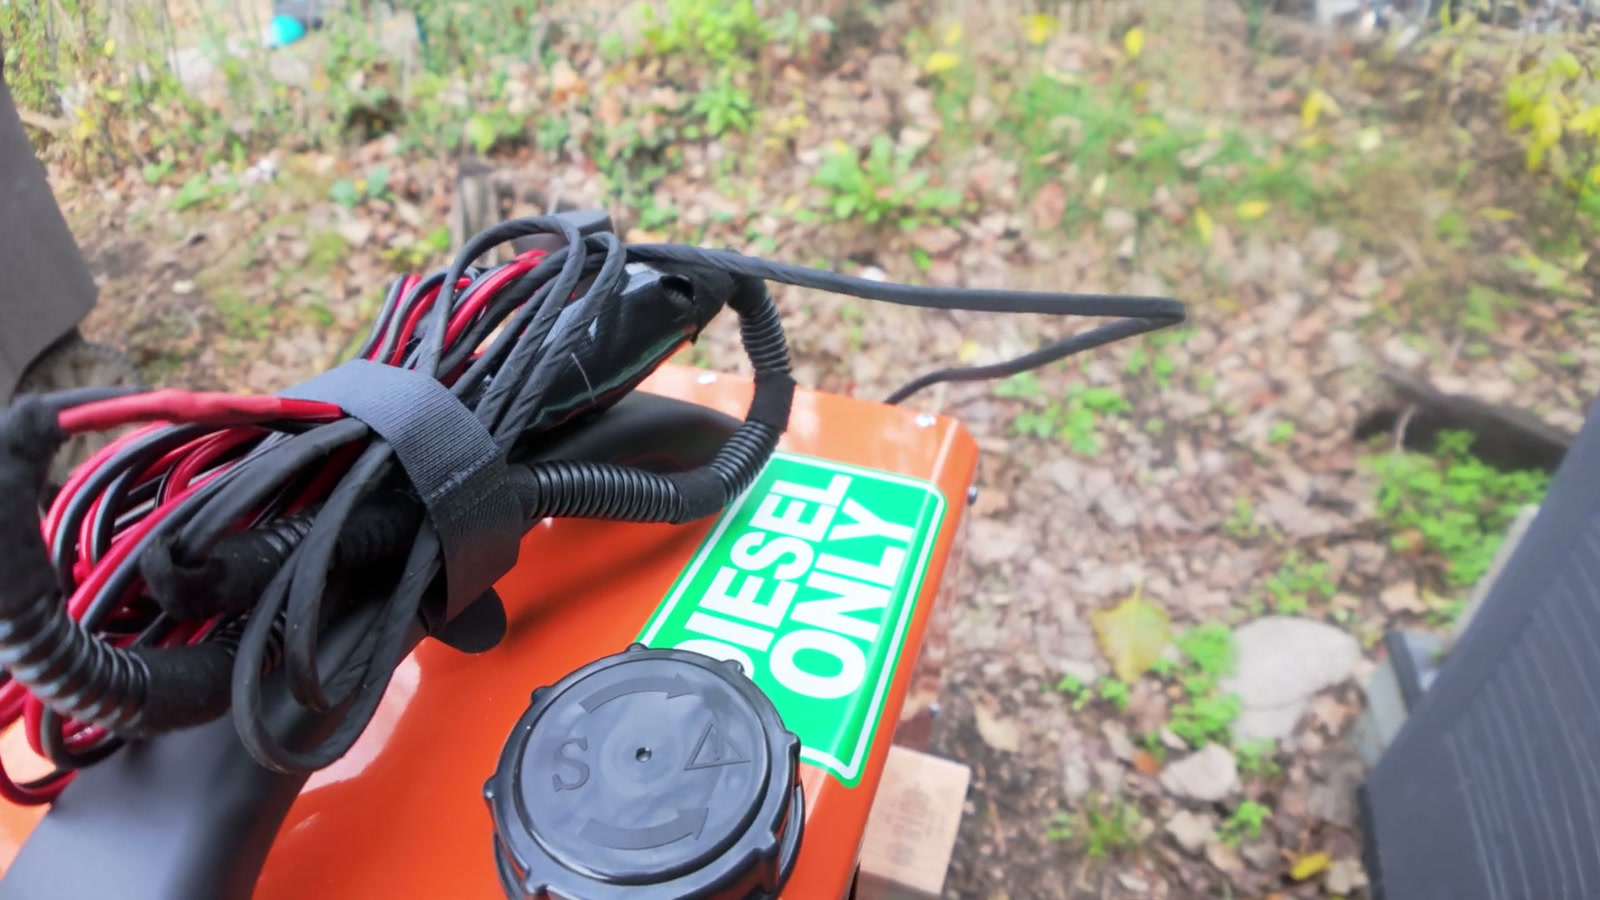
It also uses a 12V power lead, which I wired to work with a power station’s cigarette-lighter output using an adapter cord.
Accessories I Added (Worth It)
To make this work well for a shed, I added a few extras that made the install cleaner and the day-to-day use easier:
Wood risers under the heater to lift it off the ground and give the exhaust more clearance
A small aluminum platform to raise it a bit more
A 3-inch duct elbow so the hot air path wasn’t fighting a tight bend
Thumb-screw duct clamps so I can remove the heater quickly when I’m not using it
A CO / temp / humidity monitor inside the shed for peace of mind
An infrared temp gun to spot-check duct temps, exhaust temps, and surface temps around the window insert
A small 1.3-gallon fuel can that’s easier to handle and store
Install Notes That Actually Matter
A few real-world details from setup that are easy to overlook but made a big difference for me:
Exhaust orientation: There’s a small hole in the exhaust meant for condensation drain. I made sure that drain hole faced downward.
Exhaust clearance: The exhaust gets hot, so I kept it away from anything that could melt or ignite.
Intake positioning: I secured the intake filter so it stayed upright and wasn’t flopping around.
Quick removal: Since the heater won’t live outside year-round, the quick-release style duct clamps are a quality-of-life upgrade.
First Heat Test: How It Felt Inside the Shed
This shed is not insulated, so I wasn’t expecting miracles. What I wanted was simple: “comfortable enough to work” without burning through my stored power.
Startup and sound
The fuel pump ticking started after a short warm-up. Outside, it’s no big deal. If I had mounted the heater indoors, it would’ve been annoying fast.
Heat ramp
Once it got going, I could feel the hot air pushing in, and the shed temperature began climbing steadily.
Power draw in the real world
This was the big reason for the whole experiment. With the shed lights on, I saw the power station usage jump around depending on what was running. As the heater settled in, the draw from the power station stayed relatively low compared to an electric space heater.
Comfort level
With it running, the shed became legitimately workable even when it was cold outside. That’s the whole goal, and it delivered.
The Biggest Surprise: The Ducting Smell Problem
I ran into one issue that had nothing to do with the heater itself: the flexible ducting.
The first flexible hose I tried created a strong chemical smell when hot air started flowing through it. It was unpleasant enough that I didn’t want to keep running it that way.
My fix
I replaced the flexible duct with semi-rigid aluminum ducting (the kind you can find at a hardware store). That completely solved the chemical smell issue for me, and it handled the heat without drama.
Upgrading the Shed Port: Plastic Flanges Warped
The next thing I had to address was the duct flanges mounted to the acrylic window insert.
The original flanges I tried started warping from the heat. So I swapped them out for metal duct flanges and sealed everything up more carefully.
What worked best for me:
Metal flanges
Gasket sealant around the flange mounting
Aluminum tape inside for extra protection and sealing
After that, surface temps around the window insert stayed reasonable and the setup felt a lot more “set it and forget it.”
Splitting Airflow Inside (Nice to Have)
Because the shed is small, a single outlet is plenty. But I experimented with a T-branch inside to split the airflow toward two areas.
It’s not mandatory, but if you want a more even temperature across the space (especially if your bench is far from the vent), it can be a fun upgrade.
Keeping the Heater Dry Outside
Since I’m running the heater outdoors, I wanted a simple way to protect it from snow or rain. I repurposed a small generator canopy I already had and adapted it so it sat higher.
It gave the heater overhead protection while still leaving room for airflow and exhaust routing.
What We Like
Makes a solar-powered workshop actually usable in winter without relying on a power-hungry electric space heater
Mounting it outside keeps the shed quieter, cleaner, and frees up space
Heats the shed to a comfortable working temperature even without insulation
Remote control is convenient for starting heat before I settle in to work
Easy to service and modify with common ducting parts and fittings
Things To Consider
Ducting choice matters: some flexible ducting can stink when hot—aluminum ducting solved it for me
Some plastic duct flanges can warp from heat; metal flanges held up much better
The fuel pump ticking is noticeable; I strongly prefer having the unit outside
You need to plan exhaust routing and clearance carefully because it gets hot
Any enclosed workspace should have a CO monitor (I used one) and you should treat ventilation and safety seriously
Final Thoughts
This Vevor diesel heater ended up being one of the most practical upgrades I’ve made for my winter workflow. It let me keep the shed comfortable while barely denting the power station compared to electric heat.
The heater itself did what I needed it to do. The real “project” was getting the ducting and window port dialed in so it was safe, sealed, and didn’t smell weird. Once I swapped to aluminum ducting and upgraded to metal flanges, the whole system started feeling like a legit off-grid workshop solution.
If you work on e-bikes (or anything else) in a small backyard shop and you’re trying to stay solar-powered through the cold months, this is absolutely worth considering—just budget a little time for the install and a few smart upgrades.