
72V EGO Mini Bike Power Kit: Final Touches, Street Manners, and a Real Top-Speed Run
June 20, 2024
Some links in this article may be affiliate links. If you buy through them, we may earn a small commission at no extra cost to you.
The 72V EGO Power+ Mini Bike build is officially at that satisfying stage where it stops feeling like a project and starts feeling like a real machine.

The big pieces were already in place, but the last 10% matters on something this fast: wiring that won’t chafe, lighting that actually makes sense in traffic, and details that keep you safe when you’re pushing a quiet electric bike into “why is that EGO moving like that?” territory.
Here’s how the final touches went, and what the bike feels like now that it’s buttoned up and tuned.
The last little things that actually matter
With a high-power build, it’s rarely the motor or the battery that causes headaches at the end. It’s the small stuff: cable routing, mounting solutions, and heat management.
I spent a chunk of time just getting the lighting wiring cleanly routed through the frame and under the seat so the panels could go back on without pinching anything. Getting wire length right is a surprisingly big deal when you want everything to look factory from the outside.
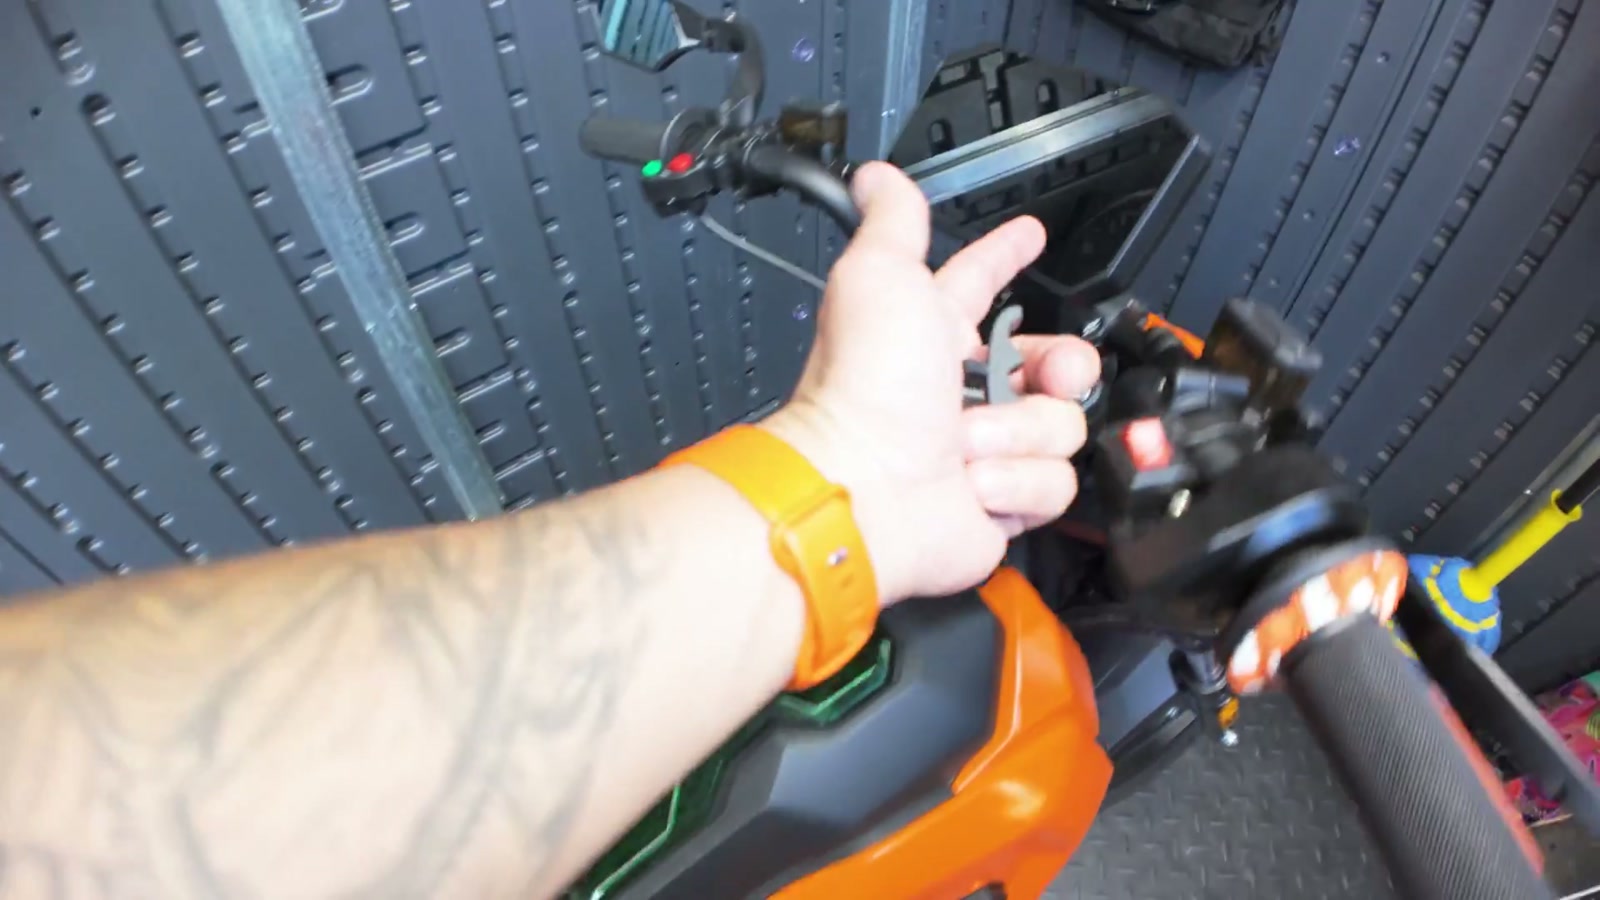
A workable ignition solution (not perfect, but functional)
Because of how my bar setup covers the stock ignition location, I had to get creative. I used a 3D-printed mount for an ignition switch and zip-tied it to the top of the stem.
Is it the cleanest or most secure setup I’ve ever done? No.
Does it work reliably and keep the build moving forward? Yes.
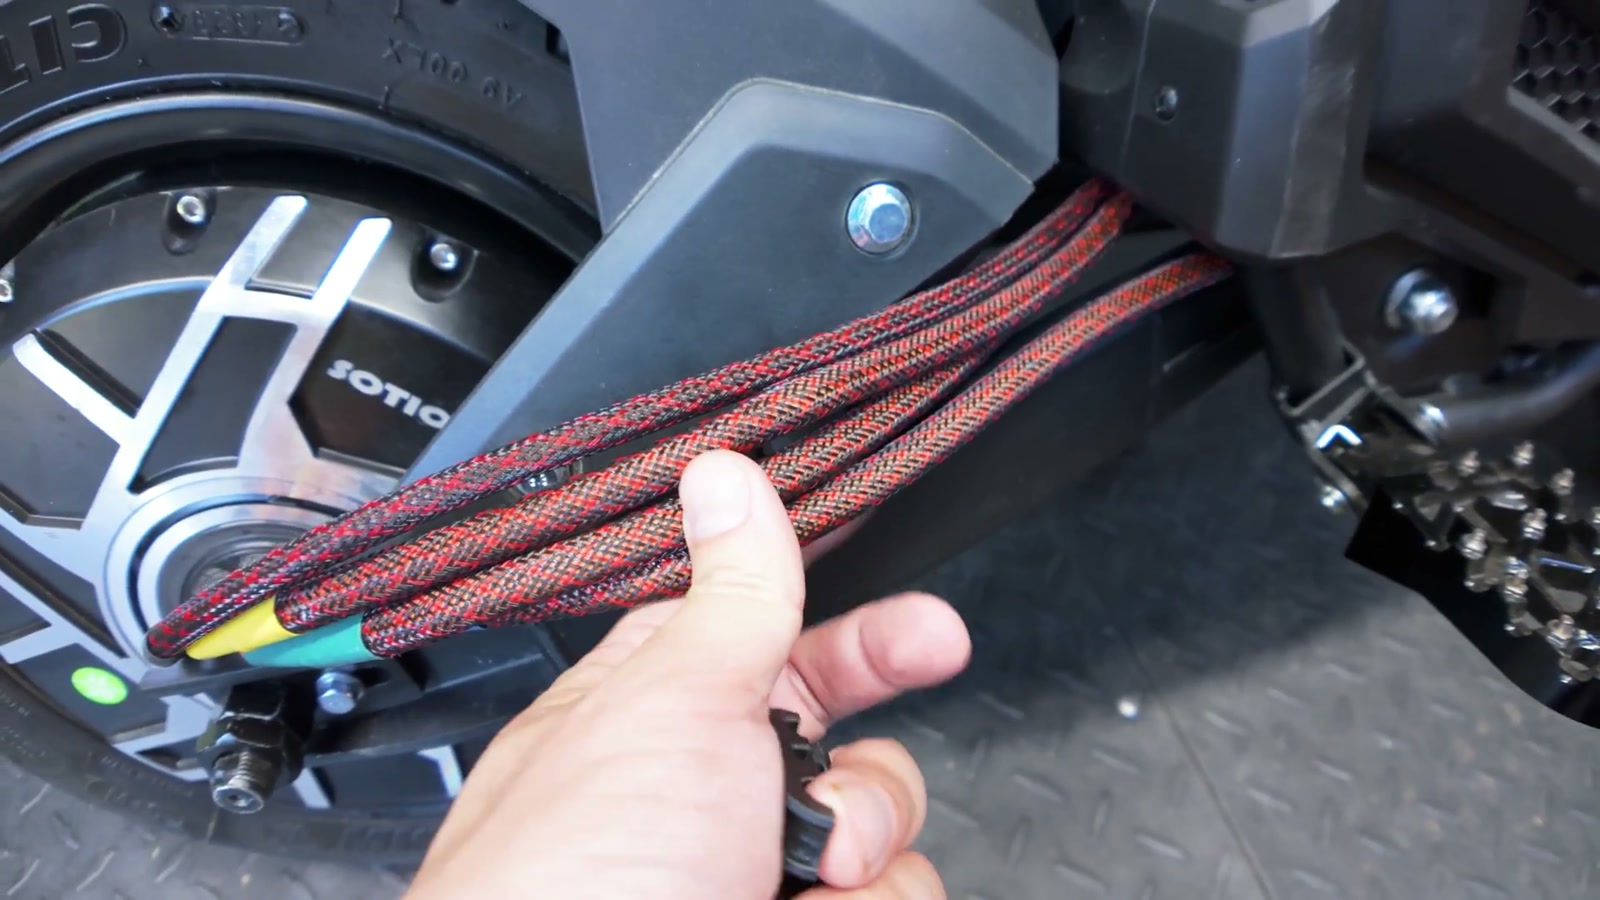
Phase wire separators: the “boring” upgrade I’m really glad I did
These phase wires are huge—about 10.5 mm in diameter—and that changes how you should think about heat and safety.
At first I had them bundled up and even sleeved, but the better approach for this kind of power is:
Let the phase wires breathe (cooling matters)
Keep them separated so they’re not constantly pressing against each other under load
With enough heat and pressure, phase wires can melt into each other. I’ve had a phase-wire incident on an electric skateboard before, and the idea of something like that happening on a faster, heavier mini bike is not something I’m interested in exploring.
I installed 3D-printed phase wire separators made specifically for this wire size. They wrap around the wires and get locked down with zip ties. Simple idea, big peace-of-mind.
If you’re building something with thick phase leads, this is one of those “do it once, sleep better” details.
Lighting and controls: getting it “street-legalish”
This bike is quiet. Like, sneak-up-on-everyone quiet. So I treated lighting and signaling as more than just a cosmetic add-on.
Once everything was wired and the panels were back on, I ended up with a setup that feels practical:
Indicators/turn signals
LED strip lighting
12V horn
A 3-speed switch to tame (or unleash) the power
I also rewired the stock EGO headlight so it works off my light switch. I’m running it so the halo and high beams come on together—no mode switching. For how and where I ride, I’d rather have “simple and bright” than “feature-rich and fiddly.”
Adding a speaker: not for vibes—mostly for safety
I mounted a speaker for the ChaoJi display so the bike can output audio from the display’s Apple CarPlay/Bluetooth connection.
Two reasons I wanted it:
1) Navigation prompts you can actually hear
2) A way to add an external sound for awareness
On the first test ride of this build, I came up on cyclists faster than I expected, and the bike was so silent they basically didn’t register I was there until I was uncomfortably close. That’s not a great feeling for me or for them.
The speaker ended up being loud enough to be genuinely useful.
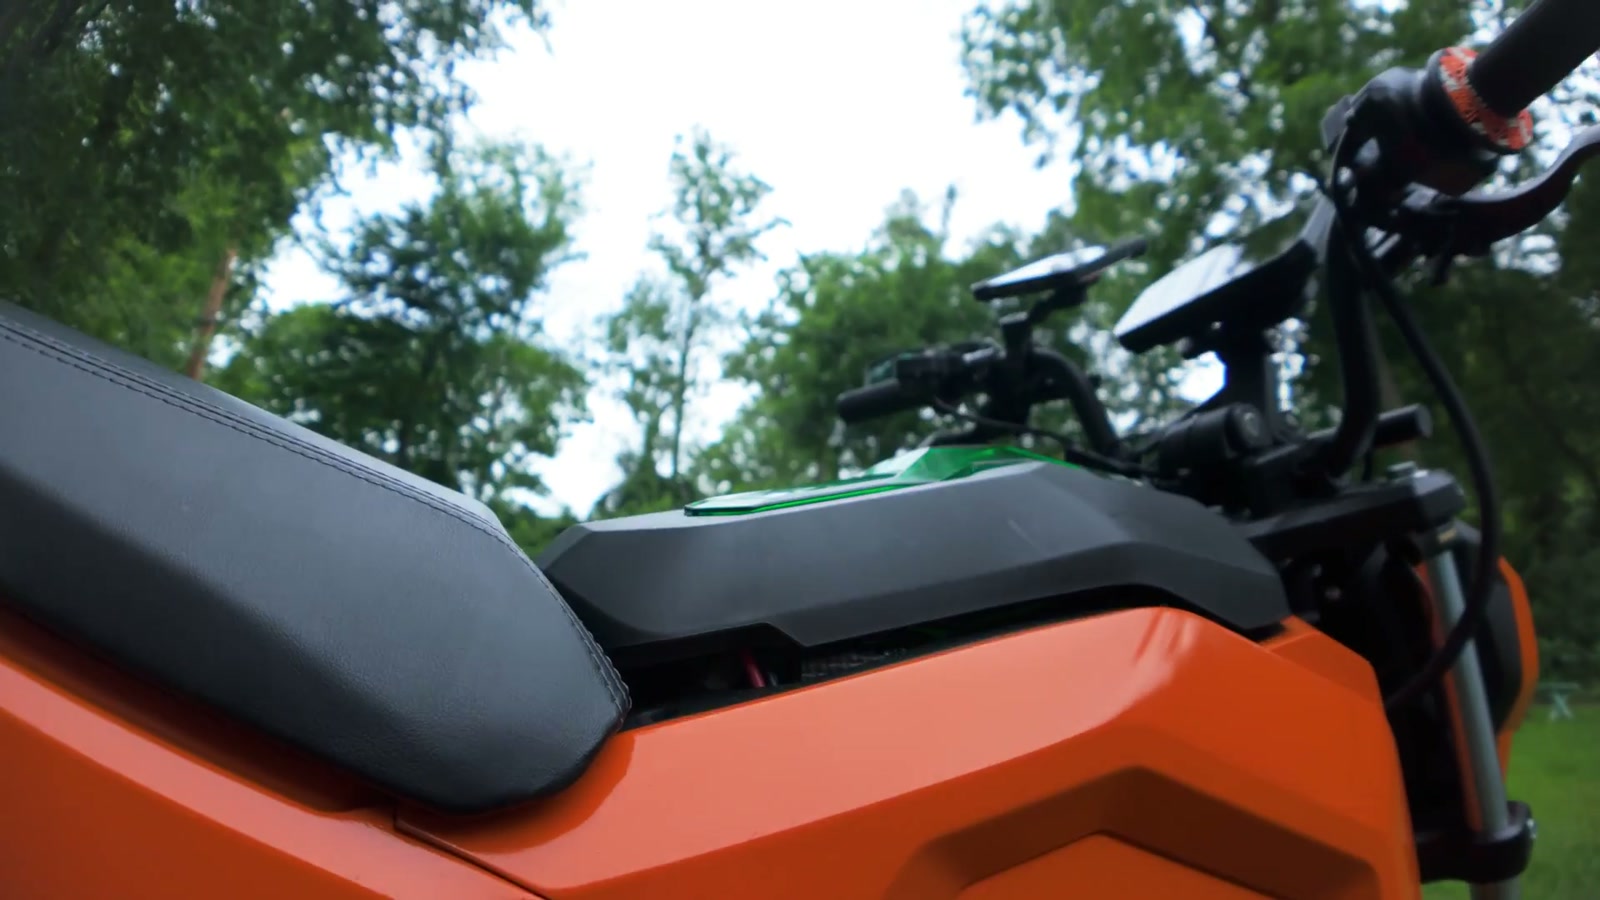
Keeping the EGO vibe: latch, lid, and storage still work
One of my goals with this whole build was retaining the EGO mini bike’s personality—its plastics, its shape, its “wait… what is that?” factor.
I was able to keep the latch hardware so I can still open the lid like stock. That means I still have access to:
The charging port
The battery compartment
The little bit of storage space
From the outside, it largely keeps that stock EGO look. Inside, it’s an entirely different animal.
Weight and feel: it’s not a toy anymore
With the upgraded internals, everything feels heavier—because it is heavier.
The stock bike has this nimble, playful balance that makes it feel like an overbuilt pit toy.
This version rides more like a light electric motorcycle.
That’s not a bad thing, but it’s a different thing.
If you’re expecting “stock EGO but faster,” the added weight changes the character. The bike feels more planted at speed, but you don’t get that same flickable, lightweight vibe.
Top-speed run and real-world ride impressions
After getting updated controller settings and a few tuning tweaks, I went out for a proper speed run.
I also fixed the wobble issue I had earlier (and yes, the cause was as ridiculous as it sounds): a tire spoon ended up inside the tire/rim area when the street tires were installed. Once that was sorted, the front end felt right again.
With a charged pack (I started around 86%), I ran it up and saw:
63 mph on one run
65 mph on another run (before I felt some wobble returning)
Even at more normal speeds, it’s the smoothness that stands out. Around 40 mph feels like an easy cruising pace for this setup—fast enough to be fun and usable, without feeling like I’m constantly asking for trouble.
Regen as a band-aid for braking
The brakes feel “okay,” but with this level of power, “okay” isn’t where I want to leave it.
I dialed in a bit of regen on throttle release to help slow the bike down. It’s not a full regen control—just extra decel when I roll off.
It helps, but I still consider a brake upgrade a priority on a build like this.
Who this build is actually for
This is the most extreme version of what you can do with the EGO mini bike platform.
Honestly, it’s not a mod I’d recommend to most owners.
I think the majority of people who want “more” out of the EGO mini bike will be happiest with something more contained—like a controller-focused upgrade—because it keeps the core simplicity (and the original battery/motor ecosystem) intact.
A full swap like this takes:
DIY comfort
Ebike/electric drivetrain knowledge
Patience for the unglamorous work (mounting, wiring, heat management)
It’s not really about collecting parts. It’s about integrating them safely.
What We Like
It’s wildly fast for what looks like an EGO mini bike
Smooth power delivery that feels more motorcycle-like than toy-like
3-speed switch makes it easier to live with day-to-day
Lighting + horn transforms it from “neat project” to “actually usable”
Phase wire separators are a smart reliability/safety detail

Stock-like exterior with upgraded internals is a fun sleeper vibe
Speaker integration is genuinely useful for navigation and awareness
Things To Consider
Added weight changes the bike’s personality (less nimble than stock)
Brakes feel like the next weak link at this power level
High-speed stability still demands respect (wobble can show up)
It’s quiet enough to surprise pedestrians/cyclists if you’re not careful
This is not a beginner DIY build—plan for tuning, wiring, and iteration
Not a “cost saver” build; it’s a passion/science/social project
Final Thoughts
As a finished package, this 72V EGO mini bike build is absurd in the best way—mostly because it looks so normal until it starts moving.
The big takeaway for me is that the final details are what make it feel complete: separated phase wires for heat management, lighting that makes sense, a little regen to help manage speed, and a setup that still opens and functions like an EGO on the outside.
At 40 mph it feels effortlessly quick. At 60+ it’s a legitimate light electric motorcycle experience, and it deserves to be treated like one.
If you want the fastest, most extreme version of the EGO mini bike idea, this proves it’s possible. If you just want a better version of the stock bike, there are simpler routes that will get you 80% of the fun with a fraction of the complexity.