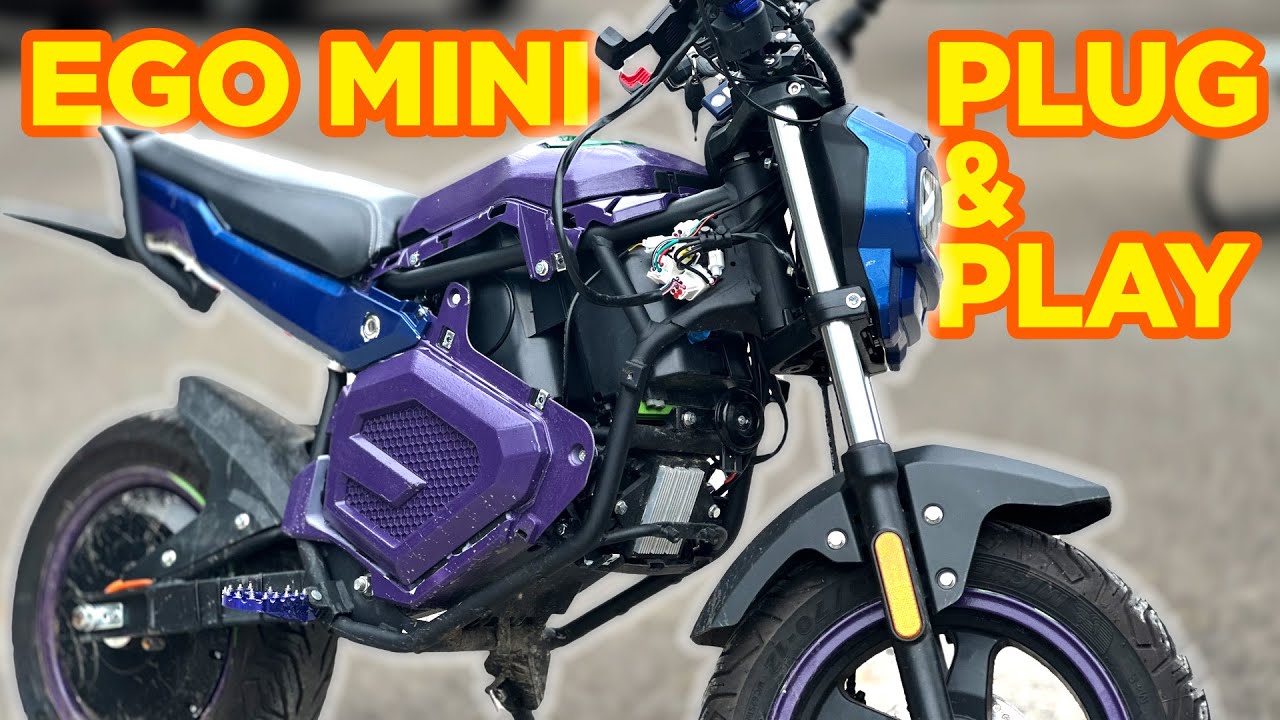
Plug-and-Play Power for the EGO Mini Bike: My Hands-On Install & Ride With Econic Cycles’ Upgrade Kit
August 4, 2024
Some links in this article may be affiliate links. If you buy through them, we may earn a small commission at no extra cost to you.
If you’ve been riding the stock EGO Power+ Mini Bike for a while, you already know the vibe: it’s fun, it’s quiet, and it’s super easy to live with… but it also feels like the bike is holding back.
I wanted a power bump without turning the whole thing into a full custom build. That’s exactly where Econic Cycles’ plug-and-play power upgrade kit comes in. I installed it, cleaned up the wiring, did a basic tune via Bluetooth, and then put it to the test on real streets with hills, stops, and traffic pacing.
Here’s how it went.
What this kit is (and who it’s for)
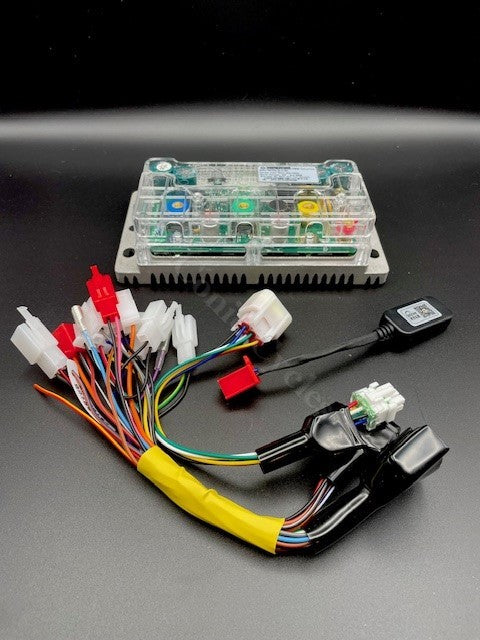
This upgrade is essentially a controller swap designed specifically to mount cleanly on the EGO mini bike using the factory setup. The core of the kit is a FarDriver sinewave controller with Bluetooth, plus a pre-wired harness that keeps the install straightforward.
The goal isn’t to reinvent the bike. It’s to unlock more of what the stock motor is already capable of delivering.
If you’re the kind of person who wants “more” but doesn’t want to gut the bike, fabricate mounts, or redesign the electrical system, this kit sits in a sweet spot.
Installation: easier than a full teardown
I kept the disassembly minimal.
I removed the panels needed to access the controller area and cable routing, but I didn’t strip the bike down to the frame. That’s a big point here: you don’t have to do a full body-off project to make this work.
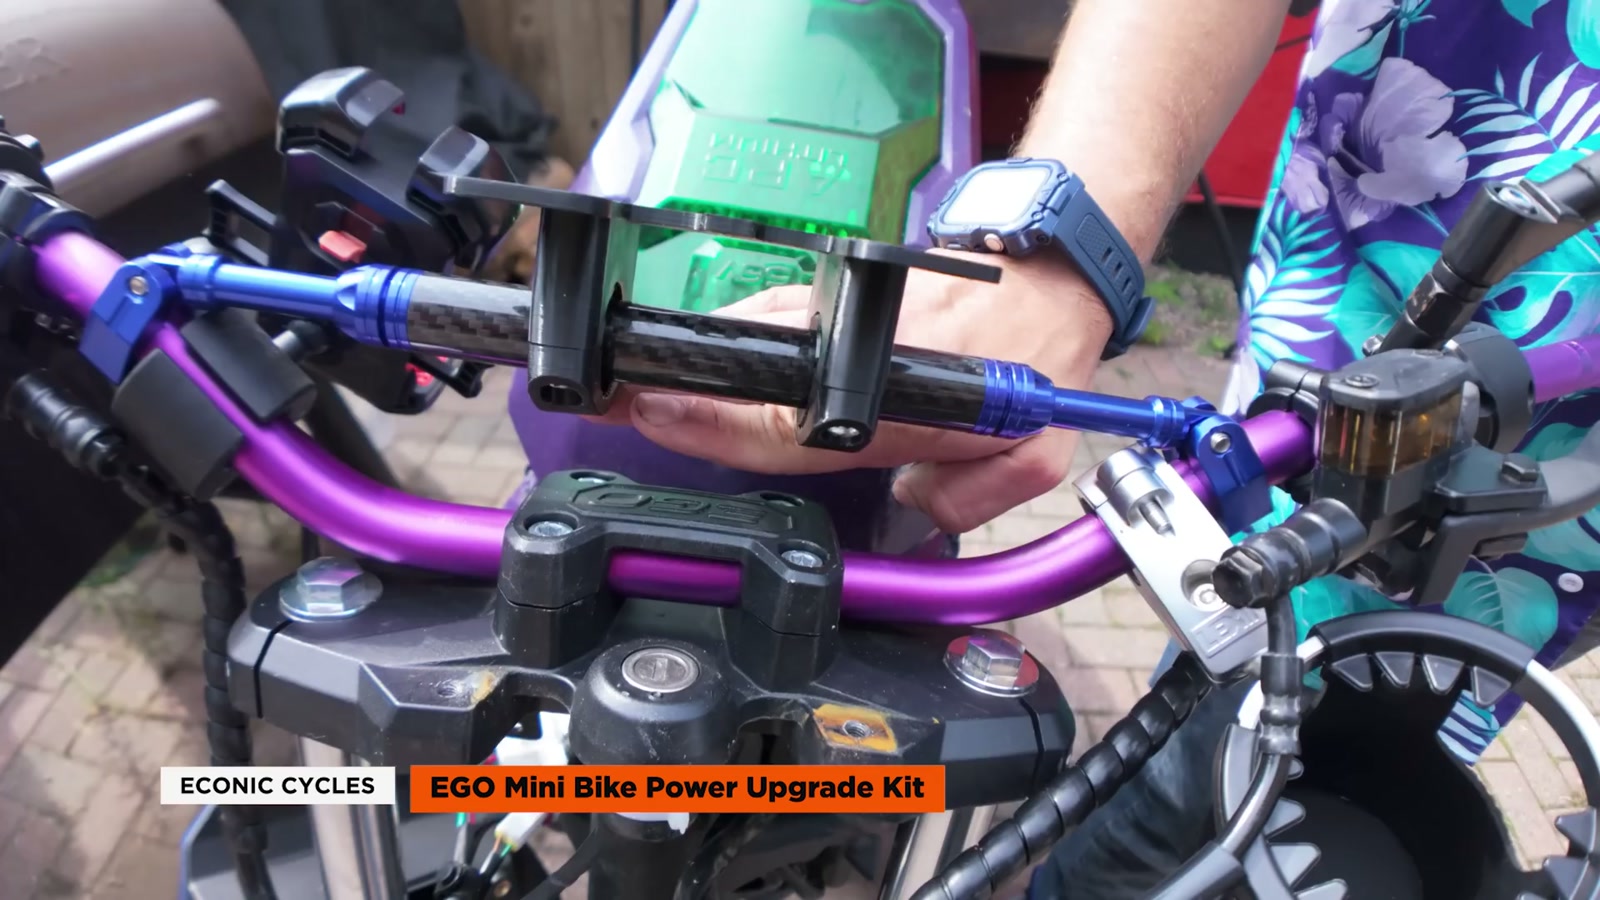
Controller swap and mounting
The FarDriver controller is very close in size to the stock unit, and it test-fit like it was meant to be there. I mounted it using the existing hardware, with the power terminals facing toward the rear.
A small but important tool tip
When removing the stock power wires and phase wires, I strongly recommend using a socket wrench. The bolts are tight, and it’s easy to strip the heads if you use the wrong tool.
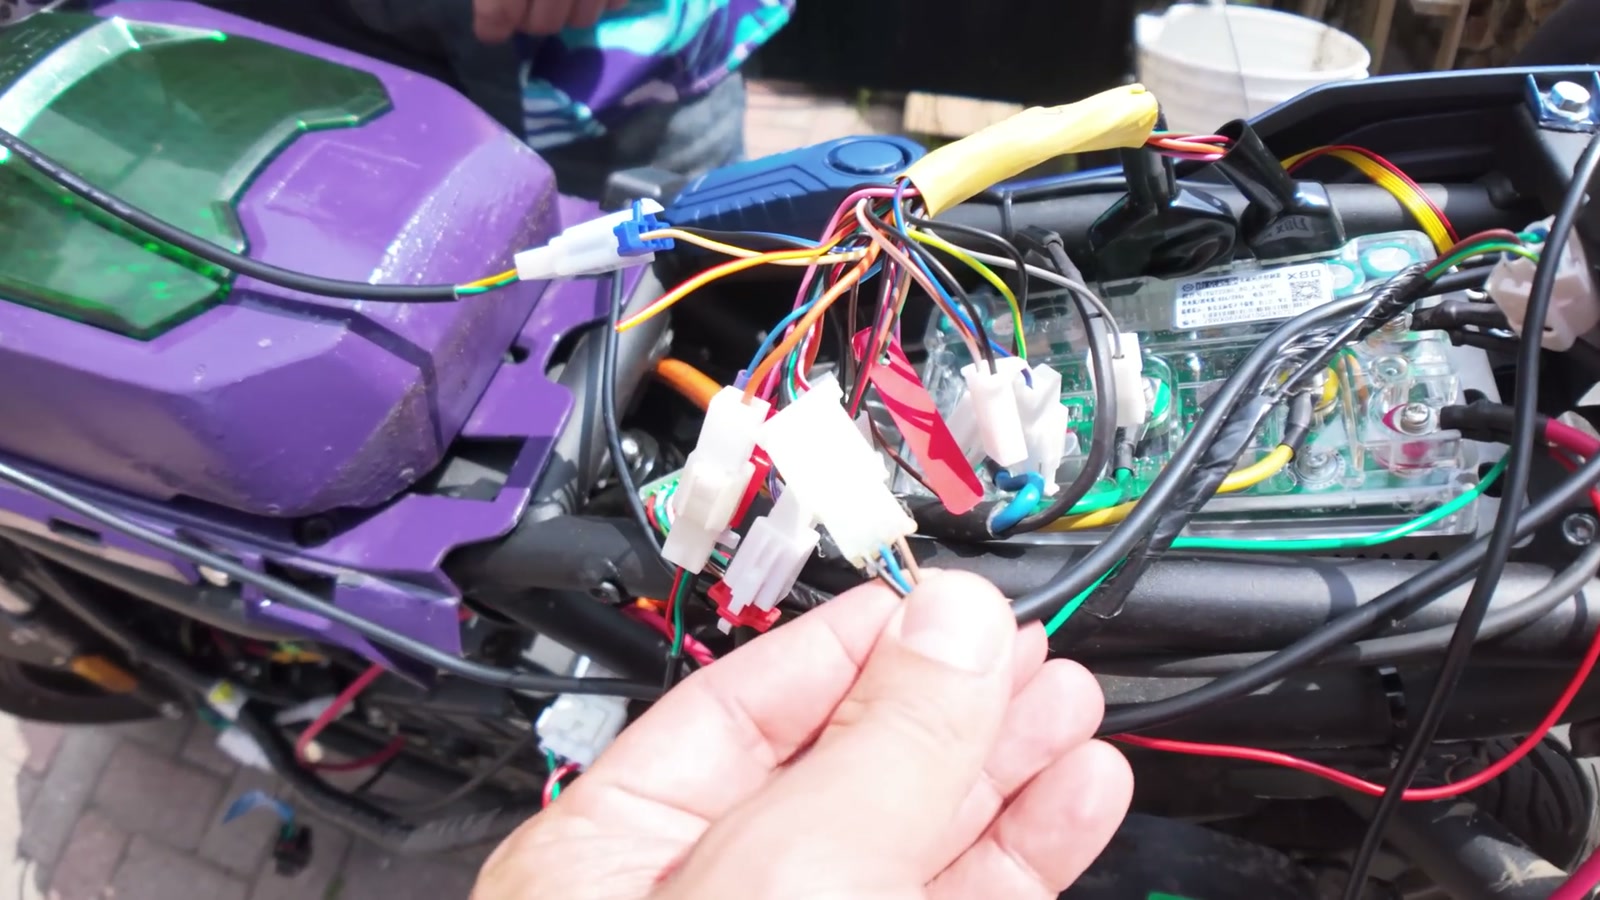
Routing and plug connections
The basic process was:
Pull the stock controller
Mount the FarDriver controller
Route motor wires to the correct side for the new controller layout
Connect the pre-wired harness pieces (throttle, ignition, 3-speed switch)
Plug in the Bluetooth dongle
Do a bench test before buttoning anything up
Once the bench test confirmed everything worked, I zip-tied and organized the wiring. I also temporarily protected some connectors with painter’s tape as a quick solution; long-term, a neoprene sleeve/loom is the cleaner move.
Setup and bench test: the “beeping is good” moment
With the batteries installed and the bike powered up, I turned on the ignition switch and immediately got a beeping sound. In this case, that beep was reassuring—it indicated the system was alive and responding.
I confirmed the basics before riding:
Motor spins with throttle input
Lights still function
Horn works
That’s the kind of sanity check I always want before the first street pull.
Tuning: Bluetooth changes everything
This is one of the best parts of the whole upgrade.
Because the controller includes a Bluetooth dongle, I was able to connect and load the parameters (including things like ratios/speed and battery protection settings). It transforms the experience from “hope this works” to “I can actually dial this in.”
One quirk I ran into: the 3-speed switch behavior ended up reversed in practice—so the position I expected to be “1” didn’t correspond to what I assumed. Not a dealbreaker, just something to verify early so you’re not accidentally launching in the hottest mode.
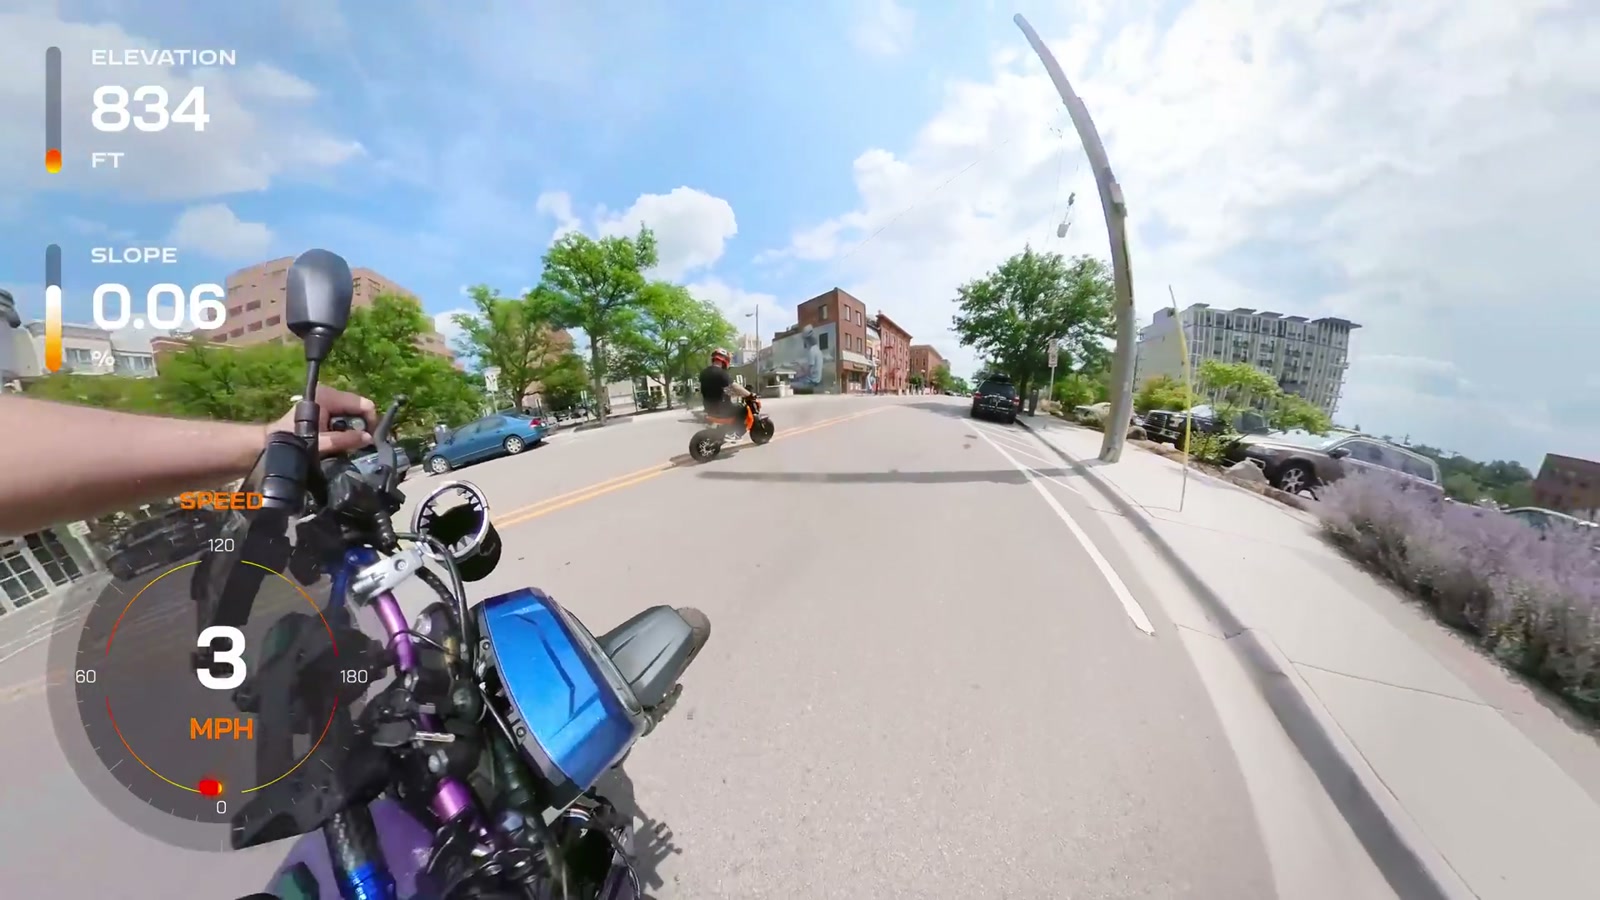
First ride: the bike finally feels awake
I started in the lowest setting just to get a baseline.
Low setting
Right away, it felt torquier than stock. Not “a little better,” but immediately noticeable. It had that satisfying push off the line that the stock setup always felt like it was missing.
Middle setting
This is where it started feeling like a different mini bike. The acceleration was stronger, and it held speed better—especially when the wind picked up or the road tilted uphill.
Highest setting
This one surprised me. The jump in punch is real.
Rolling into full throttle in the top setting felt way quicker than stock, and the bike finally had that “mini moped” urgency when you need to merge, clear an intersection, or climb a hill without losing momentum.
Real-world speed and riding confidence
Without a dedicated speedometer mounted, I judged speed by traffic pacing and how the bike felt at wide open throttle.
What I can say confidently:
It pulls harder everywhere.
It felt like it was clearly above the stock bike’s usual comfort zone.
On a good straight, it looked like it could get into the mid-to-high 30 mph range with the base tune.
The bigger story, though, isn’t the top-end number—it’s how much more usable the bike feels in normal riding. Starts are stronger, hills are less annoying, and the whole thing feels less like it’s fighting itself.
What changes (and what you lose)
This kit isn’t trying to preserve every stock feature.

A few takeaways from living with it:
The stock EGO display isn’t compatible with this controller setup.
A display is optional. The bike will run without one.
If you choose the Chaojie display, it isn’t fully plug-and-play right now and requires wiring.
Some stock modes/features don’t carry over the same way (reverse is a big one that may not function).
The tradeoff is worth it for me because the ride quality and power delivery improve so much.
The one upgrade I’d put next on the list
After adding this much extra shove, I immediately wanted better braking. The bike’s ability to get up to speed improves more than its ability to scrub speed.
If you’re doing this controller upgrade, plan your braking strategy sooner rather than later.
What We Like
Big improvement in torque and overall “get up and go”
Feels dramatically better on hills and into headwinds
Controller mounts cleanly and fits the bike well
Minimal disassembly required compared to a full build
Bluetooth tuning makes the system feel modern and adjustable
A smart stepping-stone upgrade (you can build further later)
Things To Consider
Stock EGO display isn’t compatible with this setup
Optional Chaojie display requires wiring (not fully plug-and-play)
Some stock functions/modes may not work the same (reverse in particular)
Three-speed switch behavior may need verification/configuration
Extra power highlights the need for better brakes
Expect to spend time on cable management to make it look factory-clean
Final Thoughts
This is the kind of upgrade that makes me think, “Yep—this is how the bike should’ve shipped.”
The EGO mini bike is already a blast, but the stock controller keeps it too tame. With the Econic Cycles plug-and-play kit installed and tuned, the bike feels more responsive, more capable on real streets, and a lot more fun in the moments that matter—starts, climbs, and quick bursts of speed.
If you’re not trying to go full custom (motor, battery, everything) but you want a meaningful performance jump with a straightforward install path, this kit hits the mark.