
Powerful Lithium EGO Mini Bike Upgrade: Fitment, First Ride, and Why It Now Feels Like a Mini Motorcycle
June 4, 2024
Some links in this article may be affiliate links. If you buy through them, we may earn a small commission at no extra cost to you.
I finally got hands-on time fitting the Powerful Lithium upgrade parts to my EGO Power+ Mini Bike, and the big goal for this stage was simple: make sure the main components physically fit cleanly before I go deeper into lighting and finishing touches.

The headline is that the core fitment worked out way better than I expected, and the first ride immediately changed the personality of the bike. It no longer feels like a “toy” mini bike—it rides more like a light electric motorcycle.
The upgrade vibe: keep it looking stock, but ride nothing like stock
One of my priorities was keeping the EGO’s clean, factory look as much as possible. I wanted the bike to still have its storage area, panels, and overall “OEM” vibe—just with a totally different level of performance underneath.
With the plastics on, most people would assume this motor setup is how the bike came.
Hub motor fitment (and keeping it clean)
The hub motor fitment ended up being very close to the stock motor footprint. I did have to modify the dropouts slightly to get the motor seated correctly, but once it was in, the rest of the fitment was straightforward.
A couple small details made a big difference:
I used washers where needed (behind the brake plate, plus a couple on the brake caliper) to get alignment happy.
The phase wires on a big hub motor can make a build look messy fast, so I tucked the cable run into a neoprene sleeve and secured it with velcro and an industrial zip tie. The result is way cleaner—no giant wire bundle screaming “modded bike.”
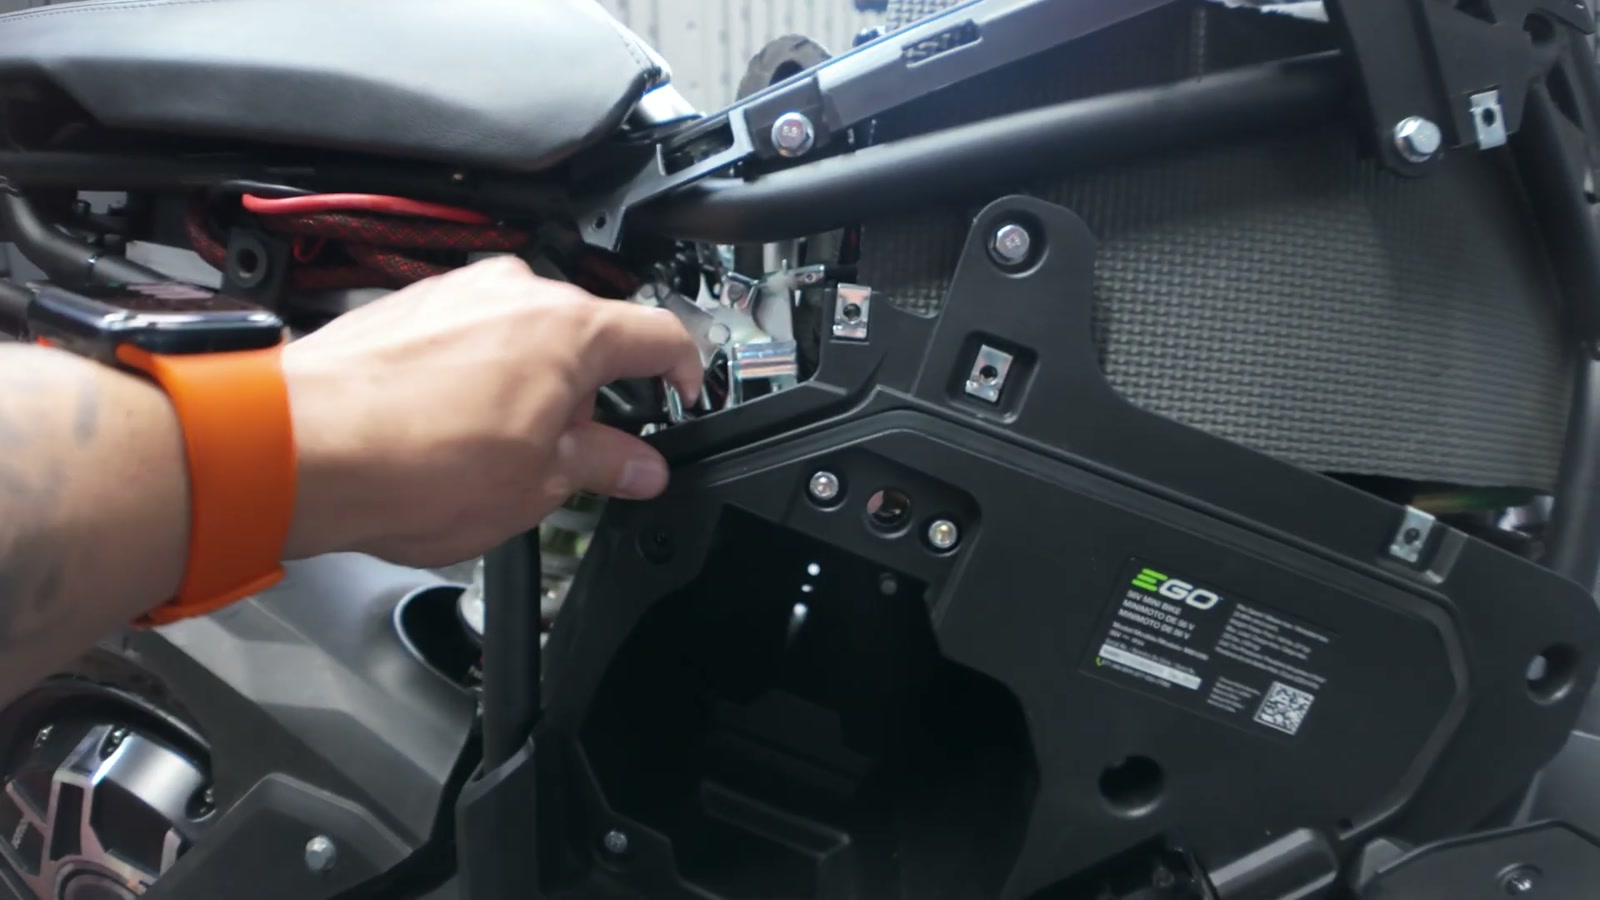
Battery placement: secure, protected, and still practical
The 72V battery sits in the frame really nicely, and I was able to keep the storage compartment and lid functionality.
To get the battery solid:
I strapped it down with two velcro straps.
I mounted it on a wooden plank with foam on top.
I added foam on the sides and rear so it doesn’t contact the latch hardware.
Charging is handled through an XT60 lead, which is super convenient—easy to access, not overly tight, and not flopping around.
Keeping the lid: a small win that matters every ride
Because the stock EGO battery enclosure is gone, the lid normally loses its mounting point. I didn’t want to give up that “finished” look, so I designed a 3D printed hinge and mounted it using spacers and a 6mm bolt directly into the frame.
It locks in cleanly and keeps the bike feeling complete.
Controls & cockpit: throttle feel, power levels, and a display you can actually read
Surron throttle + ProTaper grips
I swapped to a Surron throttle and added ProTaper grips. The throttle feel is natural and smooth—exactly what I want with a more powerful drivetrain.
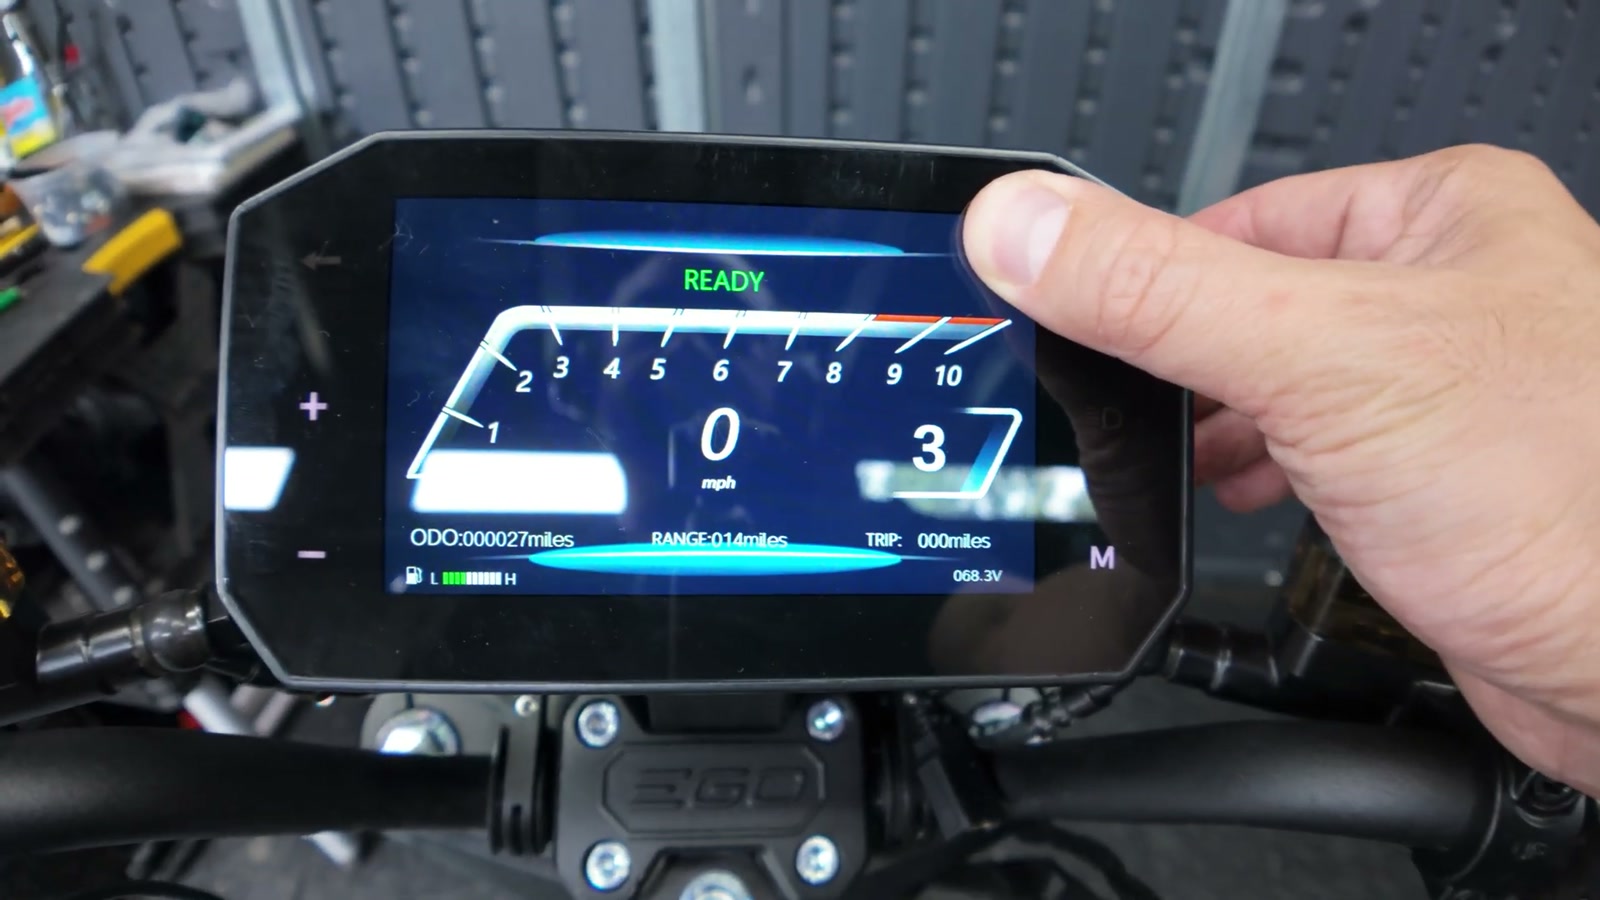
3-speed switch
I wired in a 3-speed switch (levels 1, 2, 3) so I can tame the bike when I want, or open it up when the road is right. Seeing the power level reflected on the display is a nice touch.
Temporary on/off switch (no key ignition yet)
Right now, I’m running a basic on/off switch. It’s not secure, and it’s not the final plan, but it lets me test reliably while I figure out a good way to mount a proper key ignition.
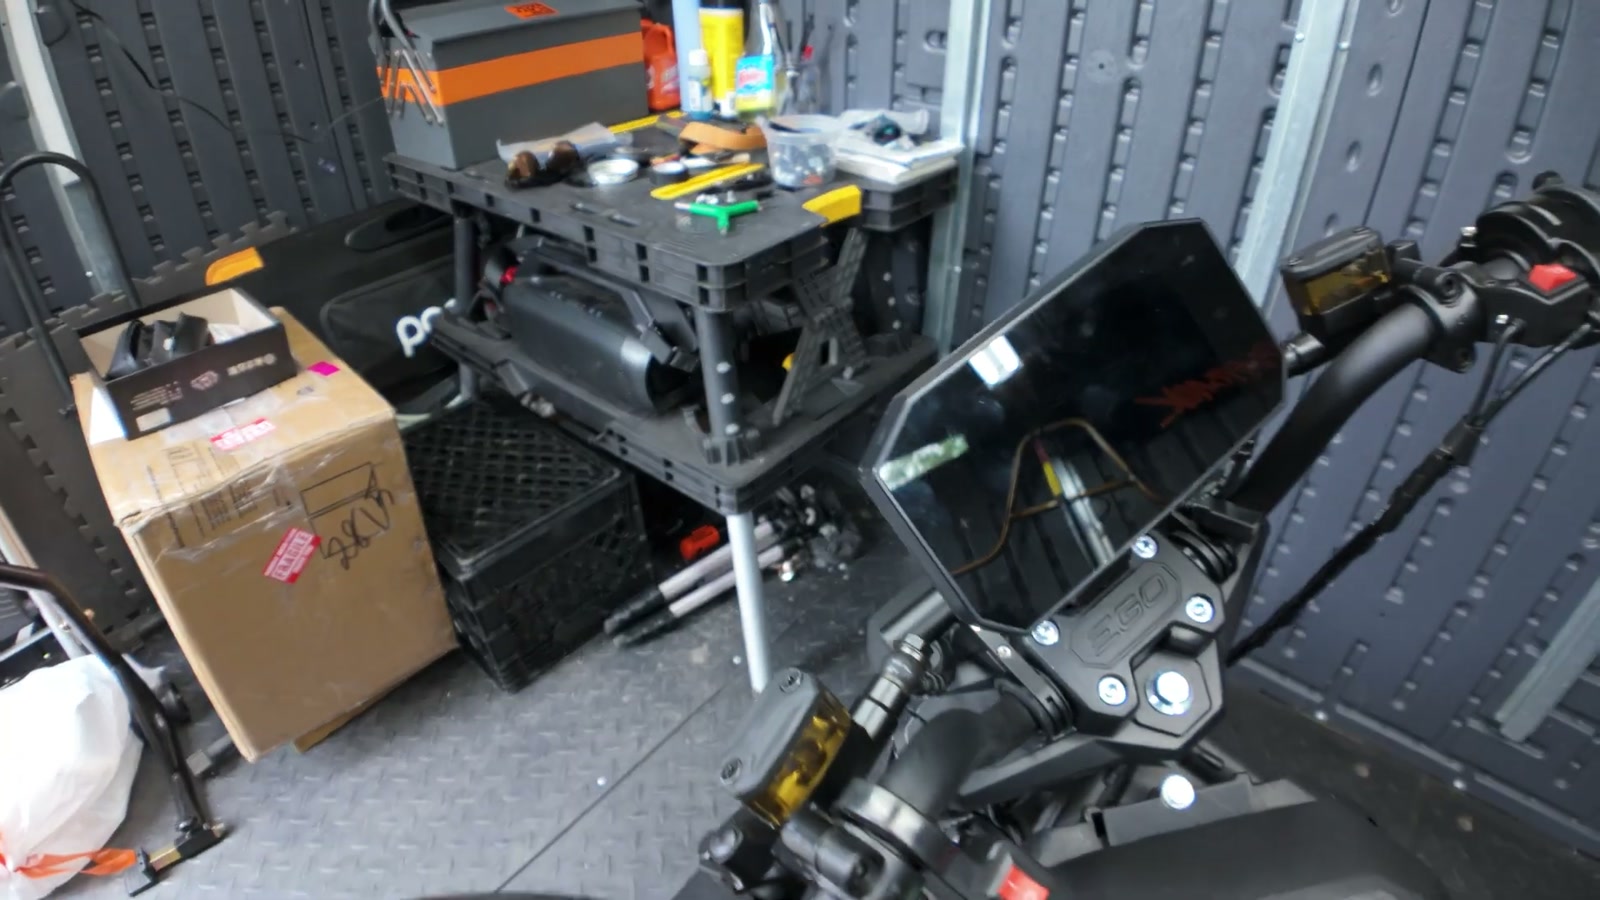
Display mounting that fixes the stock EGO problem
The stock EGO display position is low and hard to see while moving. I mounted the new display up high using a 3D printed mount (from EV Raceworks) and added a handlebar extension bar to give it a center mounting point.
It’s now in a spot where I can glance down and actually read what’s happening—speed, settings, and power level—without feeling like I’m taking my eyes off the road forever.
Under the seat: FarDriver controller fitment
The FarDriver controller sits under the seat and fits surprisingly well.
I used neoprene sleeving to protect and hide the extra wiring/connectors.
I didn’t bolt it in; I used zip ties. The fit is snug enough that it doesn’t feel like it’s going to shift around.
Even with the harness attached, the seat still clears.
There’s also still room left for additional wiring, which is important because lighting and accessories are next.
Display features in real life (including Apple CarPlay)
The display has multiple dashboard themes, and it’s easy to switch between them.
Two things stood out immediately:
The speed readout was very close to GPS in my testing, which gives me a lot more confidence than the stock setup.
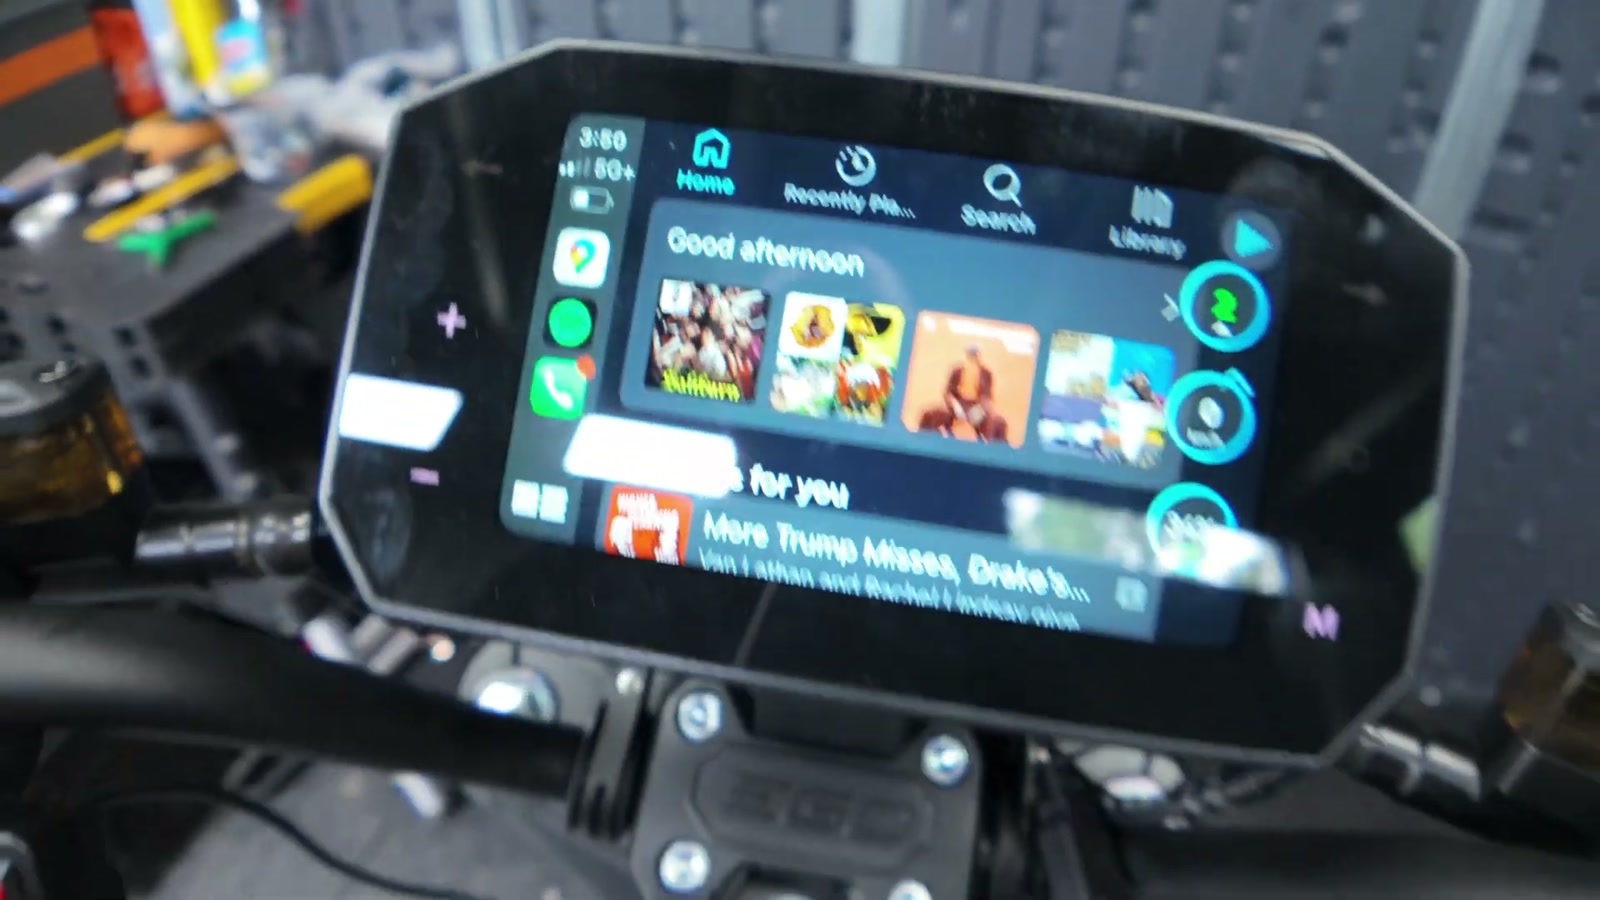
Apple CarPlay works, and it’s honestly wild to have a mini bike with a touchscreen setup that can pull up navigation. If I eventually add speakers, it opens the door to using CarPlay for audio too.
First ride: smooth, fast, and surprisingly “motorcycle-like”
I kept the first ride light because the bike isn’t fully buttoned up yet, but it didn’t take long to understand the character shift.
Power delivery: smooth, not jerky
The biggest ride impression is how smooth the power comes in. It doesn’t hit with that punchy, torquey feel the stock setup has. Instead, it builds speed in a controlled way that feels more “calibrated.”
I could hold speed with minimal throttle input—more like cruising on a small motorcycle than riding a zippy mini bike.
Quiet… almost too quiet
The bike is super quiet. On one hand, that’s awesome. On the other, it’s quiet enough that I can see why adding some kind of sound (even just a speaker option) might make sense for awareness depending on where you ride.
The weight is real
That hub motor is heavy, and I could feel the weight bias in the rear immediately.
Maneuvering at speed feels more substantial.
Stopping and turning carries more “momentum feel.”
It’s not a bad thing—it just moves the bike into a different category.
Speed: the sweet spot and the sketchy spot
On the ride, I saw:
Around 28 mph in power level 1
Mid-30s mph in level 2
Low-to-mid 40s mph, then beyond in level 3
I also pushed into the higher speeds briefly, but I hit a bit of a wobble when I got up near the top end. That’s a big flag to respect.
For me, 40–50 mph felt like the sweet spot where the bike is fast, stable, and enjoyable—without flirting with that uneasy wobble.
I’m not interested in chasing top speed until the bike is fully finished, the battery is fully charged for consistent testing, and I’m confident everything is dialed.
Suspension and rubbing
I felt bumps more than I wanted to, so suspension tuning is on my shortlist. I also noticed what felt like some front rubbing, so I’m doing a full check before I put more miles on.
What We Like
The upgraded hub motor fits cleanly and still looks surprisingly “factory” once routed properly
Storage compartment and lid functionality can be retained with a smart hinge solution
Power delivery is extremely smooth and easy to modulate
Display placement is finally usable while riding
3-speed switch makes the bike more practical day-to-day
Apple CarPlay on a mini bike is genuinely useful (especially for navigation)
Things To Consider
The hub motor adds noticeable rear weight, which changes handling and low-speed maneuvering
I experienced a high-speed wobble near the top end—don’t ignore this; dial in the build before going for speed runs
No key ignition yet (an on/off switch is not secure for real-world locking/parking)
Expect some follow-up tinkering (suspension setup, checking for rubbing, finishing wire management, lighting)
Final Thoughts
This upgrade was a success where it matters most: fitment is solid, the bike stays clean and functional, and the ride feel is transformed.
The stock EGO mini bike is fun, but with this setup it starts feeling like a compact electric motorcycle—stable at real commuting-adjacent speeds, smooth on power, and refined enough that I’m already thinking about the next layer: lighting, accessories, and making everything look truly finished.
Once I tidy the build, charge fully, and address the wobble and front rub, I’ll feel a lot better about more structured testing. But as a first real ride, the direction is exactly where I wanted it to go.