
Short Fuse Wheelie Guard on the Sur-Ron X: Install, Setup, and Real-World Wheelie Training
October 22, 2021
Some links in this article may be affiliate links. If you buy through them, we may earn a small commission at no extra cost to you.
Learning to wheelie a Sur-Ron X is one of those things that sounds simple until you’re actually out there trying to commit to the balance point without looping the bike.
I wanted a way to practice more consistently with less “one mistake and I’m buying parts” anxiety, so I installed the Short Fuse Wheelie Guard (via GritShift) and put in a few sessions to see if it really helps you progress faster.
Here’s how the install went, how I set it up, and what changed in my real-world riding.
What the Wheelie Guard Actually Did for Me
The biggest impact wasn’t that it magically taught me wheelies.
It was psychological.
Once it was on the bike, I could finally focus on timing and body position without that constant fear of going too far back. When I got a little too spicy with the throttle, the guard would catch and keep the bike from going into a full loop. That safety net let me experiment more, sooner.
It also made it easier to feel where the balance point is. On a Sur-Ron X, that line between “I’m safe” and “I’m about to loop” can feel razor thin when you’re learning. Having the guard there helped me push closer to that line on purpose.
Unboxing and Build Quality Impressions
The kit is straightforward: heavy-duty metal parts, solid hardware, and it feels like it’s designed to take real hits.
It isn’t a cheap-looking add-on. Once I had everything laid out, it made sense why it’s priced like a serious piece of protection/training gear.
One key detail for Sur-Ron X owners: the axle hardware matters. The kit needs the correct T-nut size.
Tools and Small Extras I Needed
The core tools I used were:
The Short Fuse wrench (included)
6mm Allen wrench
14mm wrench
14mm socket wrench
12-inch adjustable wrench
The one thing I had to pick up separately was three 12mm washers.
Those washers ended up being important because the Sur-Ron alignment block has an angle to it. The washers help correct that so the T-nut can sit flush instead of fighting the angle.
Installation Notes (Sur-Ron X Specific)
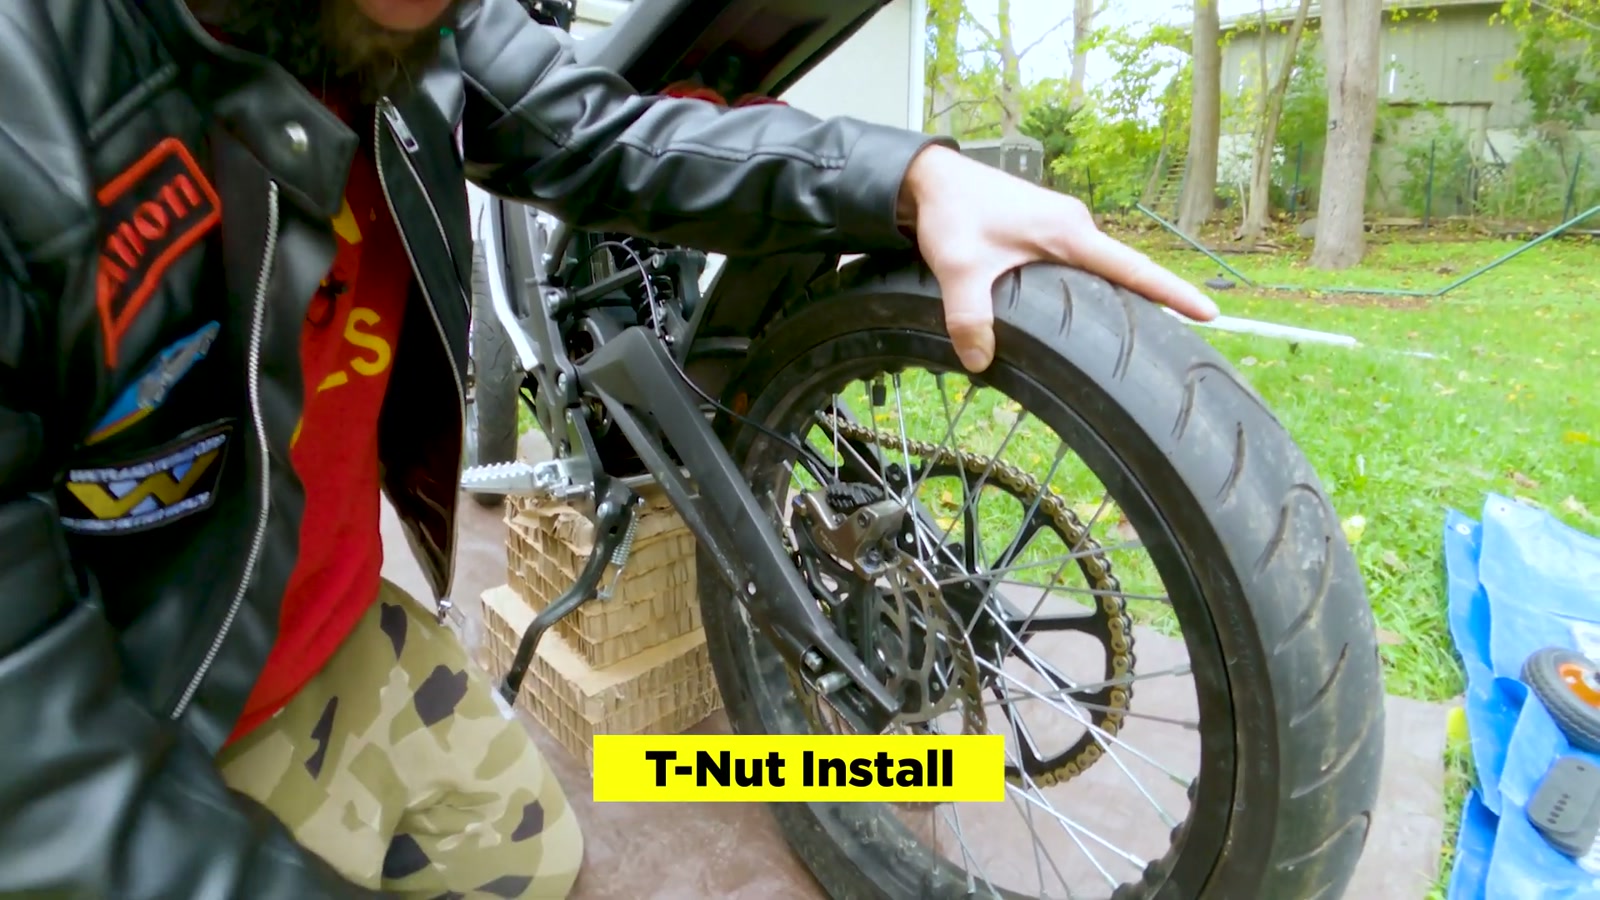
Step 1: The T-nut on the axle (the “make it flush” part)
The Sur-Ron axle is short, so I took my time here and tried to use as much axle space as possible.
With the alignment block in place, I added three 12mm washers to flatten the angled surface. After that, the T-nut threaded in cleanly and sat flush instead of pulling in crooked.
This is one of those steps where if you rush it, the rest of the install gets annoying.
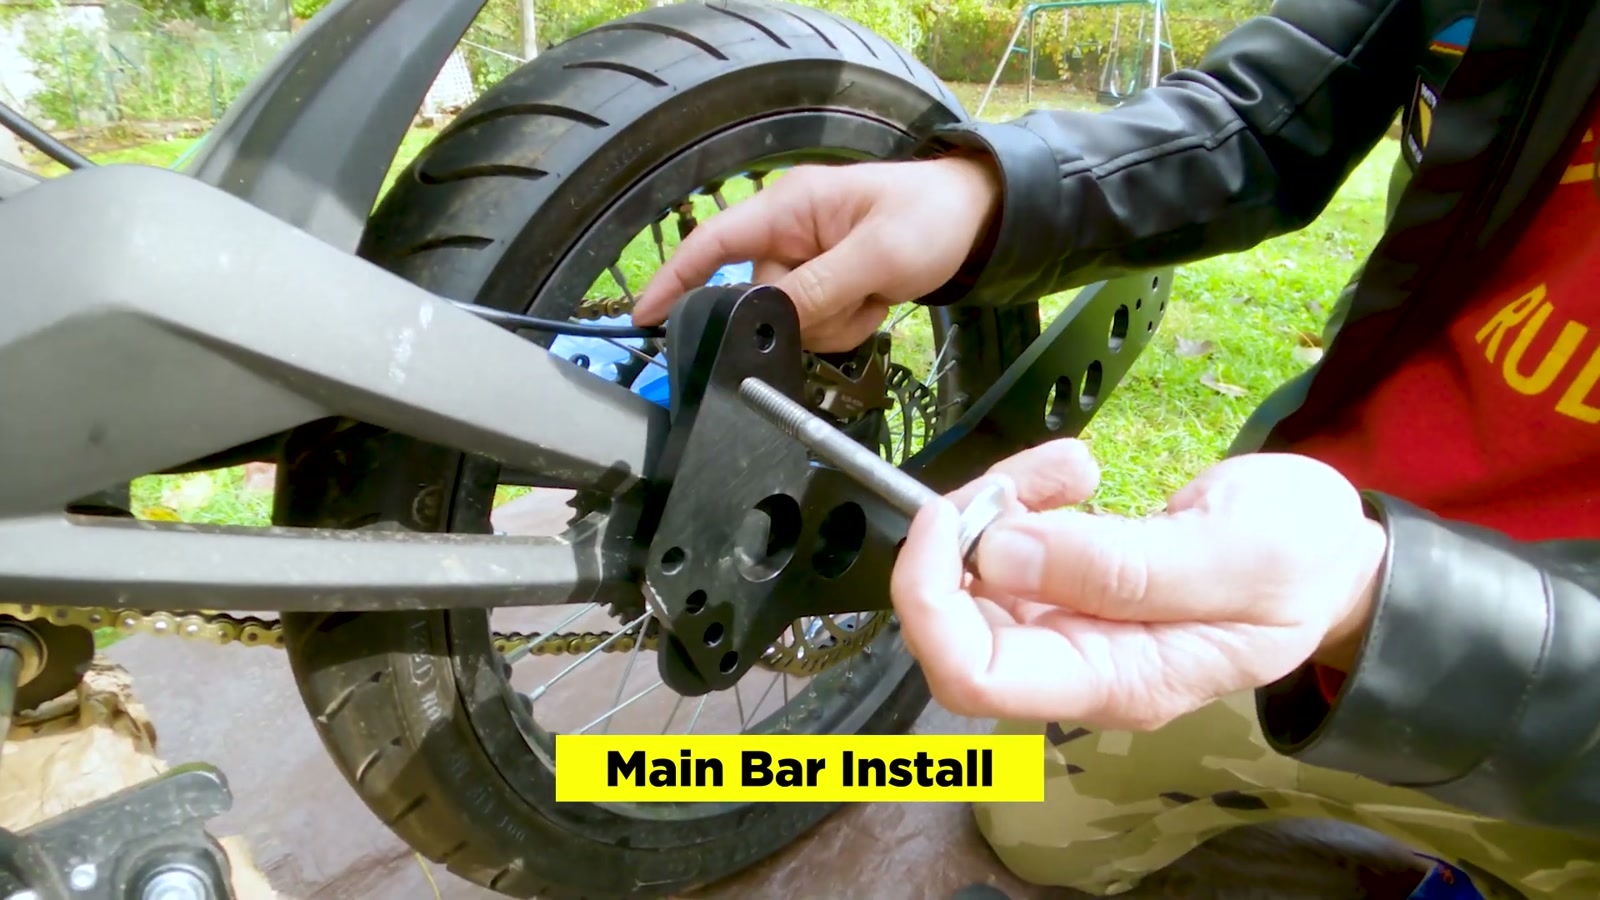
Step 2: Main bar orientation (you’ll likely reverse it)
Normally you’d expect the bar to mount on the chain/sprocket side like on many dirt bikes.
On the Sur-Ron X, there’s just not enough room on that side because the chain and sprocket eat up the space.
So I reversed the main bar so it could mount on the opposite side, which put the graphics facing toward the bike.
I also paid attention to:
Bolt length and clearance near the wheel/spokes
Picking a mounting hole position that gave the arm enough room to extend past the wheel
Step 3: Clamping to the swingarm (protect your brake line)
The kit uses rubber spacers so the clamp doesn’t chew up the swingarm.
I stacked spacers to match the available space, and I made sure the brake line stayed above the clamp area so nothing got pinched.
I also used a few extra washers I had lying around just to push bolt heads a bit farther from the wheel area. It didn’t feel strictly required, but I liked the extra breathing room.
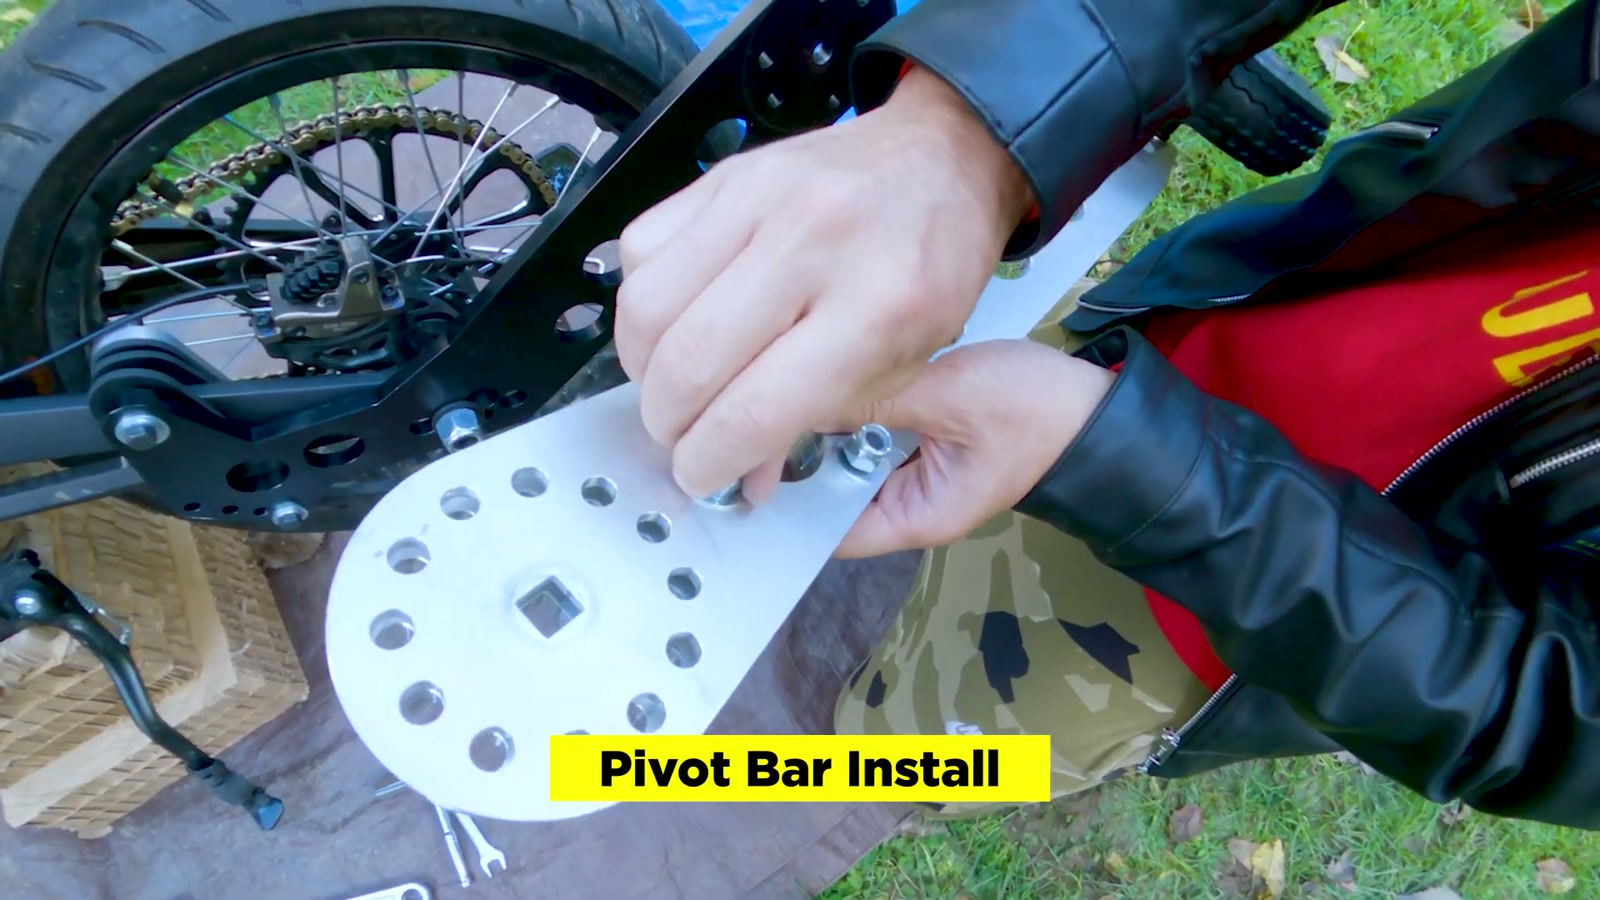
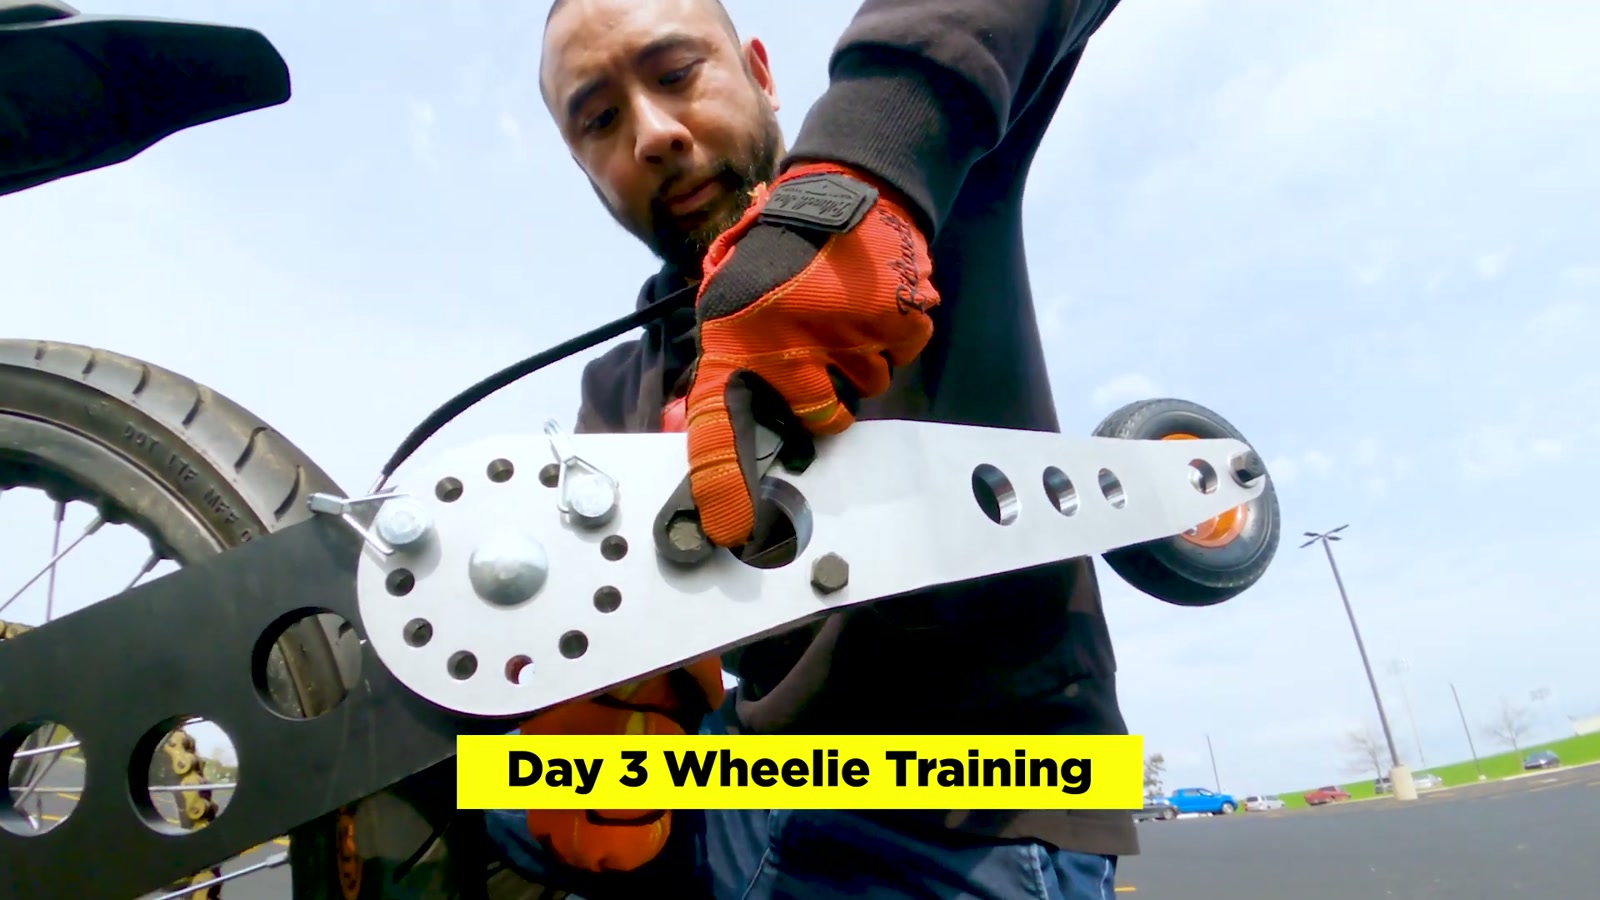
Step 4: Pivot bar and wheel assembly
The pivot/wheel assembly is all about getting the washer order right and tightening it to the point where it’s secure but still functions smoothly.
One install tip that helped: don’t crank everything down immediately. I tightened two of the bolts and left one a little looser until the whole “sandwich” fit together cleanly, then I finalized it.
Step 5: Adjustment pins = the whole point
The wheelie guard angle is adjustable using pins.
That adjustability is what makes it useful as a training tool. I started at a conservative setting, then changed the angle as I got more comfortable.
First Ride: How It Felt on the Bike
At the initial setting, I could feel the wheel contacting the ground earlier than I wanted. It did its job, but it was limiting my ability to reach that “sweet spot.”
So I adjusted it higher.
Once I found a better angle, the guard started to feel less like a limiter and more like a spotter at the gym: still there if things go wrong, but not constantly interrupting reps.
Training Over a Few Days: What Improved
Over multiple short sessions, I got noticeably more confident.
The biggest win: I stopped shutting down as early.
Instead of bailing the moment the front came up and my brain yelled “nope,” I could let the bike come up, feel the balance point approach, and correct without immediately panic-chopping the throttle.
It still took effort. It’s a workout, and it still requires technique.
But the progress felt smoother because I was practicing closer to the edge more often, with fewer “almost looped it” moments.
What We Like
Boosted confidence fast by reducing the fear of looping
Adjustable angle with pins makes it easy to level up gradually
Feels heavy-duty and built to take real hits
Helps you get closer to the balance point sooner, which speeds up learning
Things To Consider
It won’t teach wheelies by itself; it accelerates progress if you’re already practicing
Sur-Ron X installation requires the correct T-nut (and three 12mm washers from a hardware store)
You’ll likely need to mount it reversed due to chain/sprocket clearance
If you set it too low, it can stop you from finding the sweet spot (plan on adjusting)
Final Thoughts
If you’re learning wheelies on a Sur-Ron X, the Short Fuse Wheelie Guard feels like a legit shortcut in the best way: not cheating skill, but removing the fear barrier that slows learning.
After installing it and putting in a few sessions, I came away feeling more comfortable pushing toward the balance point—and that’s the whole game.
I’m going to keep using it until wheelies feel automatic, then I can decide whether it stays on as a protection piece or comes off once I’m fully consistent.