
Super73 DIY E‑Bike Lighting Kit: How I Built a Full Headlight, Signals, Brake Lights, and Horn Setup
June 12, 2021
Some links in this article may be affiliate links. If you buy through them, we may earn a small commission at no extra cost to you.
Riding an e-bike at night (or even at dusk) is one of those things that feels fun right up until you realize how invisible you can be to cars—especially from the side.
So I decided to build a full DIY lighting kit for my Super73 Z1: a proper motorcycle-style headlight, front and rear turn signals, side-facing indicators on the frame, brake-activated lights, and a loud 12v horn. The goal wasn’t to chase specs—it was to make the bike feel more road-ready and predictable for everyone around me.
This is the exact approach I used, what the install was like, and how it feels on real rides.
The goal: be seen from the front, rear, and side
On a typical e-bike, you’ll get a basic headlight and a small tail light (if that). That covers “I can see,” but it doesn’t always cover “I can be understood.”
What I wanted was:
A headlight with a real low/high beam feel
Amber turn signals that are obvious (front and rear)
Extra lighting that shows my intent from the side
Brake lights that actually get brighter when I slow down
A horn that’s more “car hears me” than “cute bicycle beep”
Once I finished the install, the biggest difference was confidence—especially when making left turns, crossing intersections, or riding in areas with parked cars and random pull-outs.
The riding difference: the headlight completely changes the vibe
I used a 5.75" halo LED headlight inside a moto-style housing.
On the road, it feels like the bike graduates from “toy lighting” to “real lighting.” The beam is bright enough that I’m not just visible—I can actually see what I’m rolling into.
What I love is how the lighting behaves like a system:
Low beam is my baseline “always on” mode
High beam doesn’t just change the headlight—it also kicks on the front white running lights, so the whole front of the bike becomes more noticeable
It’s not subtle, and that’s the point.
Turn signals and side visibility: this is the safety upgrade
The turn signals were the main reason I wanted to do this. And the side indicators ended up being one of my favorite parts.
Front indicators (handlebar-mounted)
Up front, I ran small indicator lights that act like white running lights, but switch to amber when signaling. In traffic, that reads instantly as “this bike is turning.”
Rear indicators + flexible tail light
In the rear, I used an LED tail light strip that supports left/right indicators plus a brighter brake mode. Once it was all wired in, it finally acted like a proper rear lighting cluster instead of just a generic red light.
Frame-mounted side indicators (the underrated win)
The Z1 doesn’t give you an obvious place to mount rear indicators on the sides, so I made simple mounts using cheap plastic shims (the kind you can find at hardware stores), drilled them, and zip-tied them to the frame.
On the bike, these sit low enough to be visible to vehicles approaching from the side, and high enough that they don’t mess with my legs when I’m pedaling or repositioning.
If you’ve ever felt sketchy making a left turn on an e-bike, side indicators help a lot—because drivers aren’t just guessing what you’re doing.
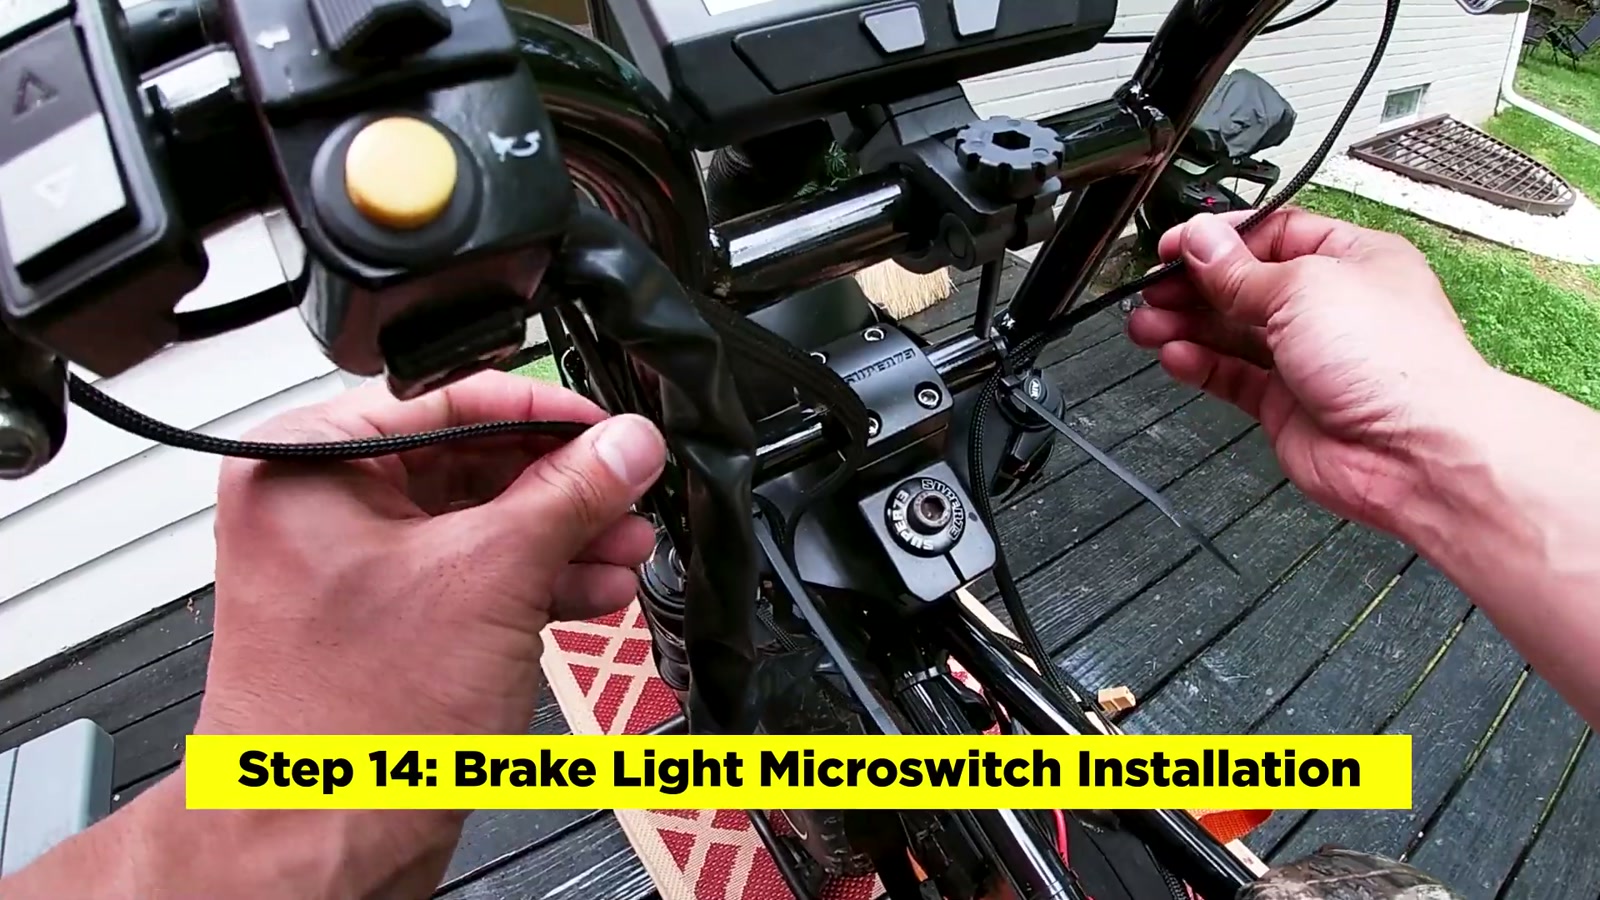
Brake lights that actually respond: micro-switches on hydraulic levers
This was the most “DIY” part of the whole build.
The Z1 (and a lot of e-bikes) don’t give you an easy brake-light signal line. To get real brake activation, I mounted micro-switches near the brake levers and shaped the metal lever arm on the switch into a little U so the brake lever triggers it.
They’re small, sensitive, and require very little movement to activate.
On the road, the effect is exactly what I wanted:
Rolling normally: rear lighting stays in its regular mode
Touch the brakes: the rear lights brighten immediately
Even while braking, the turn signals still work
If you don’t want to install brake switches, there’s a simpler alternative: wire the brake light group directly to constant power so it stays on the whole time. That’s still better than nothing. But I prefer brake activation because it’s a clear “I’m slowing down” cue for vehicles behind me.
The horn: small part, big confidence
I added a 12v motorcycle horn tied into the same handlebar switch.
In real riding, I don’t use it constantly—but when I need it, I really need it. It’s the difference between hoping someone hears you and knowing they did.
How I kept the wiring manageable (because it can get out of control fast)
A setup like this can turn into a spaghetti monster if you build it wire-by-wire.
What worked for me was building the system in “groups” and then feeding those groups into a small distribution box (distro) under the seat.
My build process in plain English
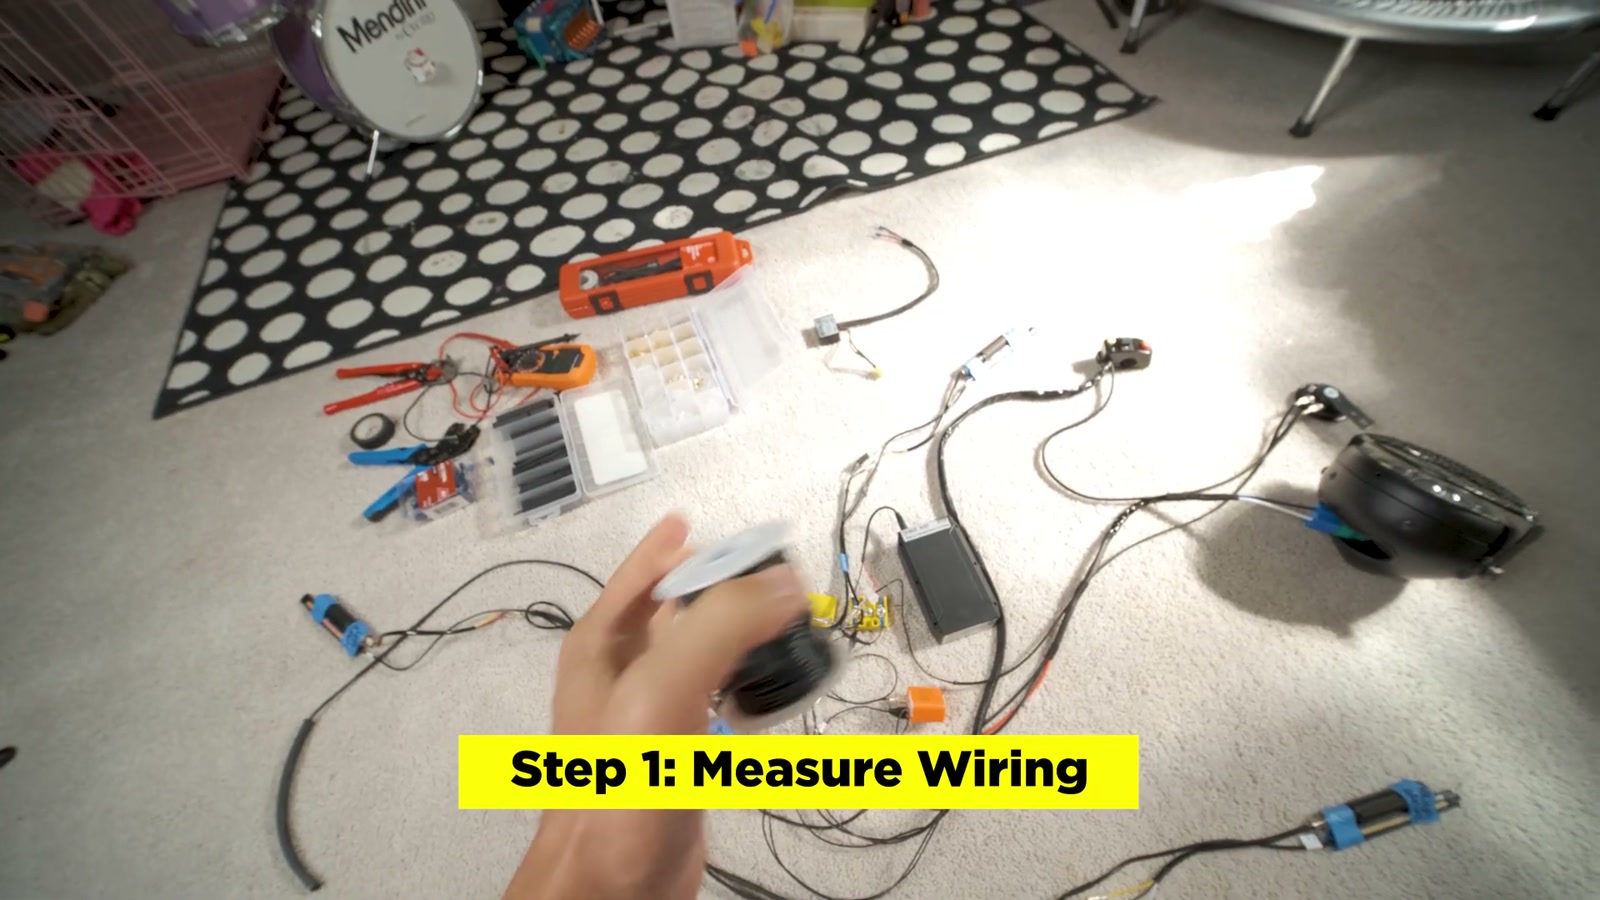
1. Measure everything first (with slack)
I measured from each component to where everything would live under the seat. That way I wasn’t stuffing a mile of extra wire into the bike.
2. Extend the wires cleanly
I soldered most extensions and used heat shrink to protect them. Some lights already came with bullet connectors, so I matched those to keep removal/replacement easy.
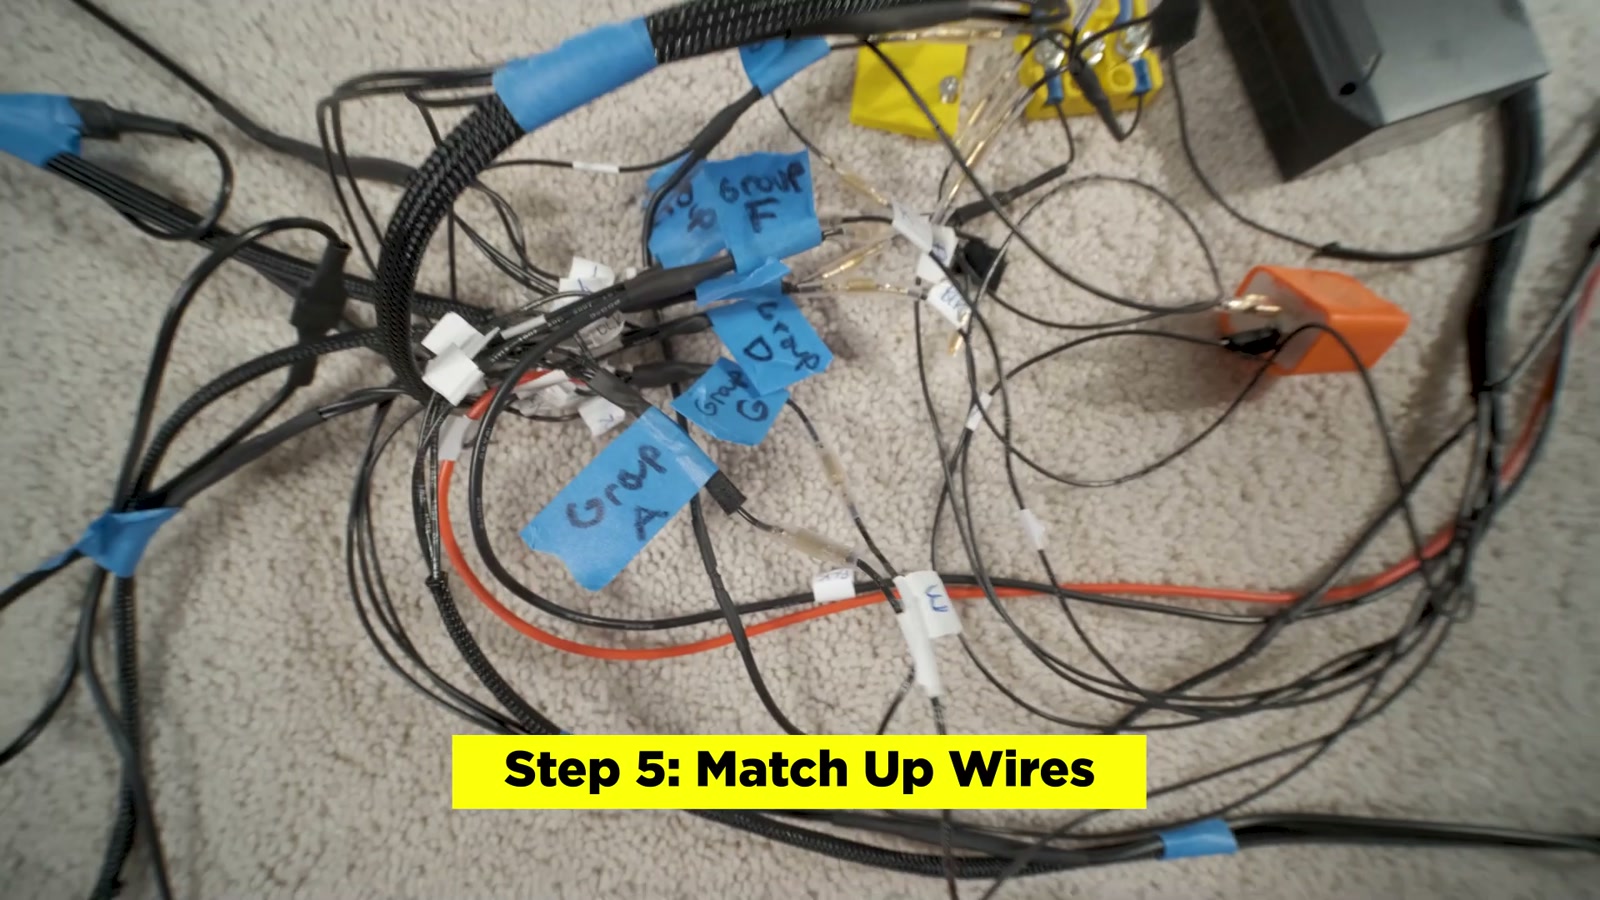
3. Label everything
Wire colors aren’t consistent across different lights, so I labeled by function instead of trusting “red = positive.” This saved me from doing things twice.
4. Group the functions
Rather than tons of splitters everywhere, I bundled sets of wires that should fire together (high beam group, left signal group, brake light group, etc.).
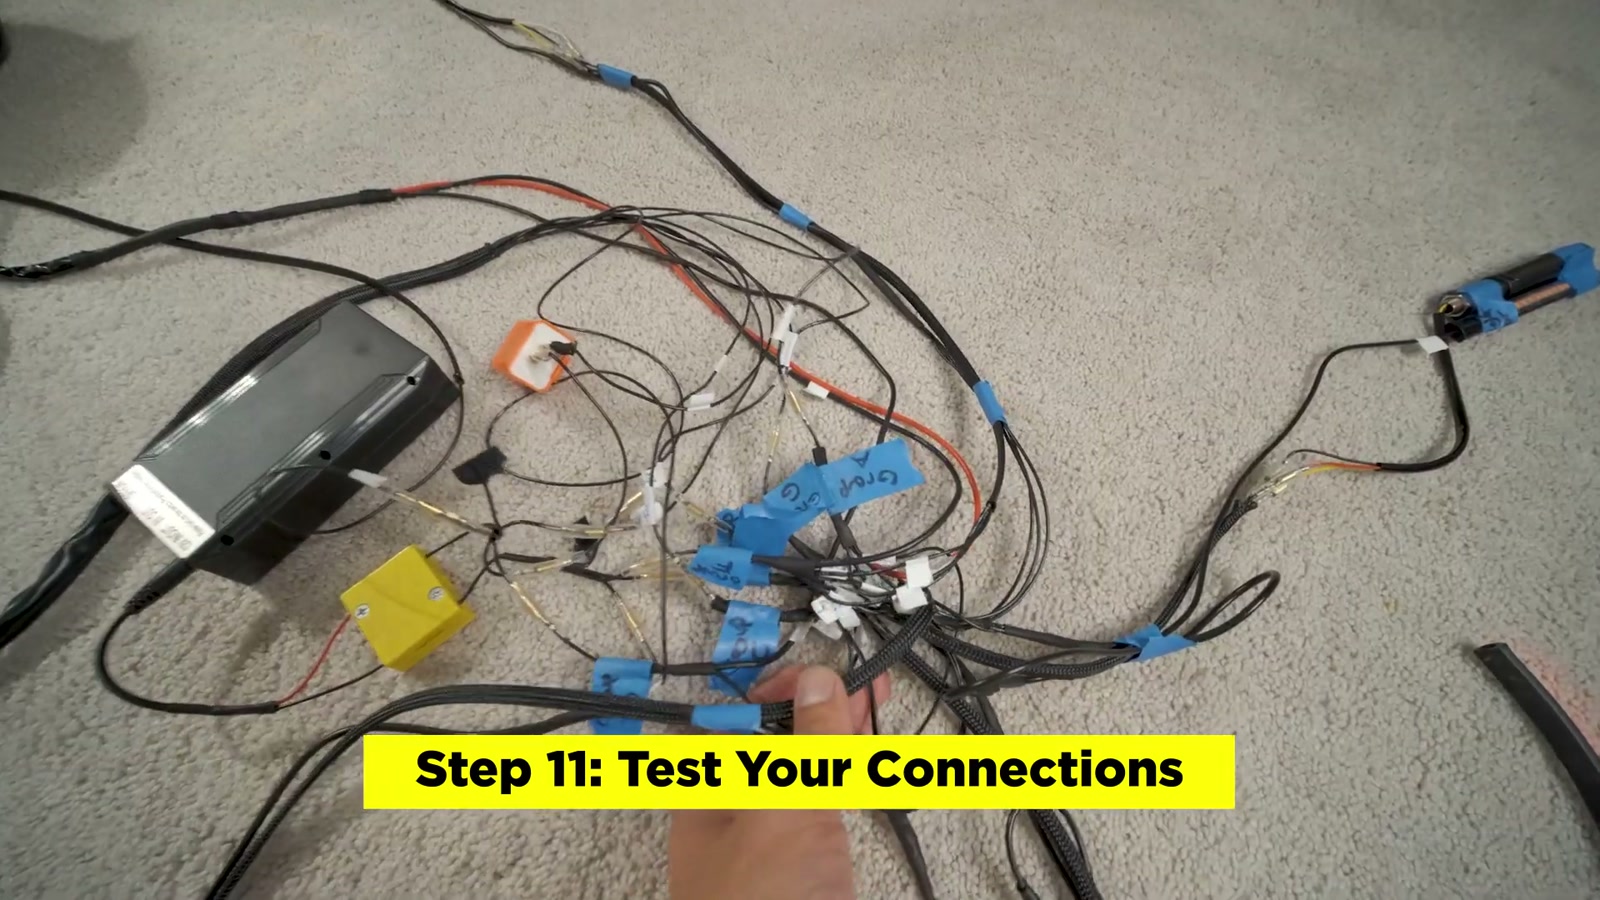
5. Use a distro box under the seat
Power comes in, then splits out cleanly to the different groups. It keeps the build more compact and easier to troubleshoot.
6. Add a flasher relay for signals
That gives the indicators the proper blinking behavior, and I could adjust blink speed on the relay.
Power: separate 12v battery vs stepping down from the main pack
I tested with a separate 12v battery at first because it’s fast and simple.
Long-term, stepping down from the main battery is cleaner (one battery to charge), but you need the right step-down converter. I originally tried a smaller converter and it started getting hot and the lights began acting weird. Swapping to a more heavy-duty converter solved that for my setup.
Everything ended up tucked under the seat:
Wiring groups and connectors
It’s tight, but it’s doable if you measure first and don’t leave wires excessively long.
What We Like
The headlight output feels like a real moto-style upgrade, not just a “be seen” light
Side indicators on the frame make turning safer and more legible to drivers
Brake-activated lighting is a noticeable visibility boost in traffic
The horn adds real “presence” when you need to get a driver’s attention
Grouping wires + a distro box keeps the system serviceable instead of chaotic
Things To Consider
This is a wiring-heavy project; expect time spent measuring, extending, soldering, and heat-shrinking
Don’t trust wire colors across different lights—label by function
Cheap crimp connections can cause headaches; I had to redo crimps after failed voltage tests
Step-down converters matter; undersized units can run hot or cause flickering
Micro-switch brake activation takes patience to position and secure, especially on hydraulic levers
You’ll want a plan for weather protection, especially around switches and exposed connections
Final Thoughts
This lighting kit transformed how my Super73 Z1 feels in real-world riding. The bike is brighter, clearer to other road users, and just generally more confidence-inspiring when I’m mixing with cars.
The best part isn’t any single component—it’s the system effect. High beam adds presence up front, signals communicate intent, side lights help with cross-traffic, and brake lights make slowing down obvious.
If you’re comfortable with basic electrical work (or willing to learn carefully), this is one of the most meaningful DIY upgrades you can do for EV lifestyle riding—because it improves safety without changing the character of the bike.