
DIY Super73 Z1 Retro Motorcycle Headlight: A Simple, Affordable Night-Ride Upgrade
June 12, 2020
Some links in this article may be affiliate links. If you buy through them, we may earn a small commission at no extra cost to you.
The Super73 Z1 has a ton of personality, but out of the box it doesn’t really have that classic retro “motorcycle” face. I wanted a headlight that looked like it belonged on the bike, without turning this into a complicated wiring project.
So I built my own DIY setup: a 6.5-inch retro motorcycle headlight housing with a grill, and inside it I mounted a self-contained bike light (battery and all). The result is a clean, old-school look that actually works for real riding—plus it’s easy to remove or tweak later.
The vibe: turning the Z1 into a mini moto
The biggest win here is the look.
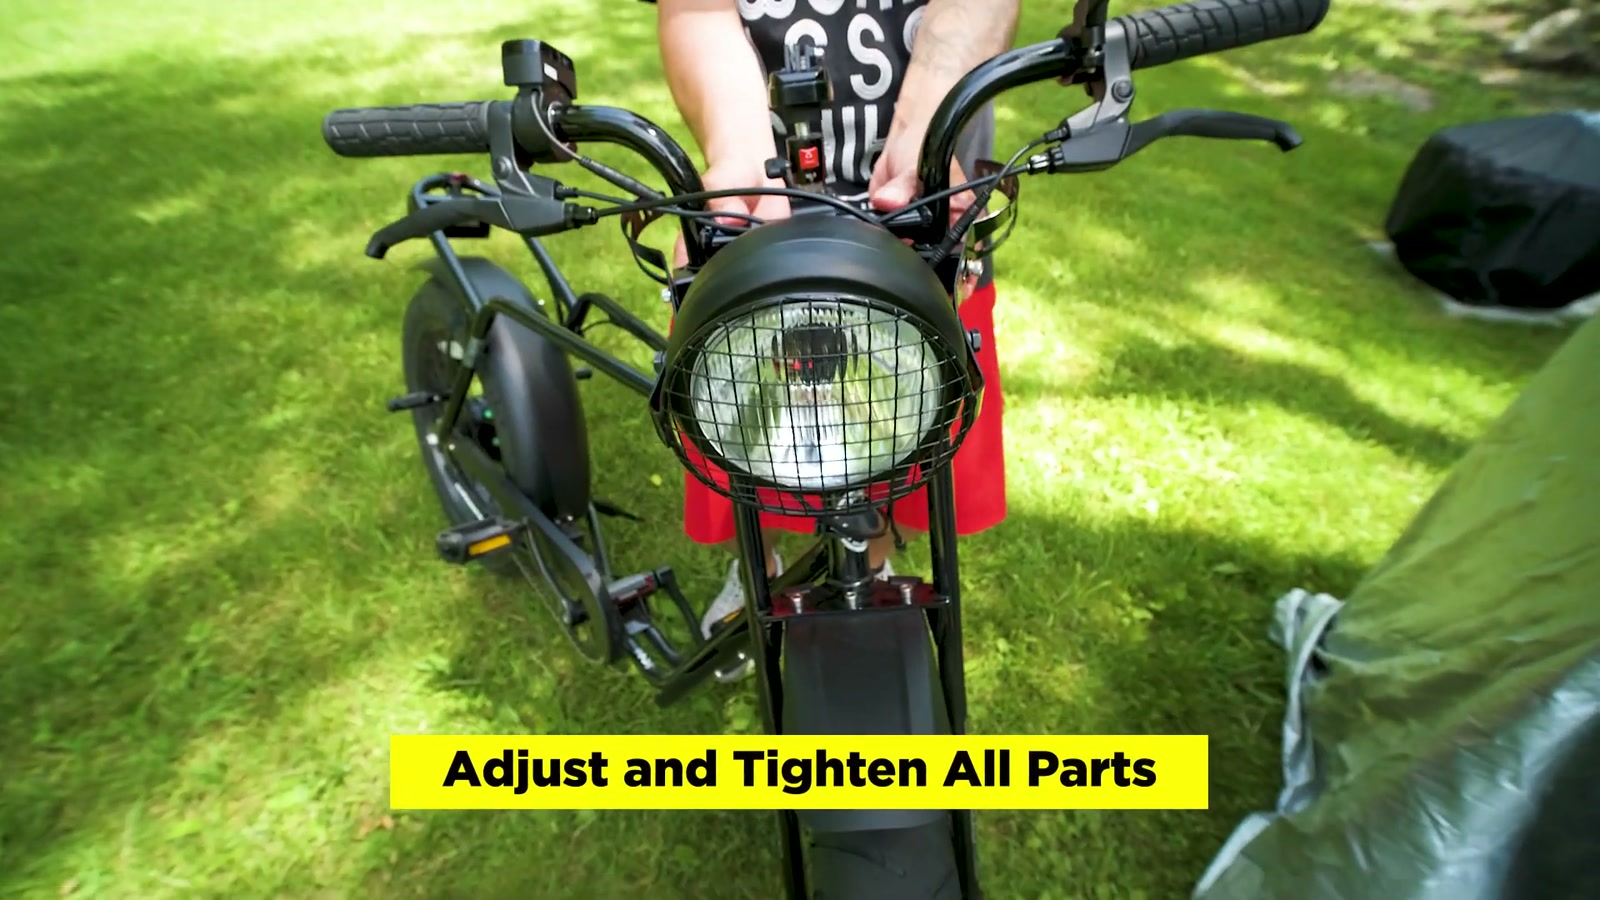
Once the housing is mounted on the bars, the Z1 instantly feels more “complete” up front—like it’s leaning into the scrambler/moped aesthetic we all love about these bikes. The glossy black brackets ended up matching the bike’s finish really well, and from a few feet away it reads like an OEM-style piece.
It is a little on the big side, but in a good way if you’re chasing that retro motorcycle headlight silhouette.
My approach: keep it simple, keep it reversible
I didn’t want to hardwire anything or commit to a permanent adhesive.
Instead of using something permanent like JB Weld, I used aluminum foil tape to secure the bike light inside the housing. That way, if I ever want to swap the light, change positioning, or redo the whole idea, I can.
The bike light I used is rated at 1200 lumens and comes with its own battery pack. That keeps the whole project modular: the “motorcycle headlight” is really just a shell, and the bike light does the actual lighting work.
Install and fitment (what actually took time)
The headlight housing itself came with brackets, hardware, and rubber grommets. The catch: the stock brackets weren’t a perfect match for how I wanted it to sit on the Z1’s bar area.
Here’s what I had to do to make it work:
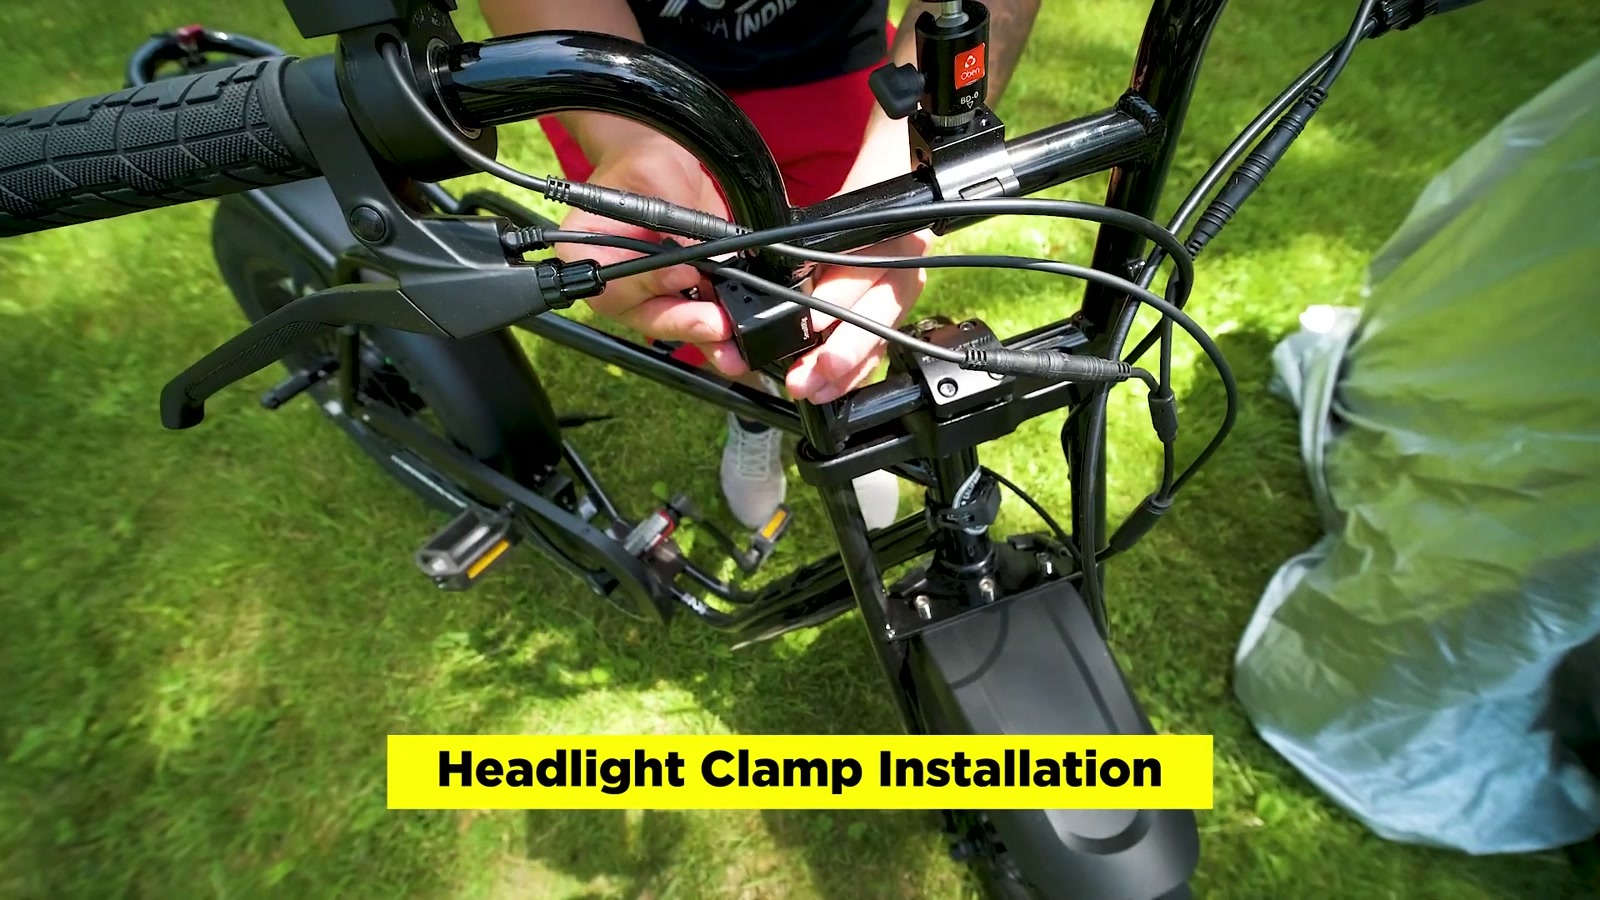
1) Bar clamps + shims
I mounted everything using 25mm rod clamps. On the Super73 Z1 they were slightly loose, so I shimmed the clamps with thin vinyl strips (I literally cut pieces from an old cover I had). Once tightened down, the setup felt secure.
2) Bending the brackets
To get the headlight to sit correctly between the clamps, I bent the included headlight brackets using a vise.
This is the part that makes the whole thing look “right.” Getting both sides bent evenly takes a little patience, but once the angle is dialed, the housing lands in a really natural position.
3) Swapping the bulb idea entirely
The housing comes with a bulb, but I didn’t use it.
I removed the bulb and used the housing as a shell for the bike light instead. This keeps the lighting system self-contained and avoids messing with the bike’s electrical system.
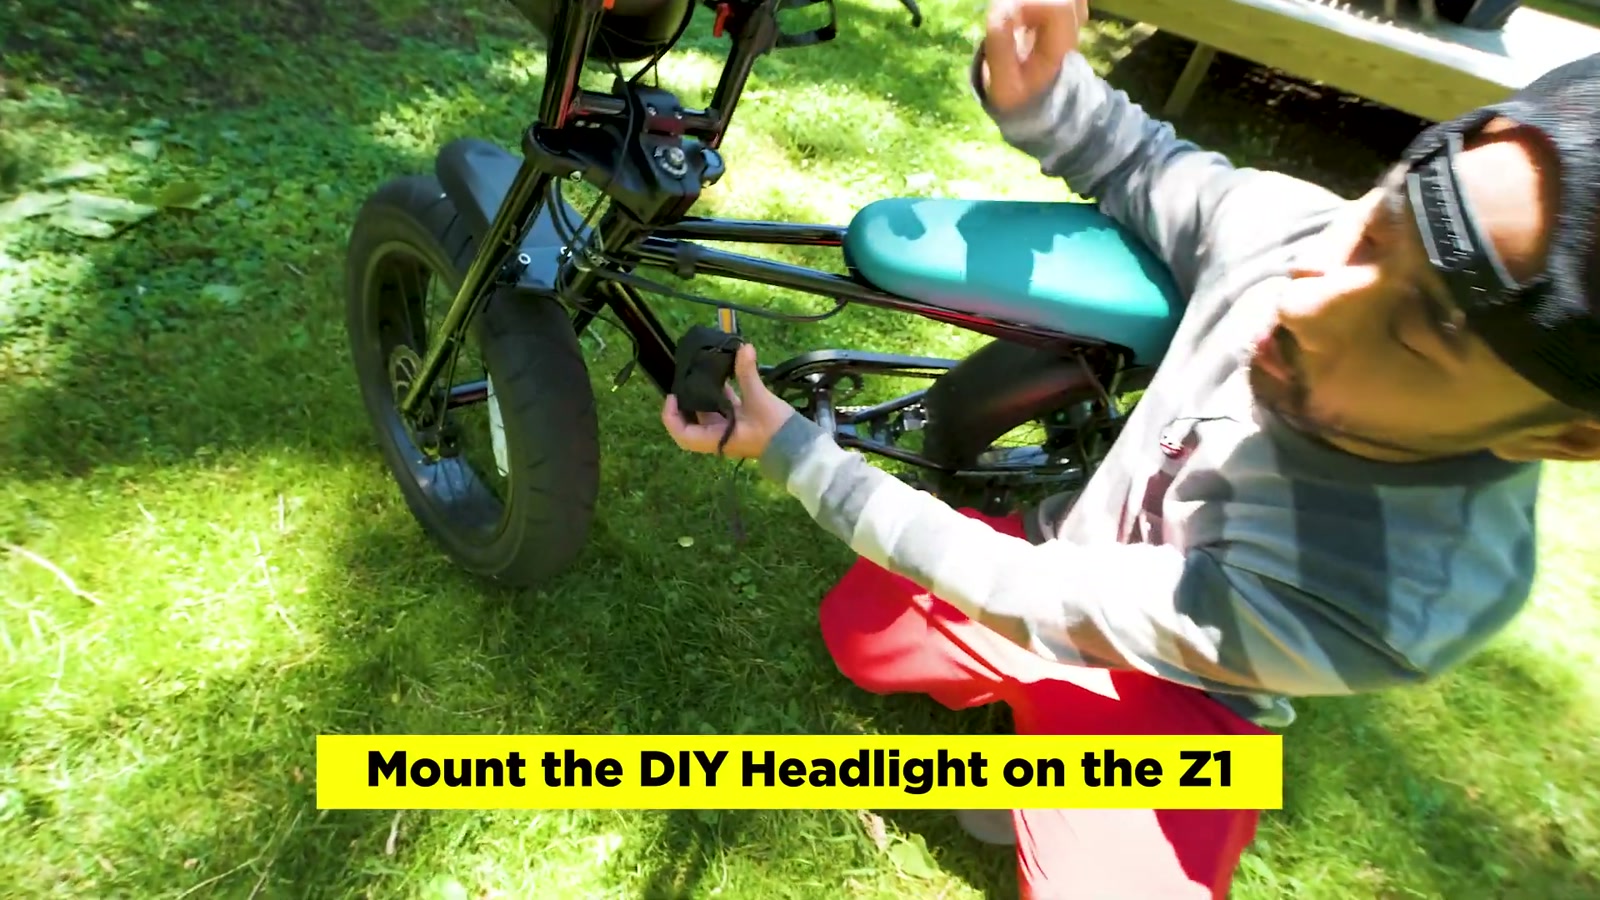
Mounting the bike light inside the housing
Fitting a normal bike light inside a motorcycle-style bucket is the whole trick.
I used the short rubber strap that came with the bike light so the light couldn’t drop deeper into the housing. Then I wrapped the light body with aluminum foil tape (to help protect it from scratches and give the tape something to bite onto).
After positioning the light in the bucket, I used additional foil tape strips to bridge from the housing to the taped light body and lock it in. It held solidly in my hands, and it felt like it would handle normal riding conditions without shifting.
One key detail: I positioned the light so the push-button is accessible. I mounted it “upside down” on purpose so I can reach inside the housing and click it on.
Battery placement and cable management
Since the light runs on its own battery pack, placement matters for how “clean” the finished look feels.
I found a great spot near the stem area, low and tucked out of the way. With the included strap/case, it sits nicely and doesn’t ruin the silhouette.
The cable is longer than it needs to be, so I routed it neatly and bundled the extra. If you want it extra tidy, a zip tie helps—but even without going overboard, most of the excess can be hidden inside the housing.
On the road: what the beam looks like in real life
This setup isn’t just for looks—there’s real output.
In daylight, you can still see the light shining through the glass. At night, the lens and glass create a more interesting spread than a bare bike light on a handlebar mount. It’s not just a tiny hotspot; it feels more like a “headlight” pattern coming from a proper front bucket.
And because the housing is slightly adjustable, I left it a bit loose at first so I could aim it up or down before fully committing.
What We Like
The Z1 gets a true retro motorcycle face instantly
Modular setup: no hardwiring, easy to change later
The battery pack tucks in clean near the stem area
Nice light presence even in daytime
The headlight glass gives the beam a more “headlight-like” character than a naked bar-mounted light
Things To Consider
You’ll likely need to bend brackets to get the fit and angle right
25mm clamps can be slightly oversized; expect to shim
The headlight is on the larger side (great for style, but it’s a look)
Button access matters—plan the light orientation so you can turn it on easily
Cable management takes a few minutes if you want it to look clean
Final Thoughts
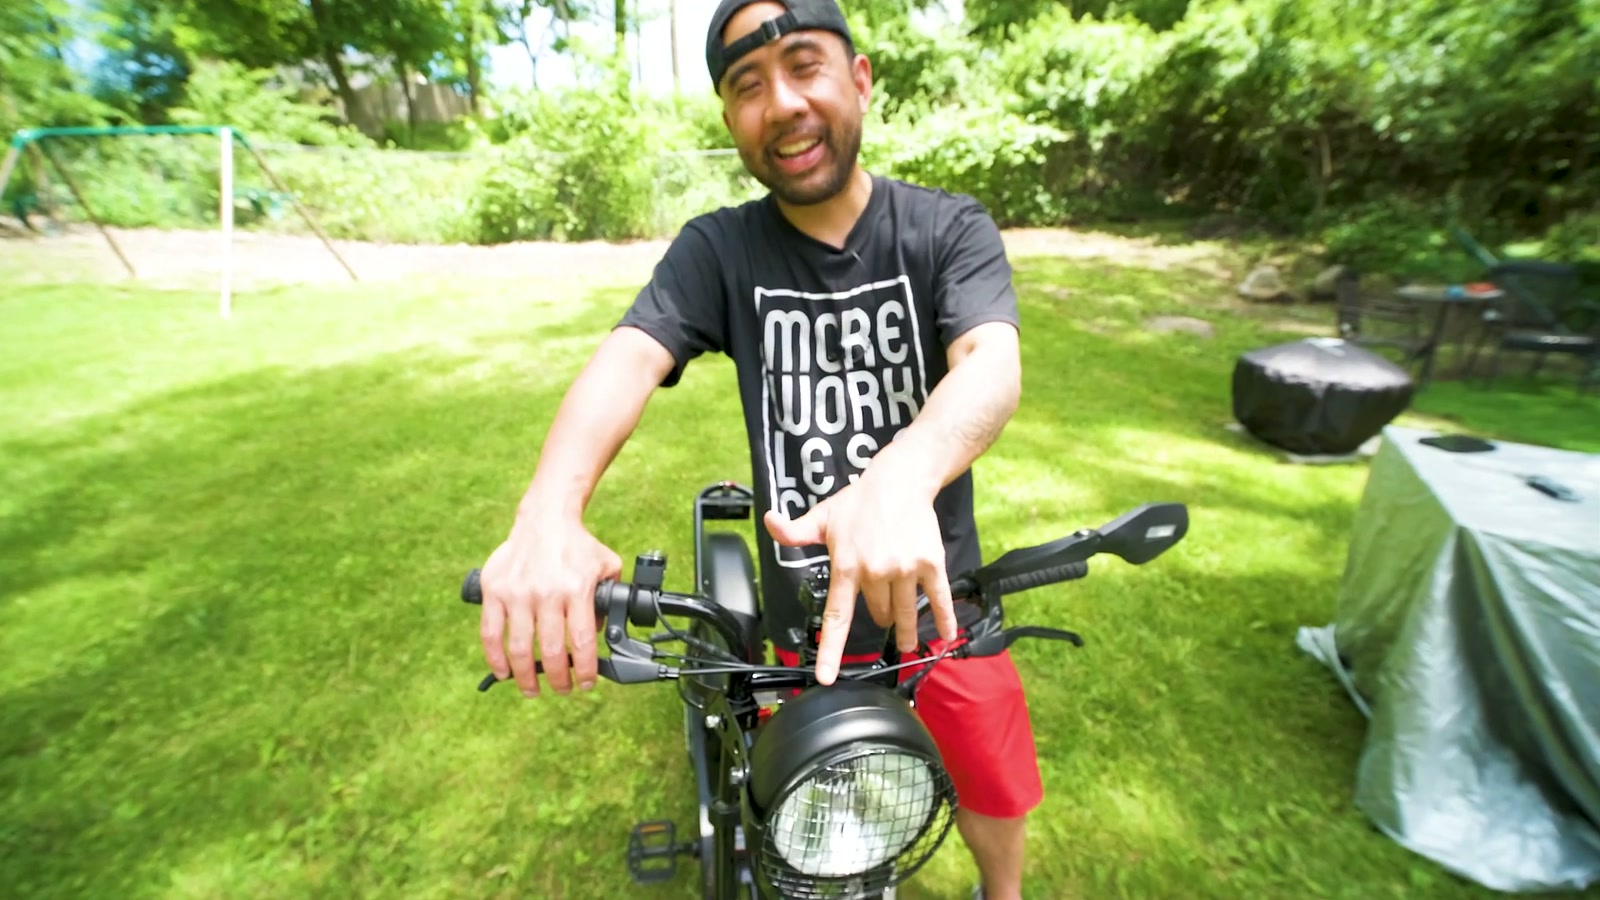
If you’ve been staring at the front of your Super73 Z1 thinking it needs just a little more attitude, this is one of the most satisfying DIY mods I’ve done. It’s affordable, it looks like it belongs, and it upgrades the riding experience at night without turning into an electrical project.
I love that it stays reversible. If I want to swap the internal light later, I can. If I want to redo the mounting, I can. And in the meantime, the Z1 finally has that classic headlight presence that fits the bike’s whole vibe.